


To edit the welcome message,
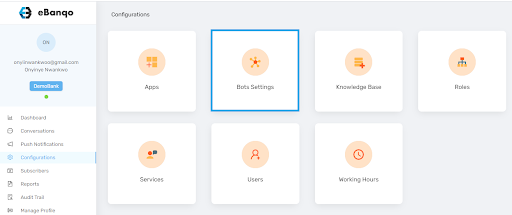
1. Click on Configurations
2. Click on Bot settings
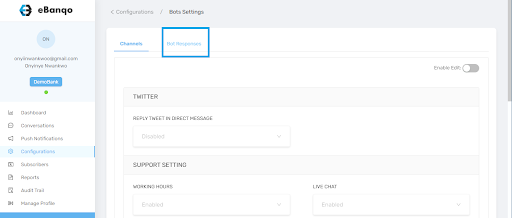
3. Then click on Bot responses.
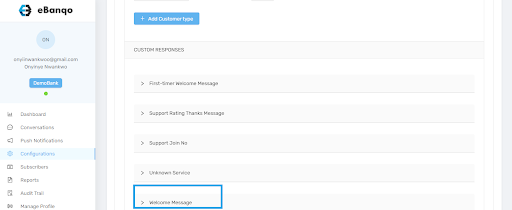
4. Scroll to find the bot response you want to edit. In this case, we’ll click on Welcome message.
5. The welcome message has different parts. We’ll walk you through each of them.
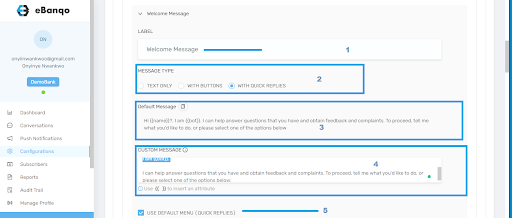
- No. 1 is the label. Here, you can rename “Welcome message” into something you’re more familiar with. Click on the box containing “Welcome message”, erase it, and type your preferred name.
- No. 2 is the message type. In this section, you choose if the message will be accompanied by buttons or quick replies, or if you want it to be text only.
- No. 3 is the default welcome message that comes with the software. This is what your customers see whenever they chat with your bot.
- No. 4 is the custom message. If you want to create your own welcome message that reflects your brand, type it in this section. It overrides the default message.
- No. 5 If you check this box, the welcome message will include the default quick replies. These are the services you automated when setting up the bot.
If you uncheck the box, you’ll see this:
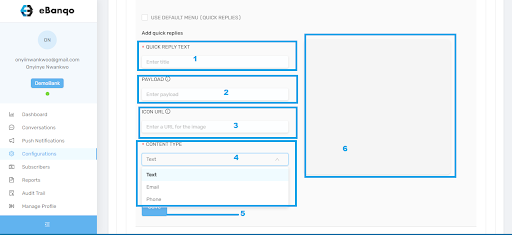
- In No. 1, type the text that will appear on the quick reply button.
- No. 2 is the payload. Enter the same text used in No. 1.
- No. 3 is the Icon URL. You can skip this if you don’t want to add an icon.
- In No. 4, select whether the quick reply is text, email, or phone number.
- No. 5 is the save button. Once satisfied with your settings, click Save.
- All quick replies you created will appear in No. 6.
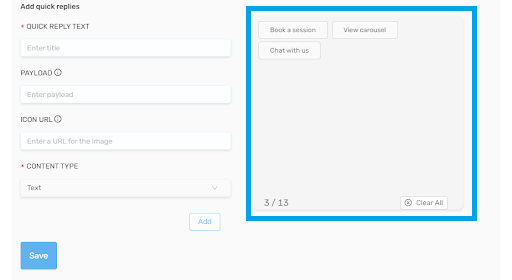
- Click on Add
- Click on Save