Setting up your eBanqo account involves creating your chatbot, connecting communication channels, and embedding the chat widget on your website. Follow the steps below to get started.
Step 1: Signing Up
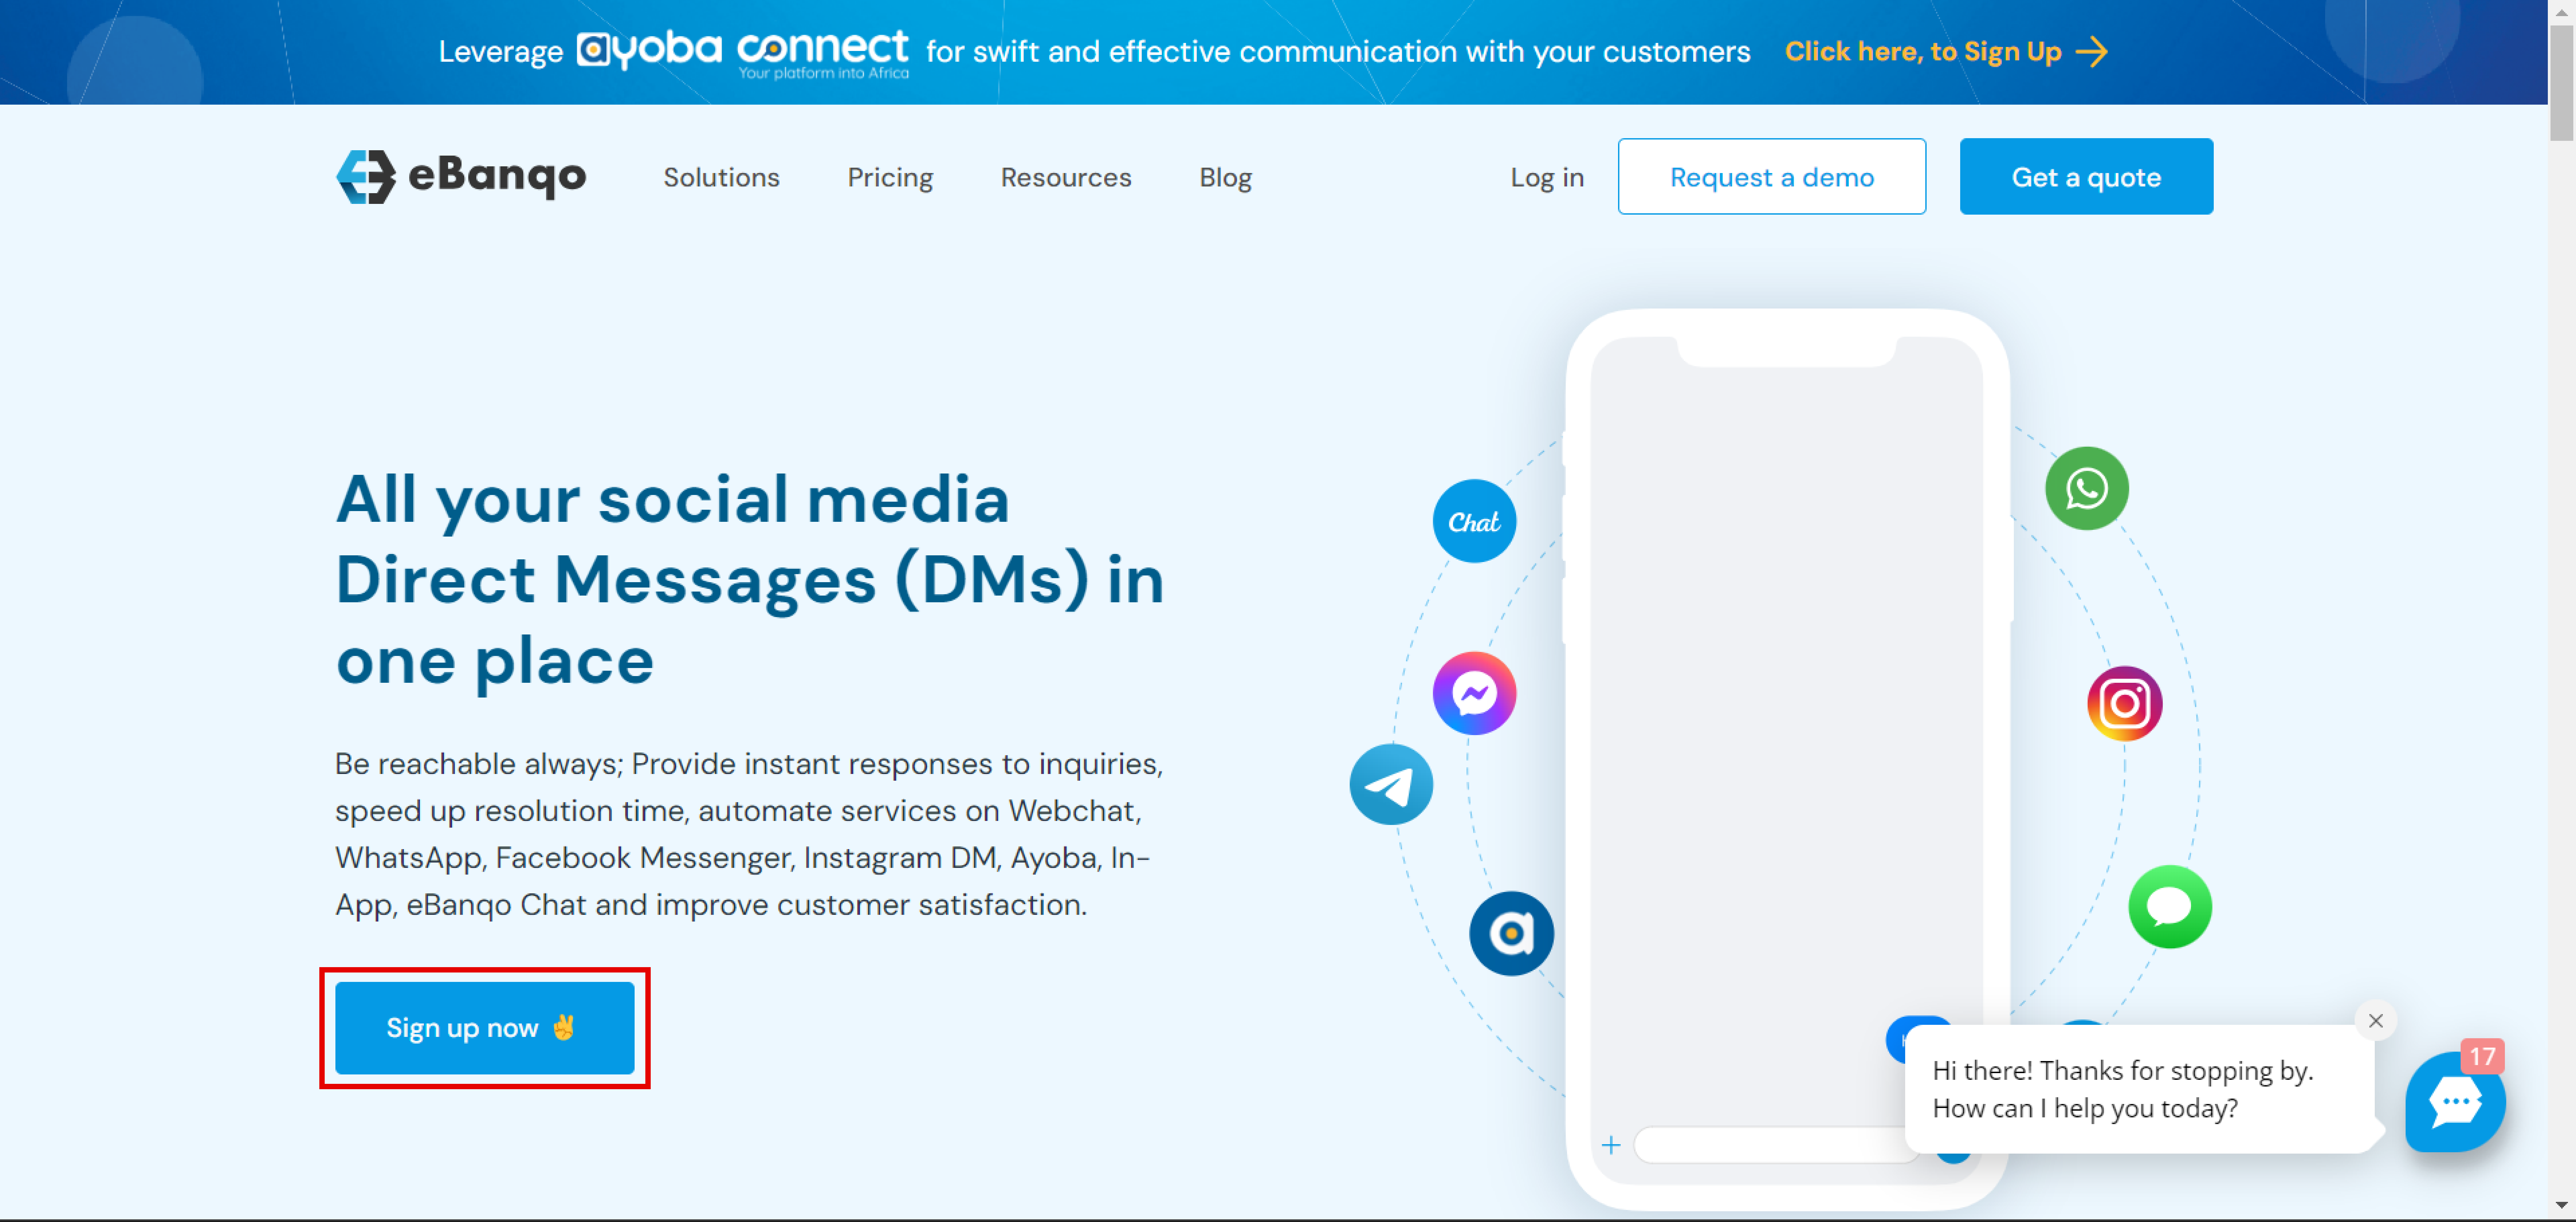
- Visit the eBanqo website and click Sign Up Now.
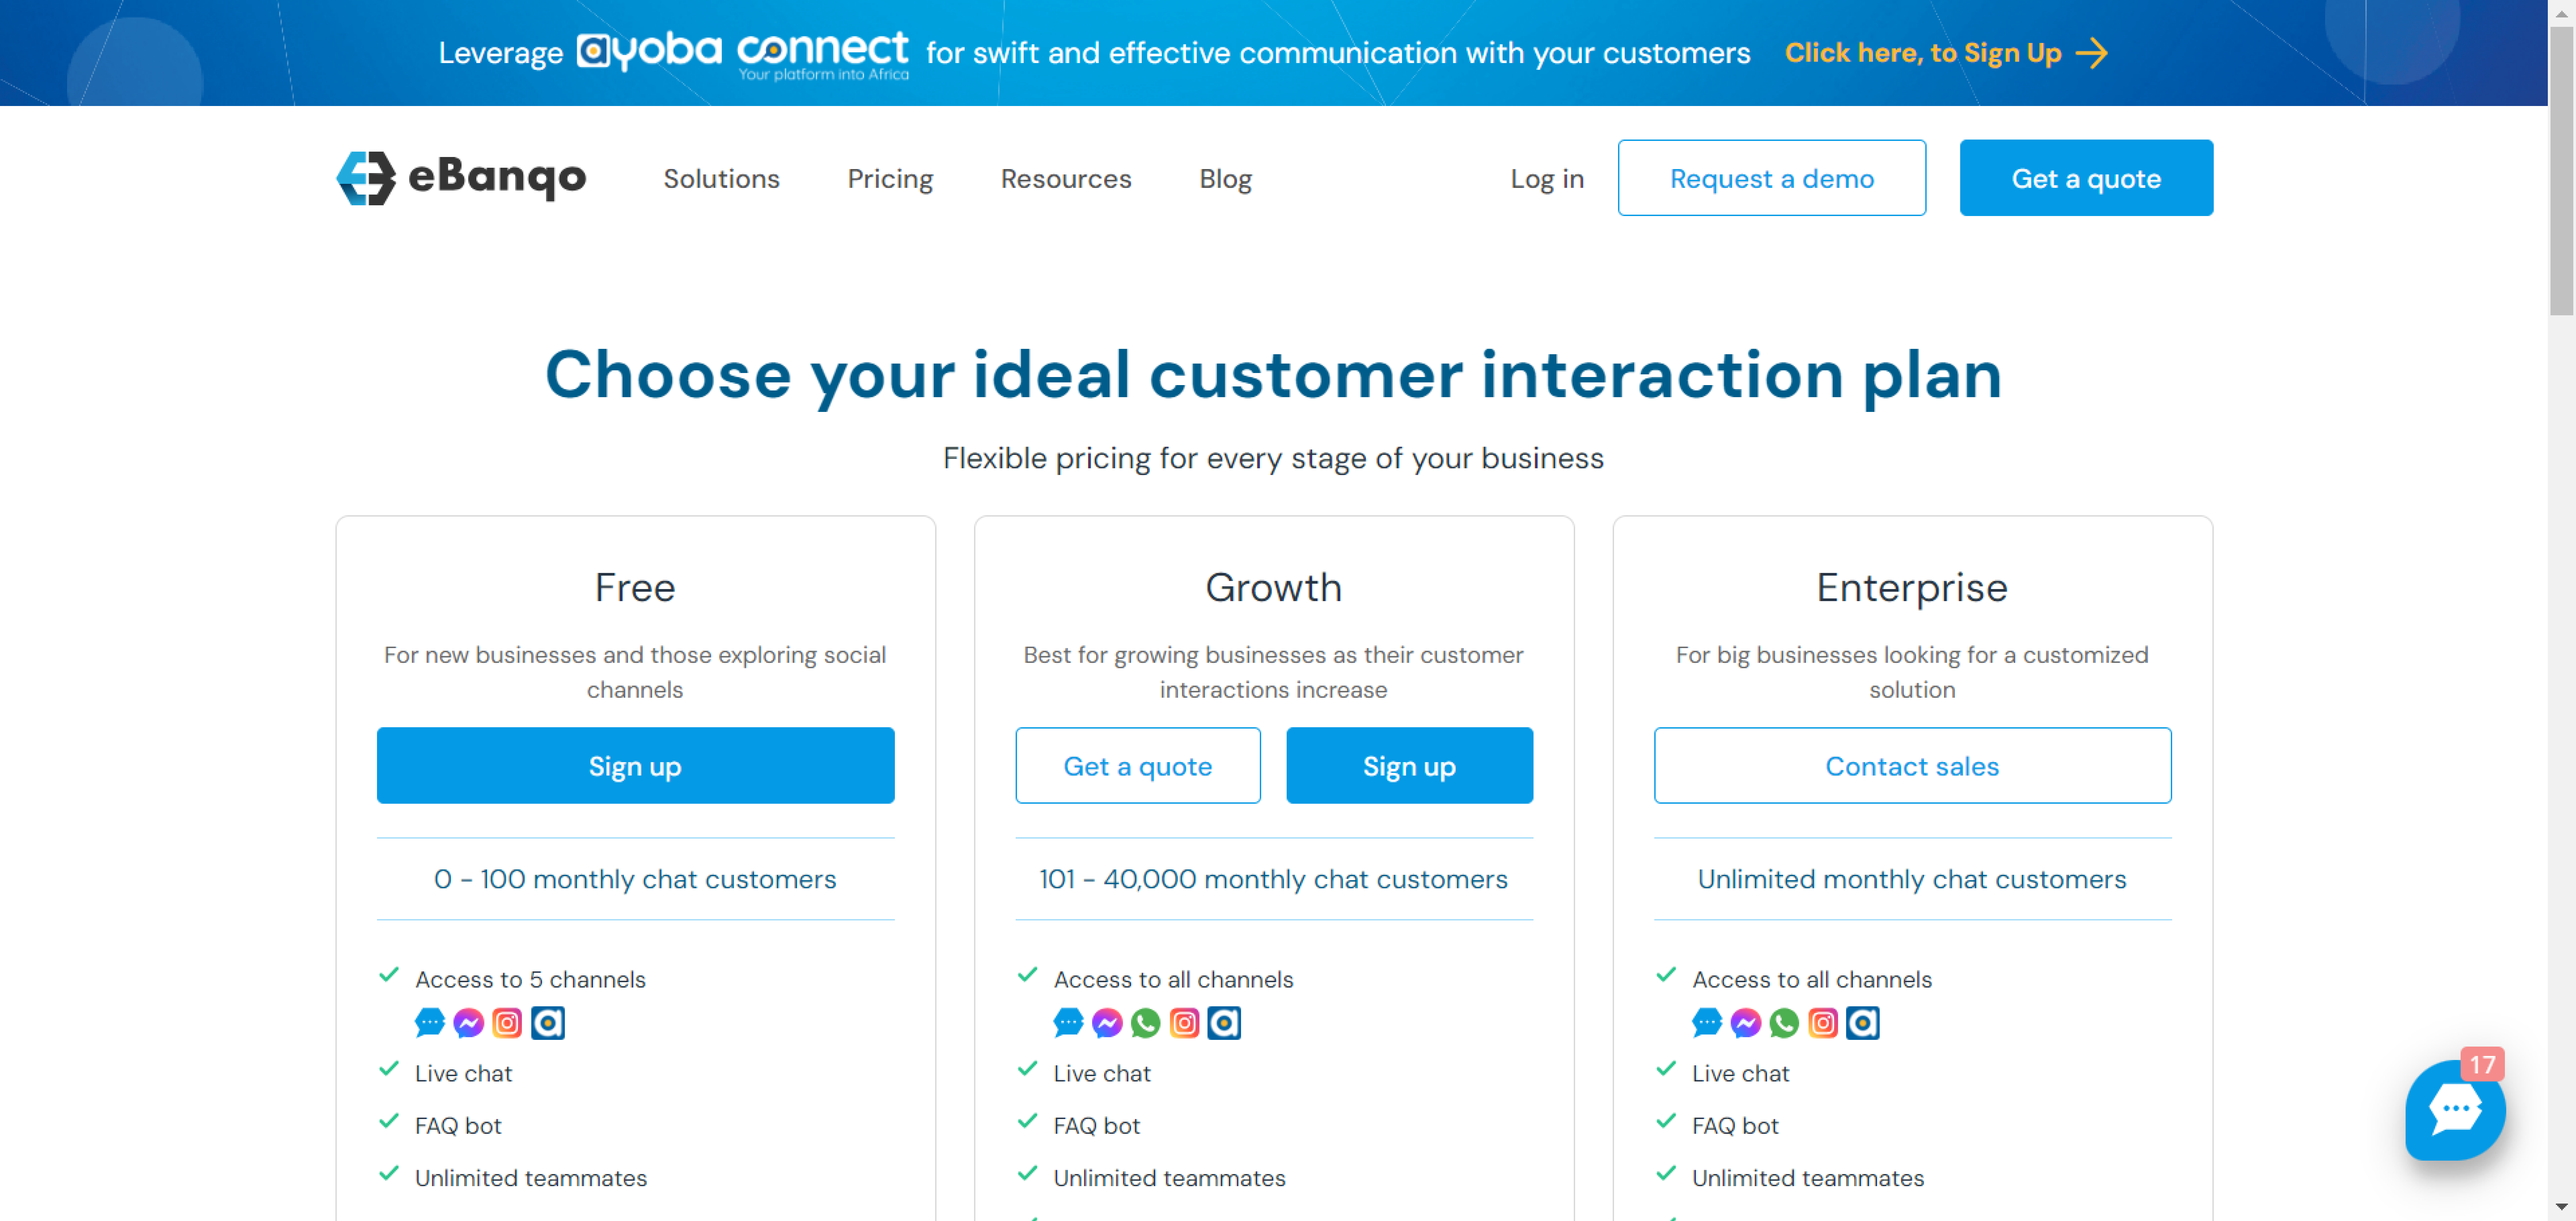
- Choose a plan for your business. Options include the Free plan or the Growth plan. If you need a custom solution, choose the Enterprise plan.
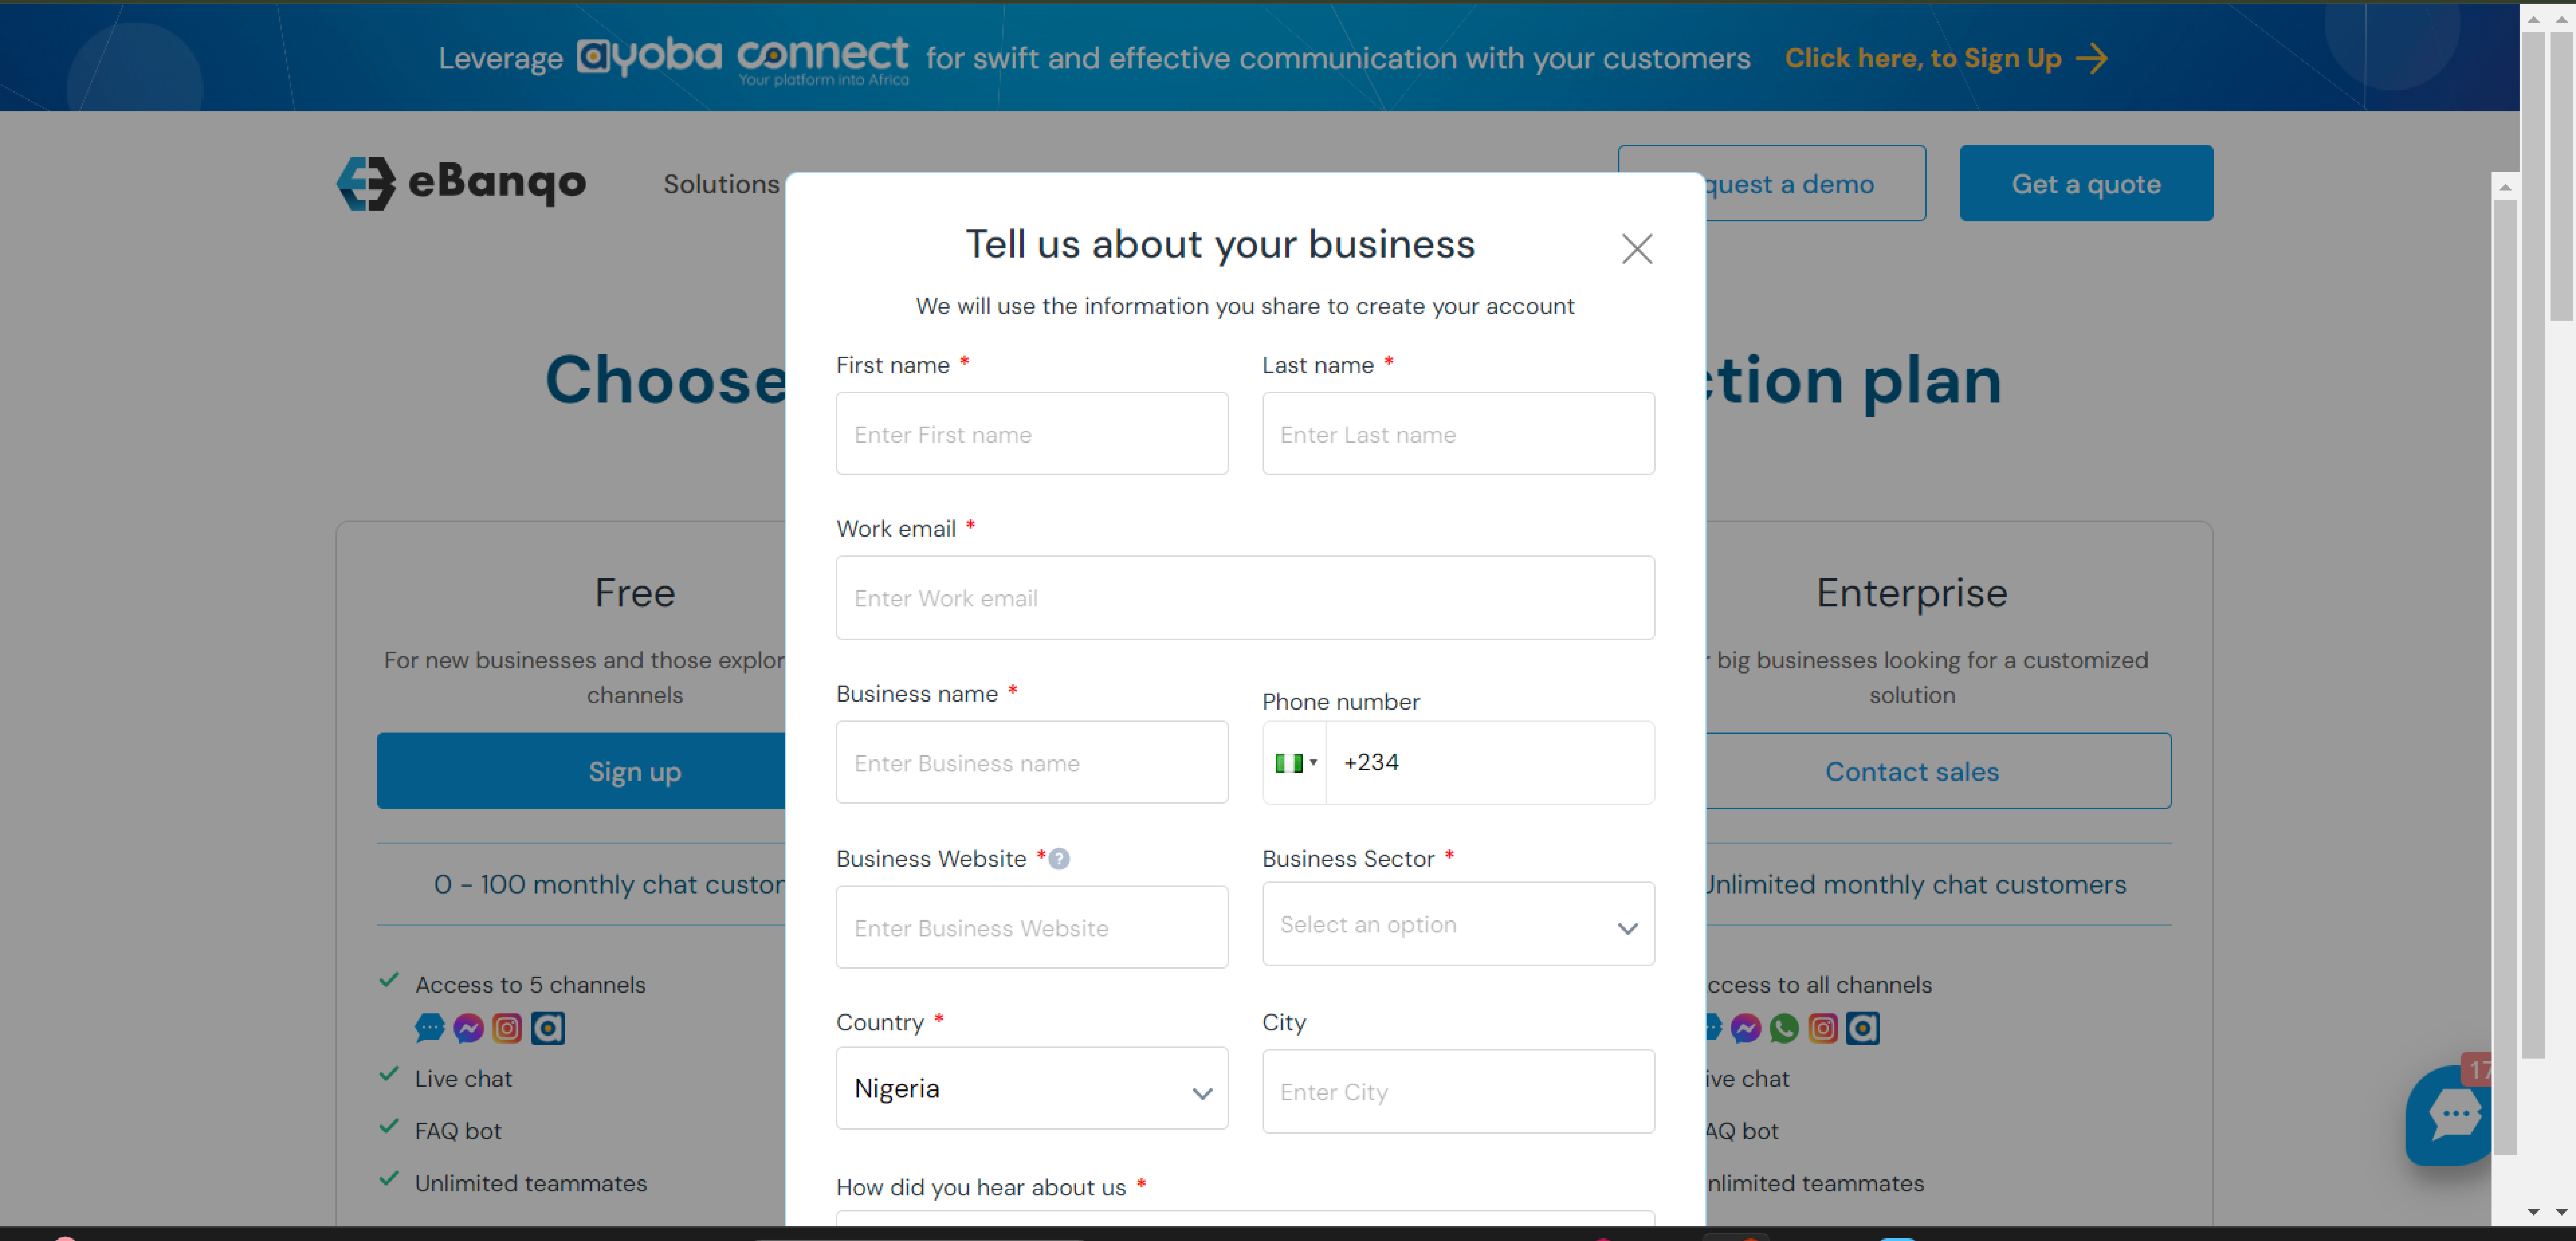
- Fill in your business information in the registration form.
- Verify your email by clicking the link sent to your inbox.
- Complete the questionnaire about why you are choosing eBanqo.
- Sign in using your username and password.
Step 2: Creating Your Chatbot
When creating your chatbot you will configure the following:
- Bot Logo – Upload a custom image or use the default avatar.
- Bot Name – The name customers will see when the bot sends messages.
- Support Email – Email address to receive bot notifications.
- Time Zone – Select your business time zone.
- Welcome Message – Customize the message customers see when starting a conversation.
You can use placeholders such as:
- {{bot_name}}
- {{customer_name}}
- {{email}}
Click Continue to save your chatbot configuration.
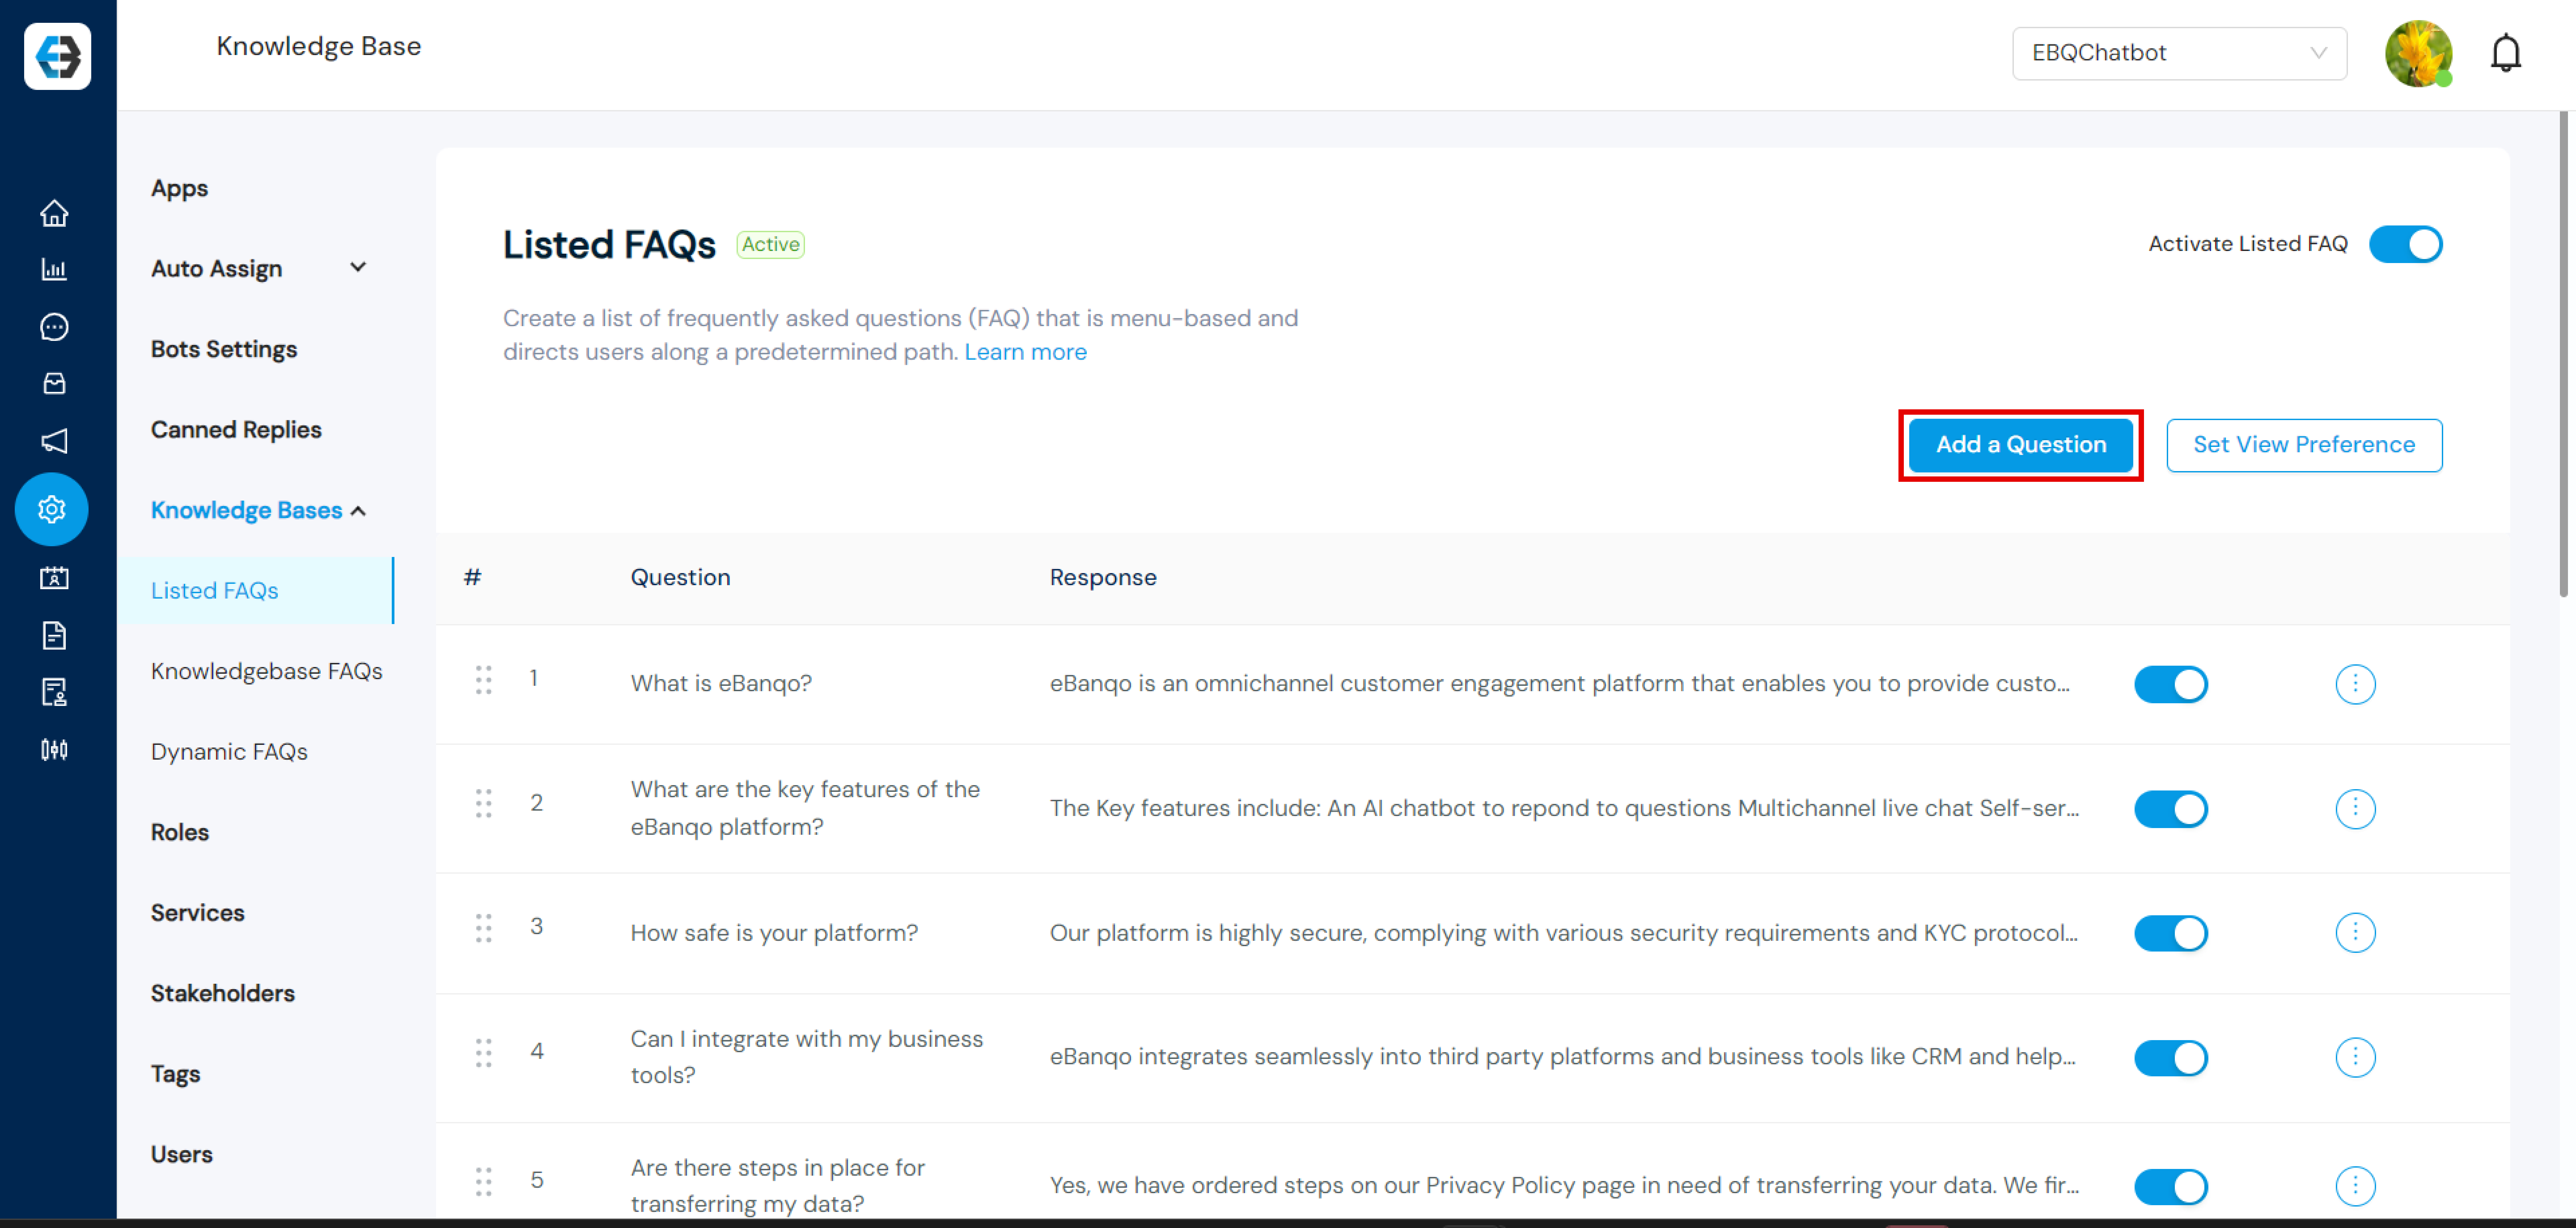
Step 3: Add FAQs
Your chatbot answers customer questions using information from your knowledge base.
The platform already includes some default questions as shown below.
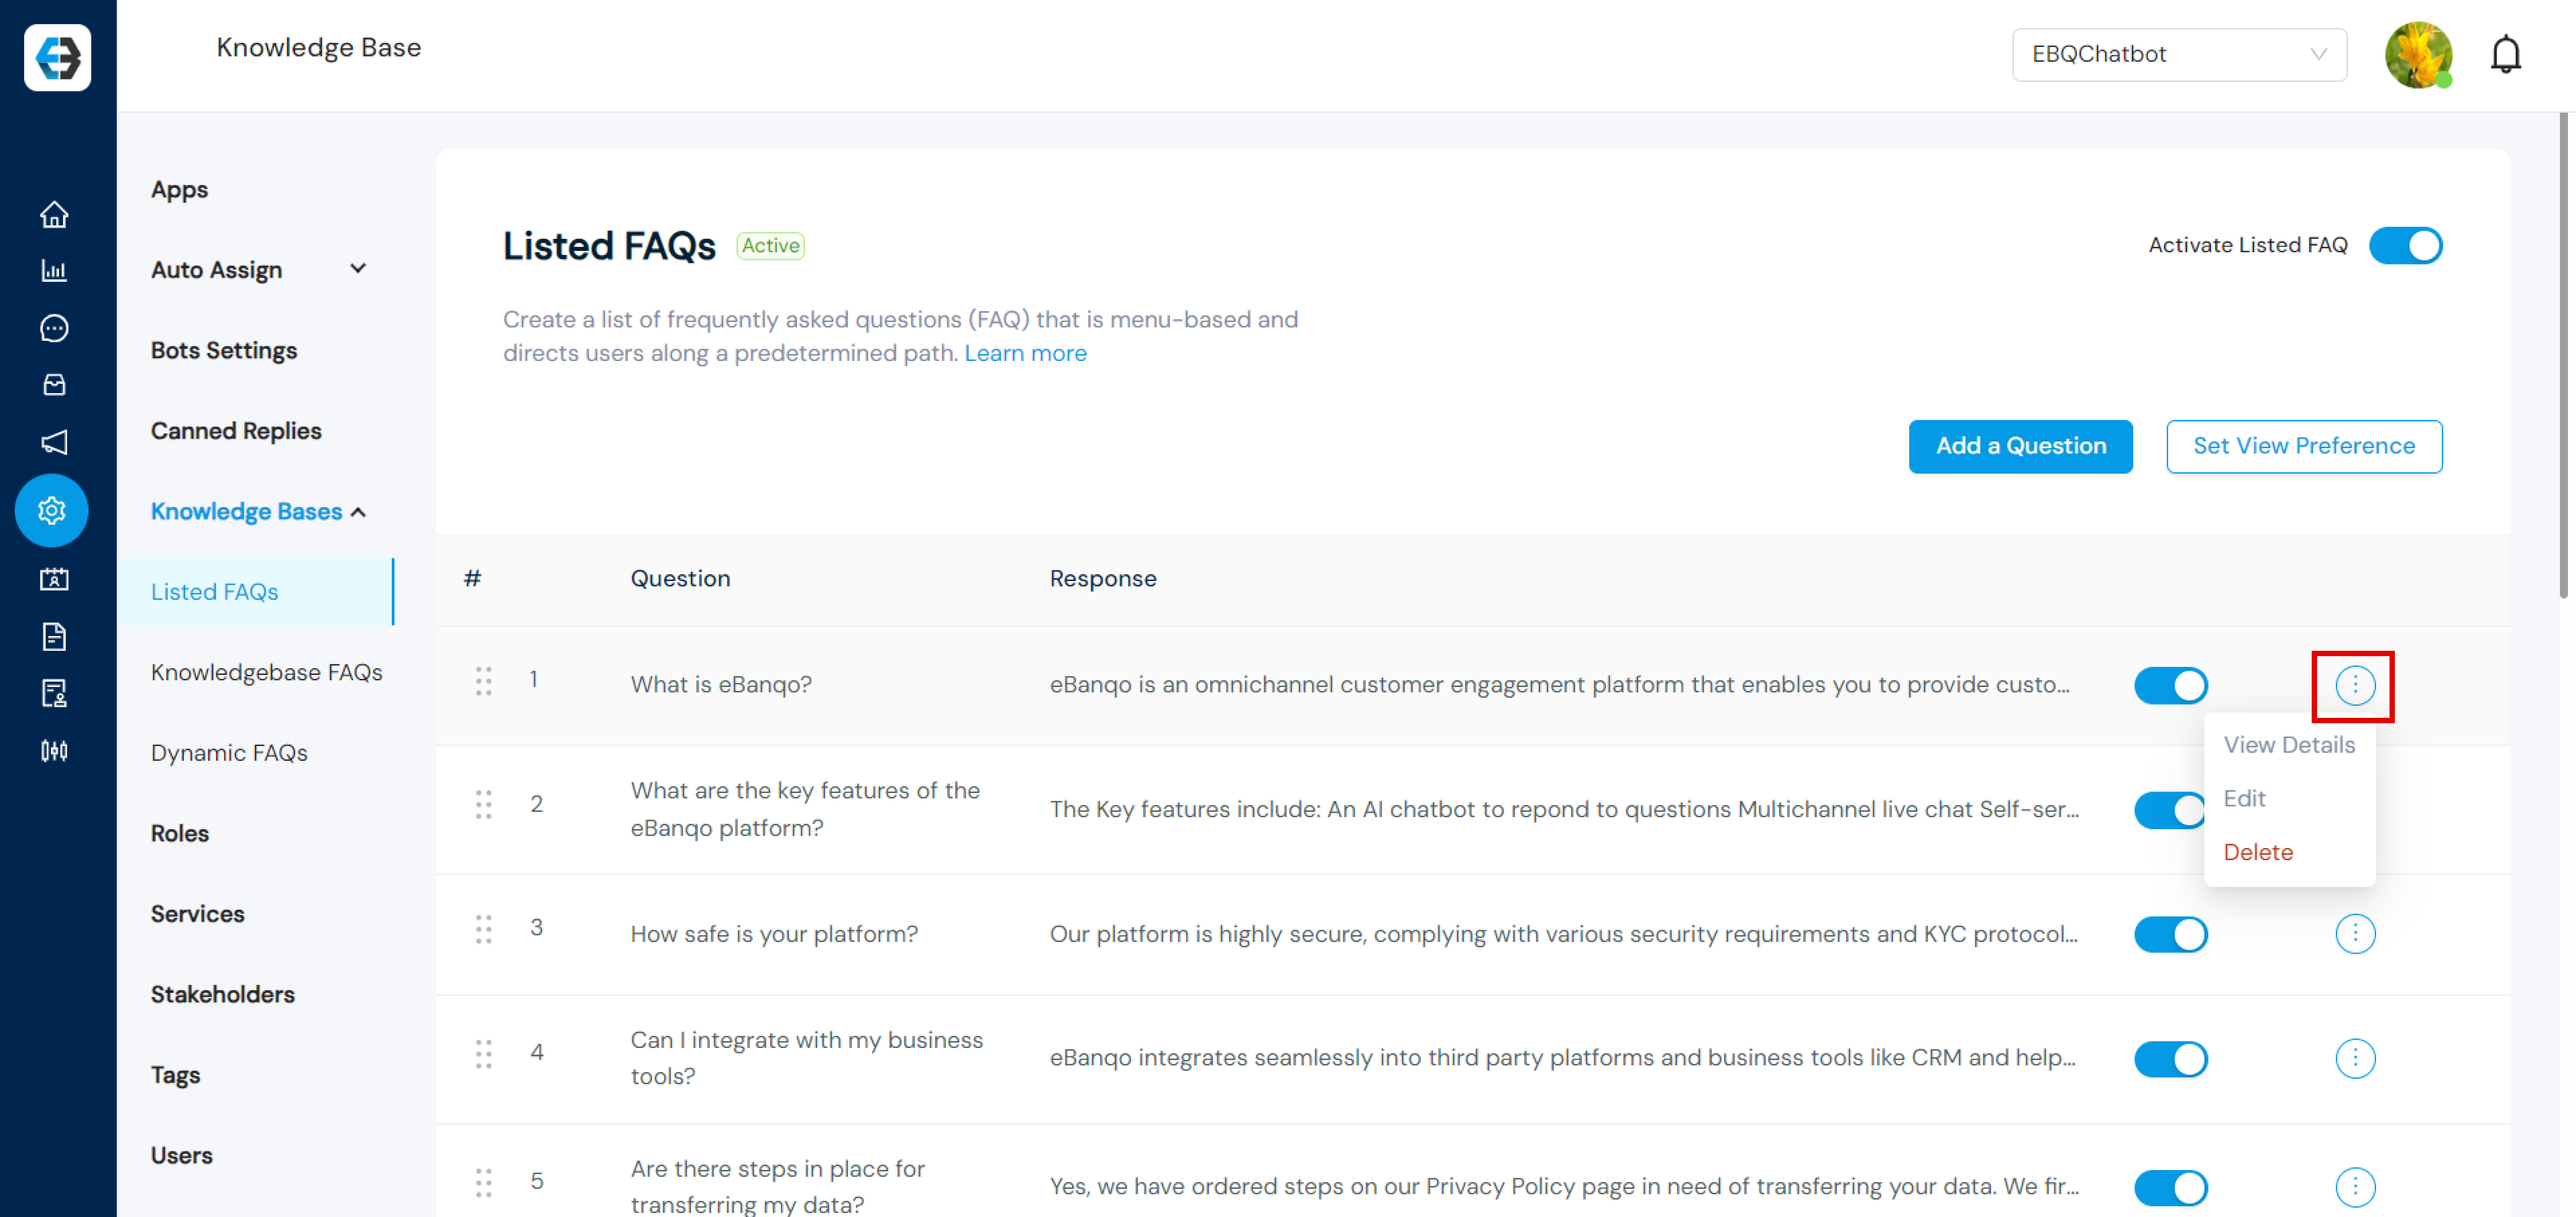
Keep your knowledge base updated regularly to ensure your chatbot provides accurate responses.
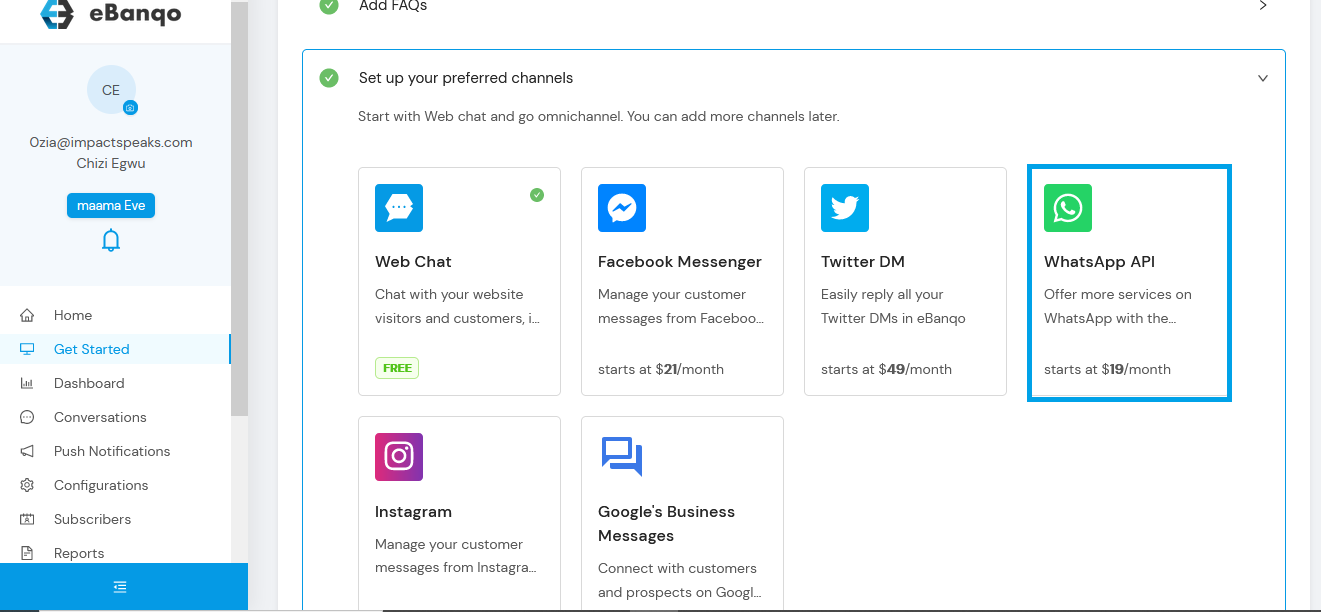
Connect Communication Channels
You can connect your chatbot to channels such as Webchat, Facebook Messenger, and WhatsApp.
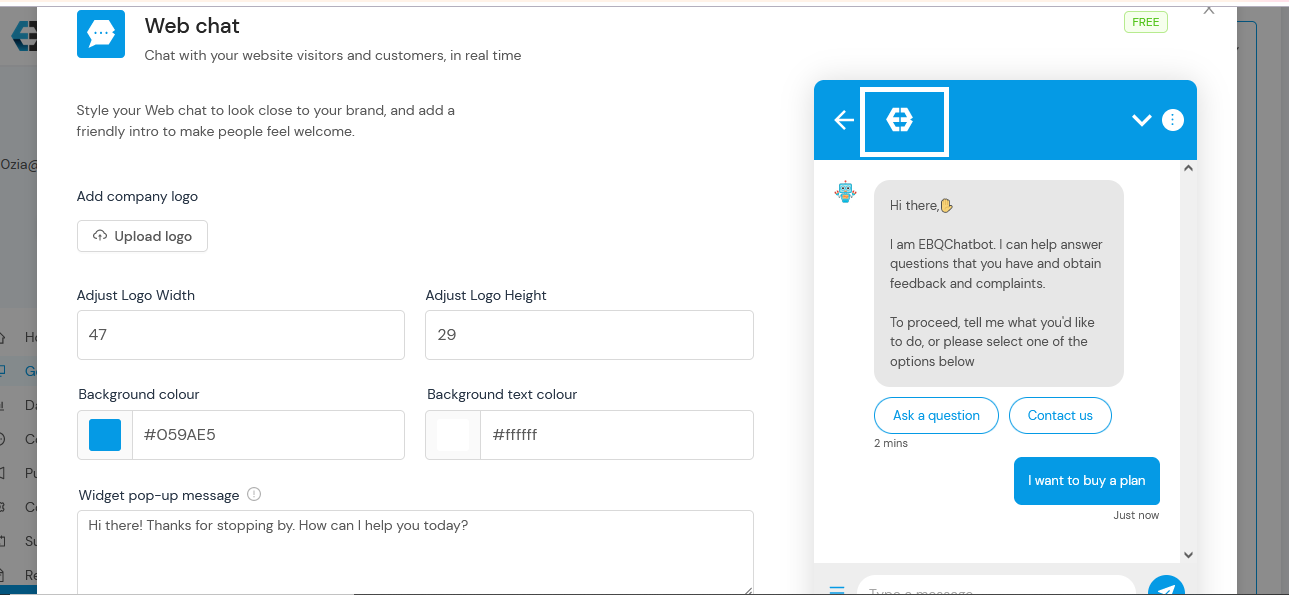
Set Up Webchat
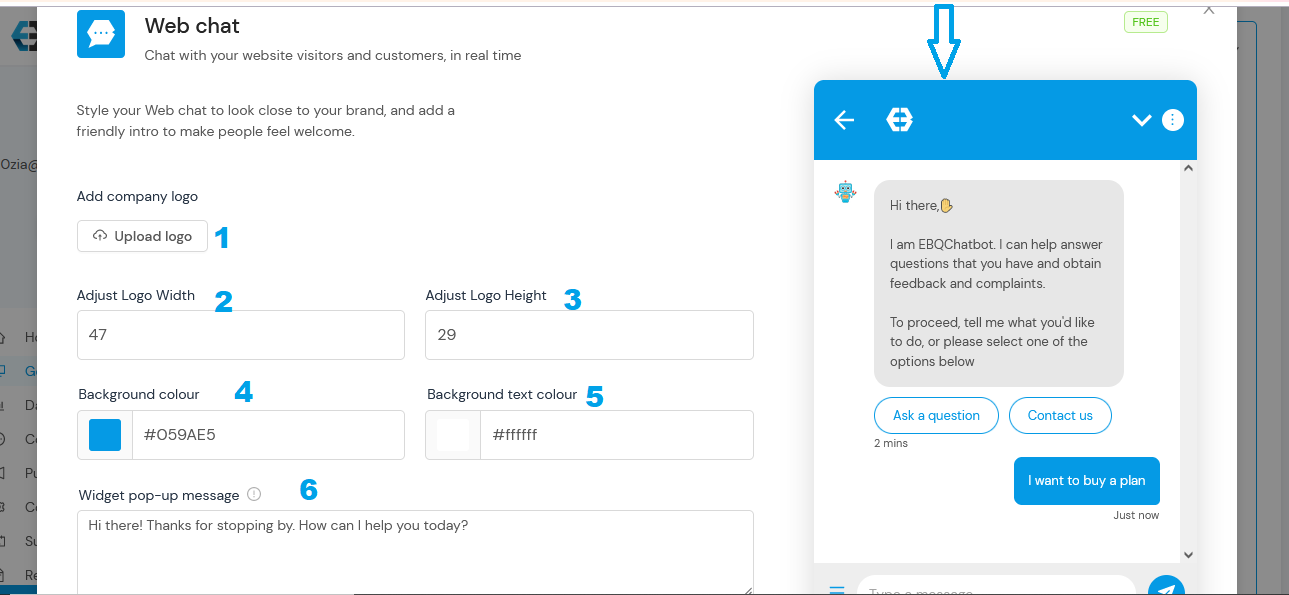
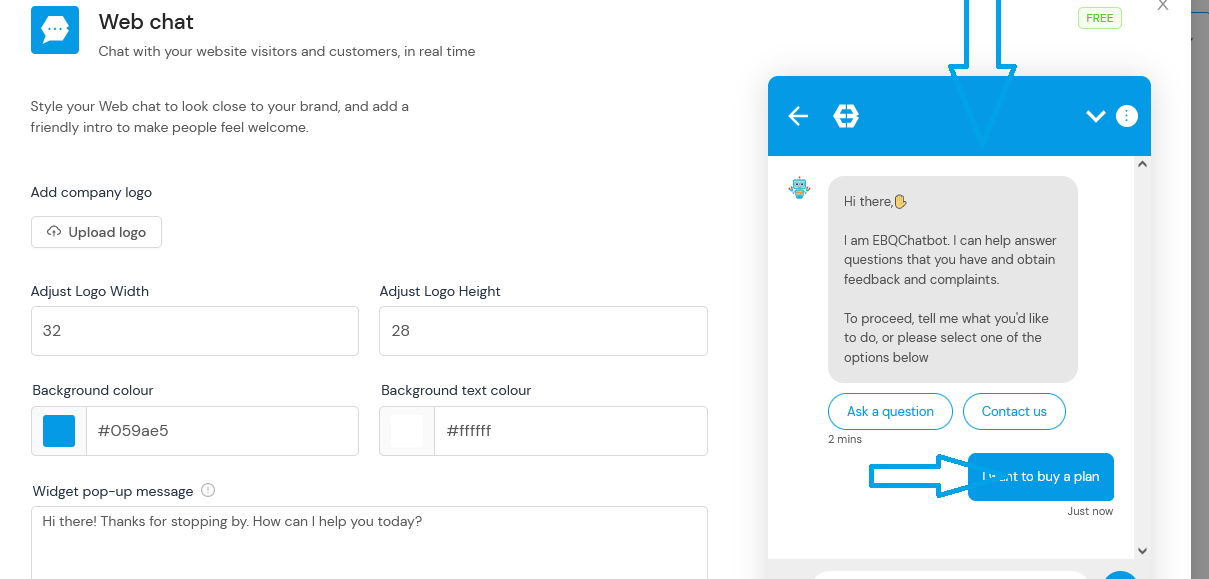
Step 1: Upload your business logo.
Step 2–3: Adjust the logo size.
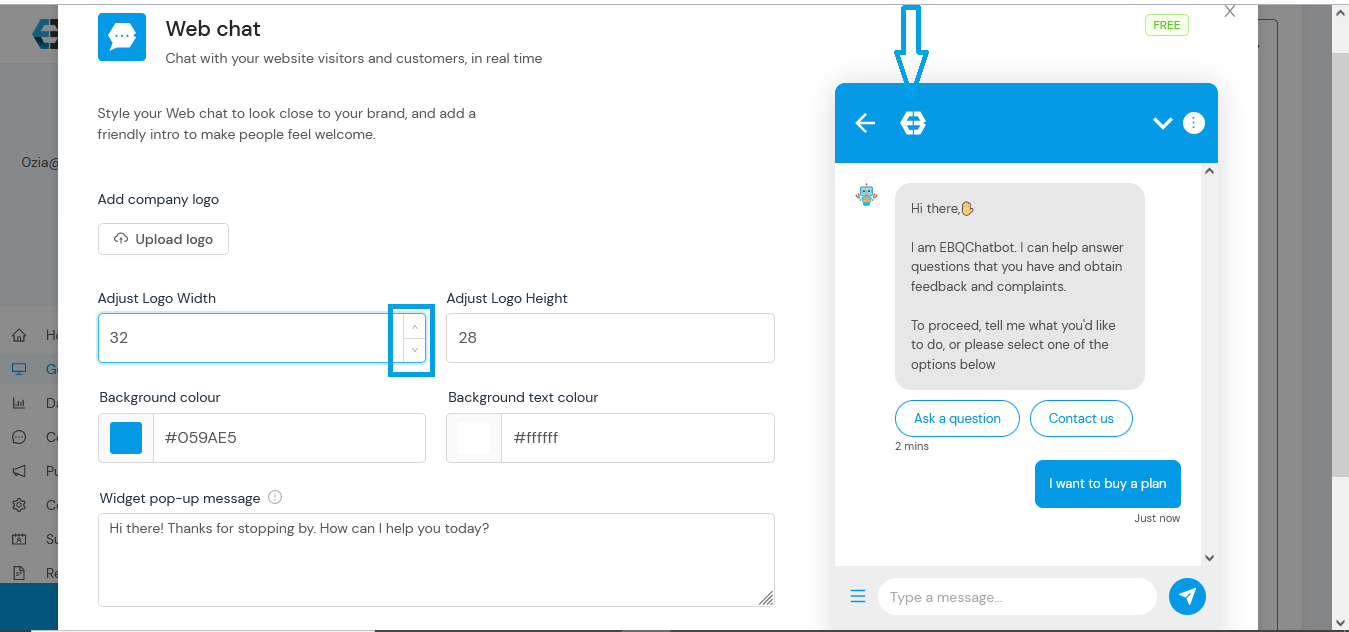
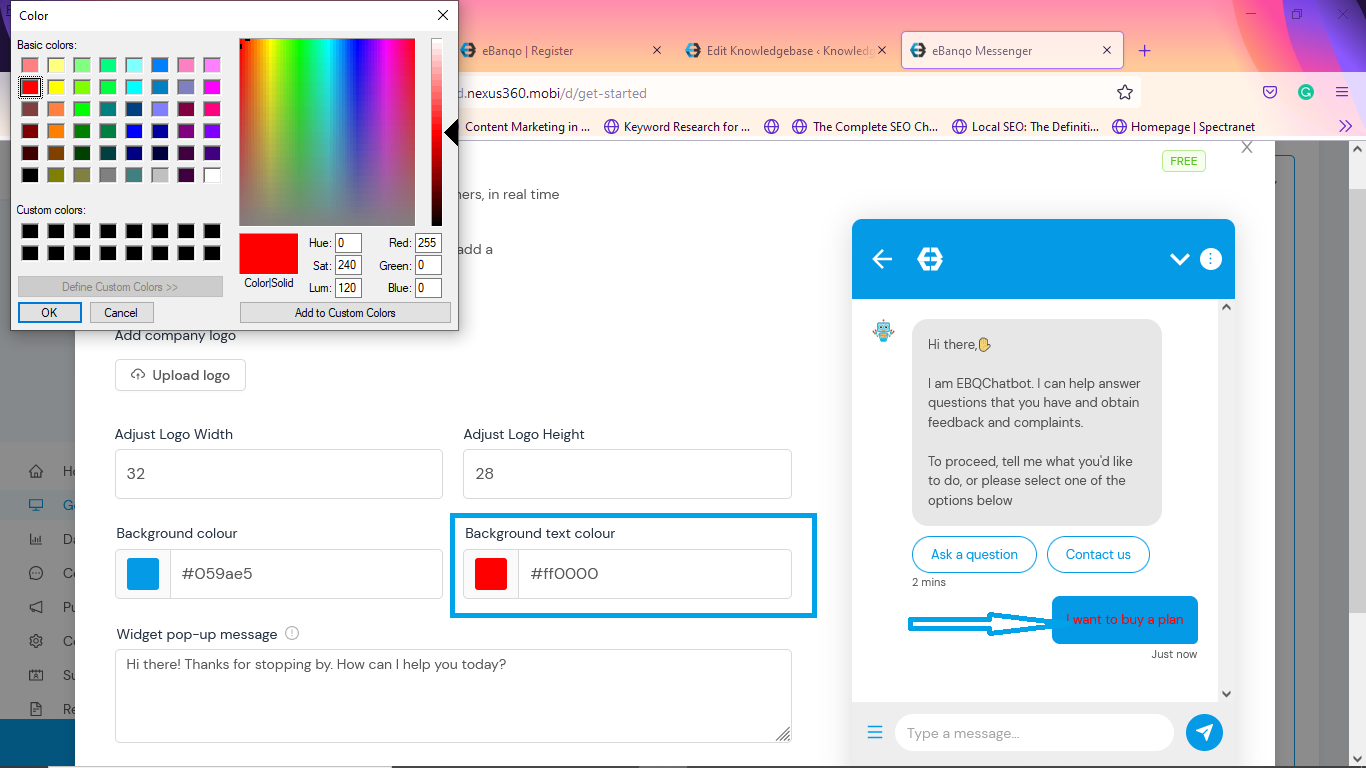
Step 4: Select header and button colors.

Step 5: Choose text color.
Step 6: Write your widget popup message.

Click Save to apply your changes.
Connect Facebook Messenger
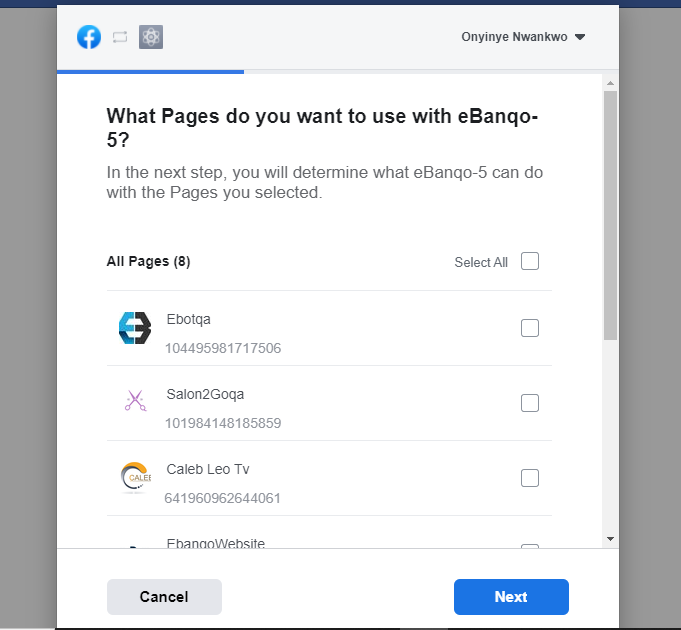
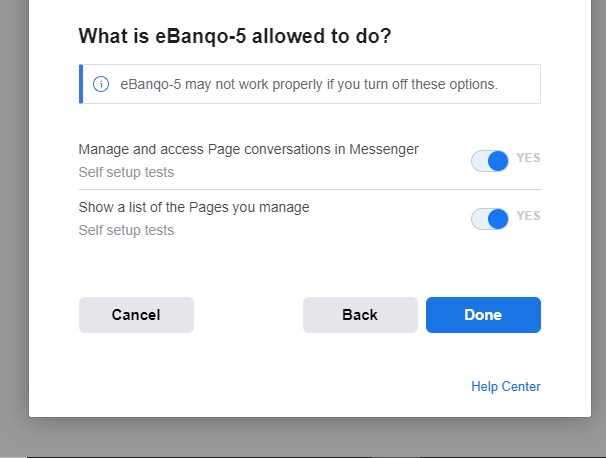
Click Continue with Facebook to link your chatbot.
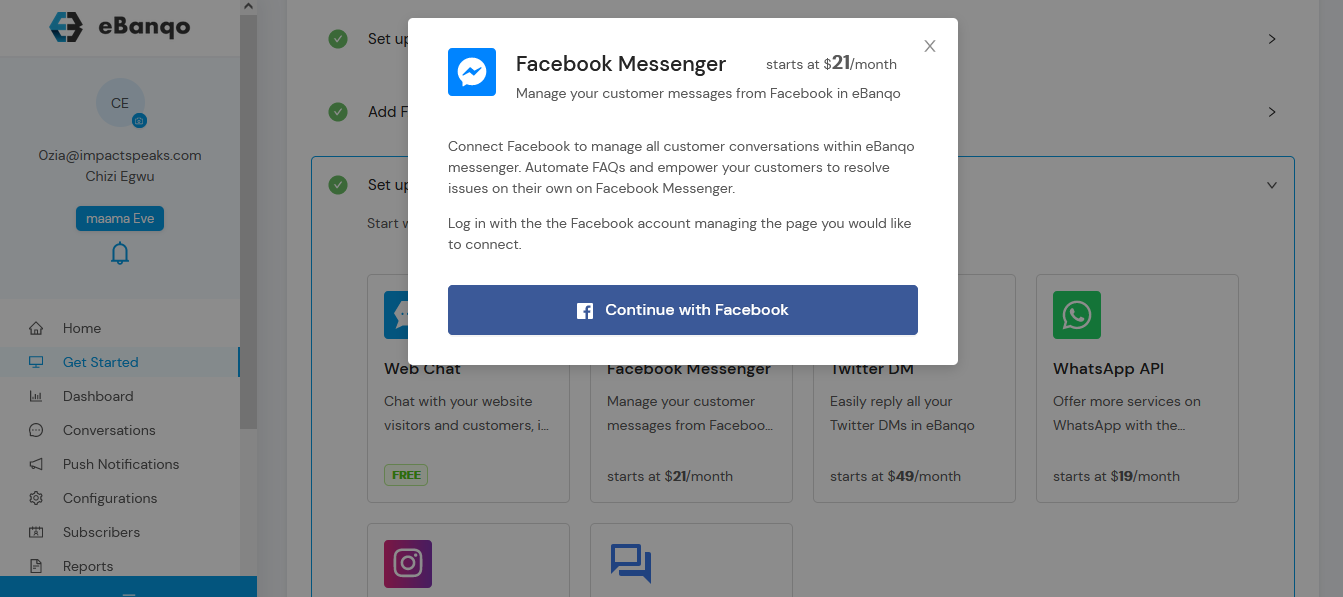
Select the Facebook page you want to connect and confirm.

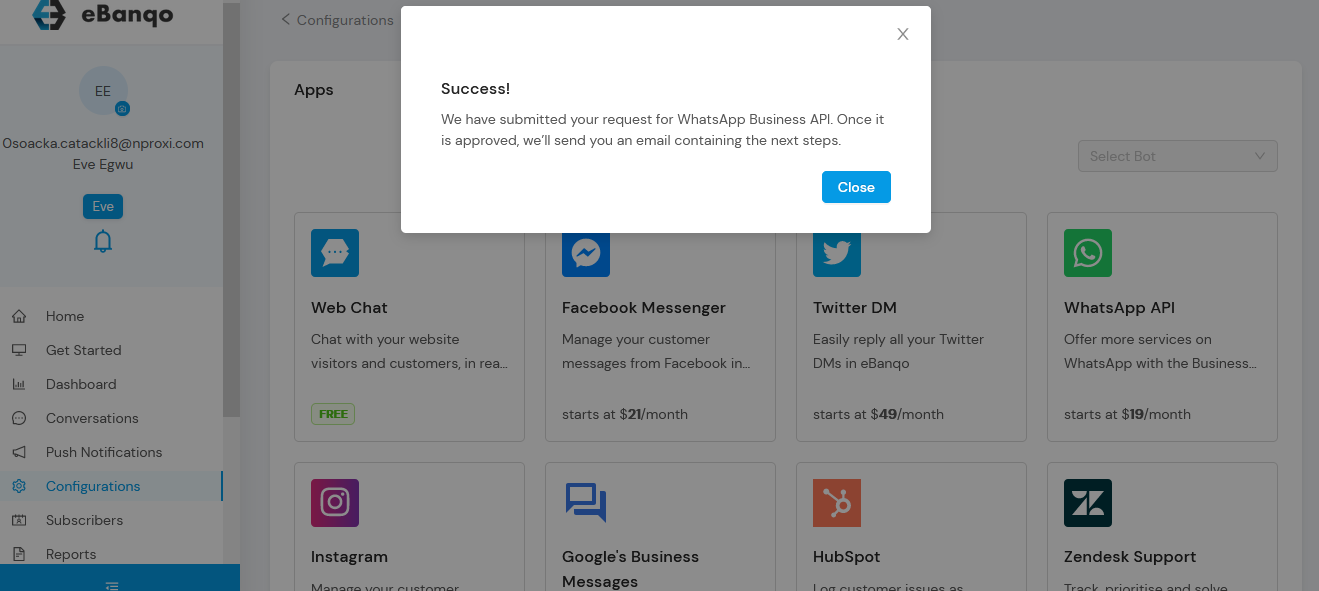
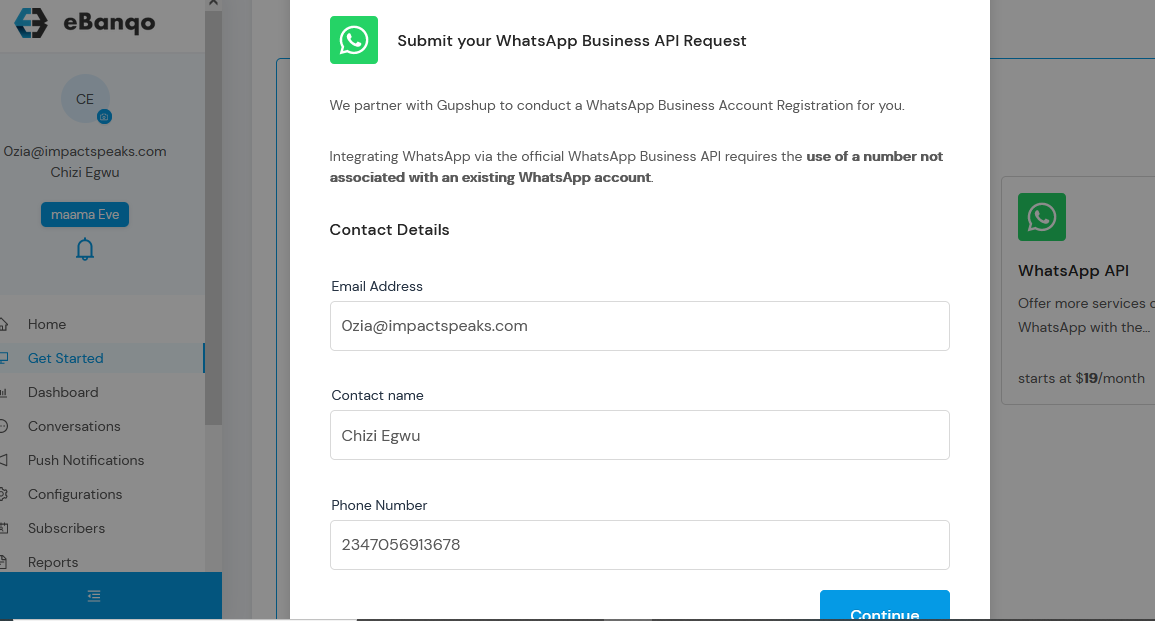
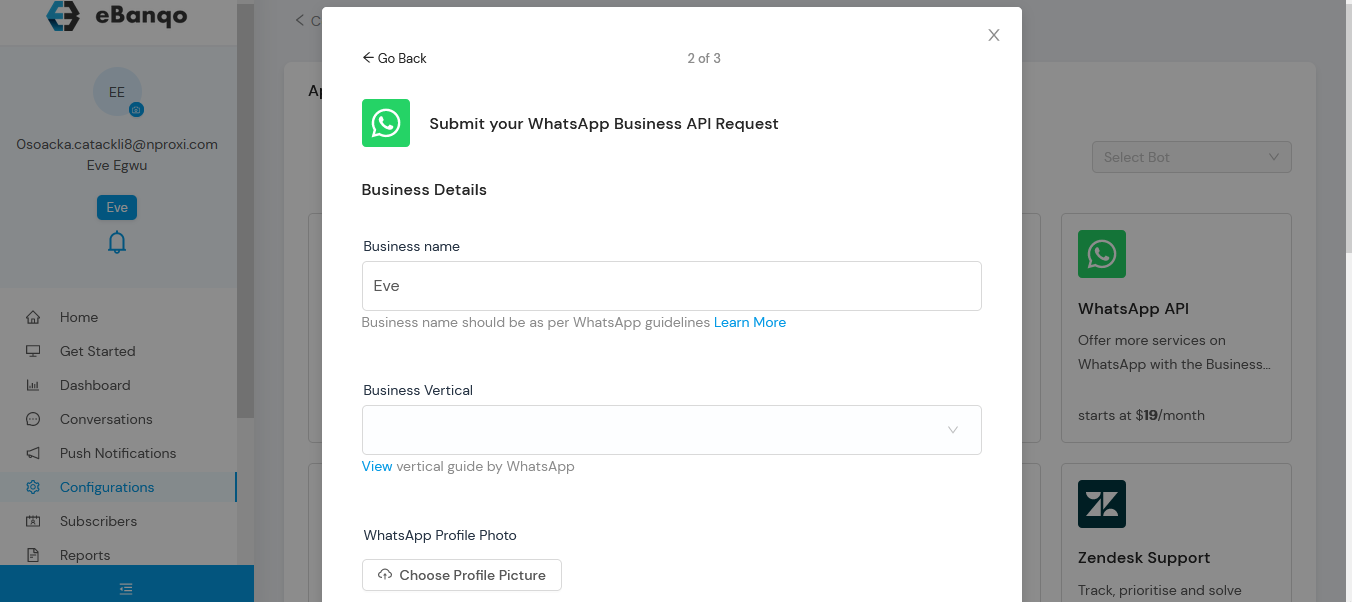
Set Up WhatsApp
- Select WhatsApp from the channels list.
- Fill in your business information.
Complete the setup form and review your information.

Submit the request and wait for approval.