Setting up your preferred channel(s) in few simple steps. This is how you do it:
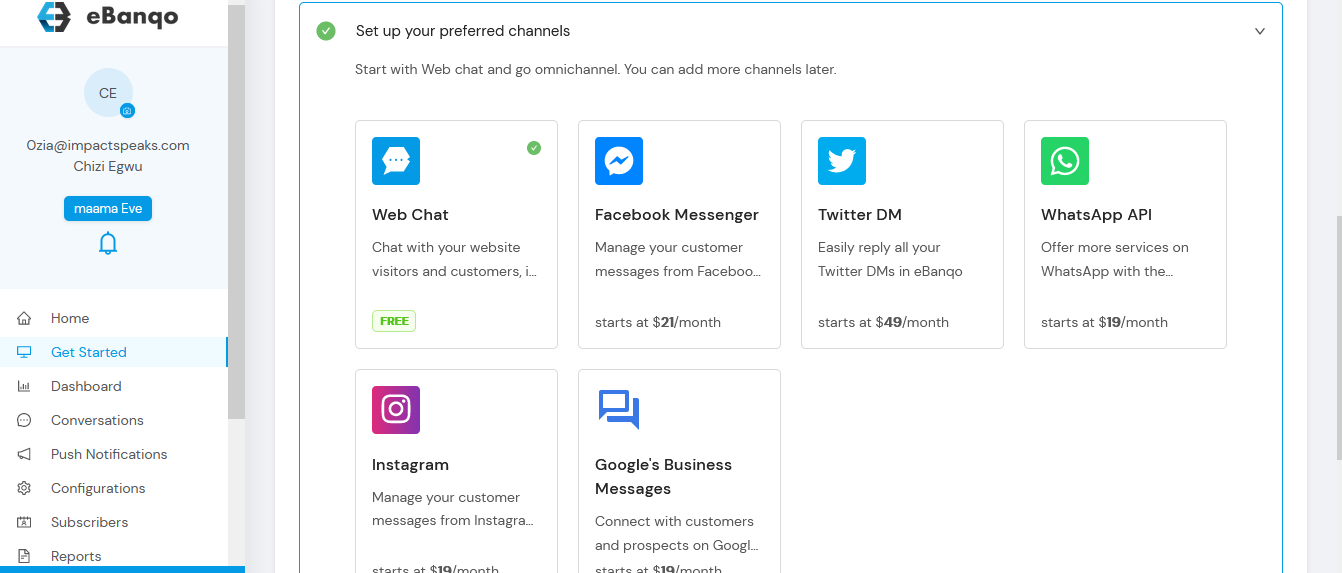
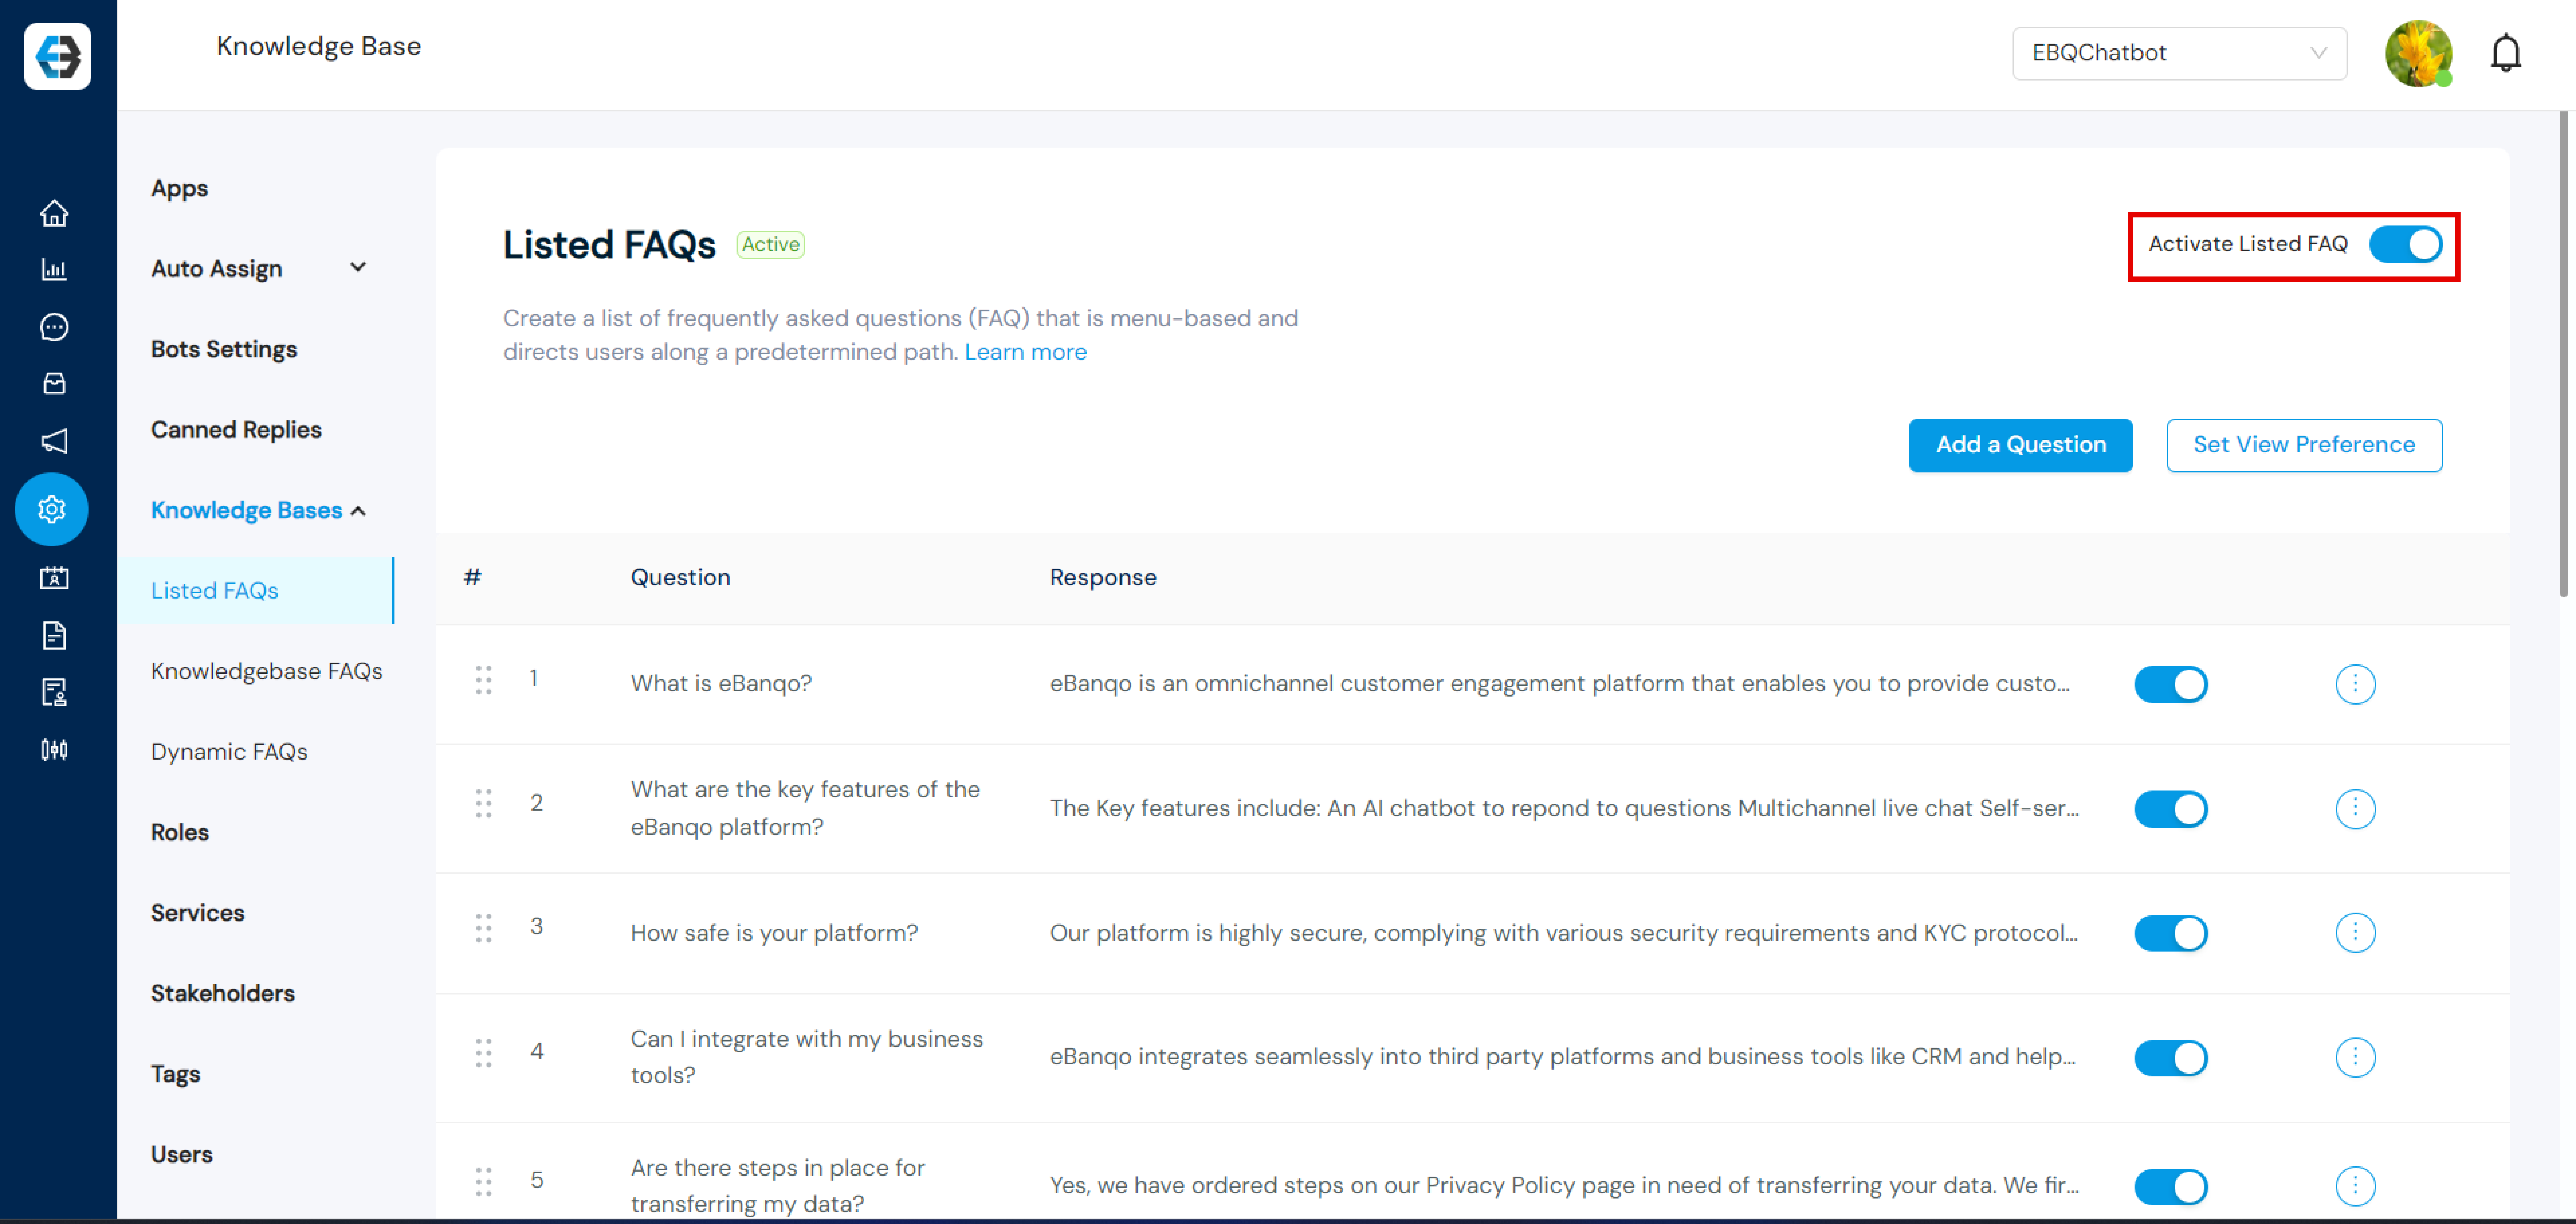
Set up your preferred channels
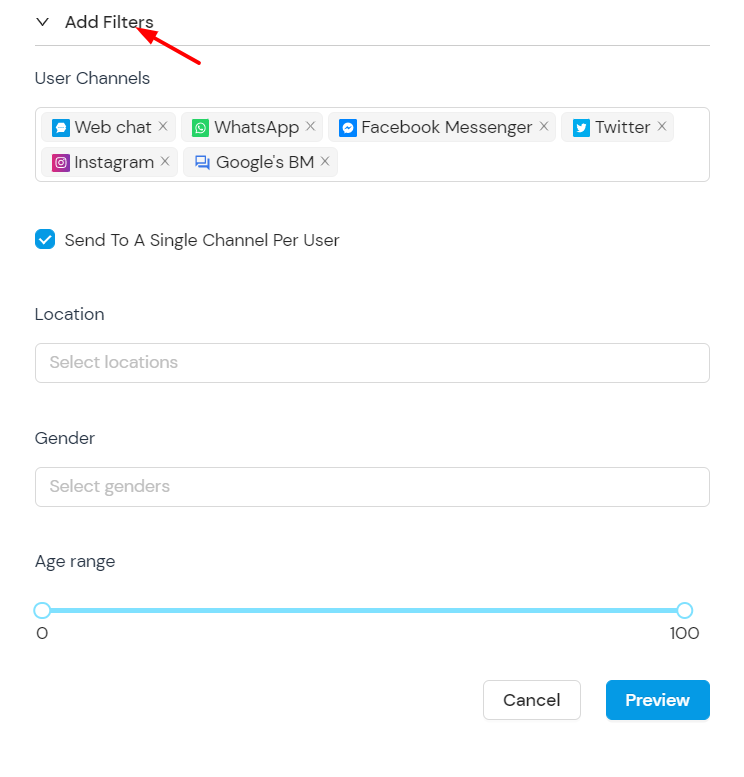
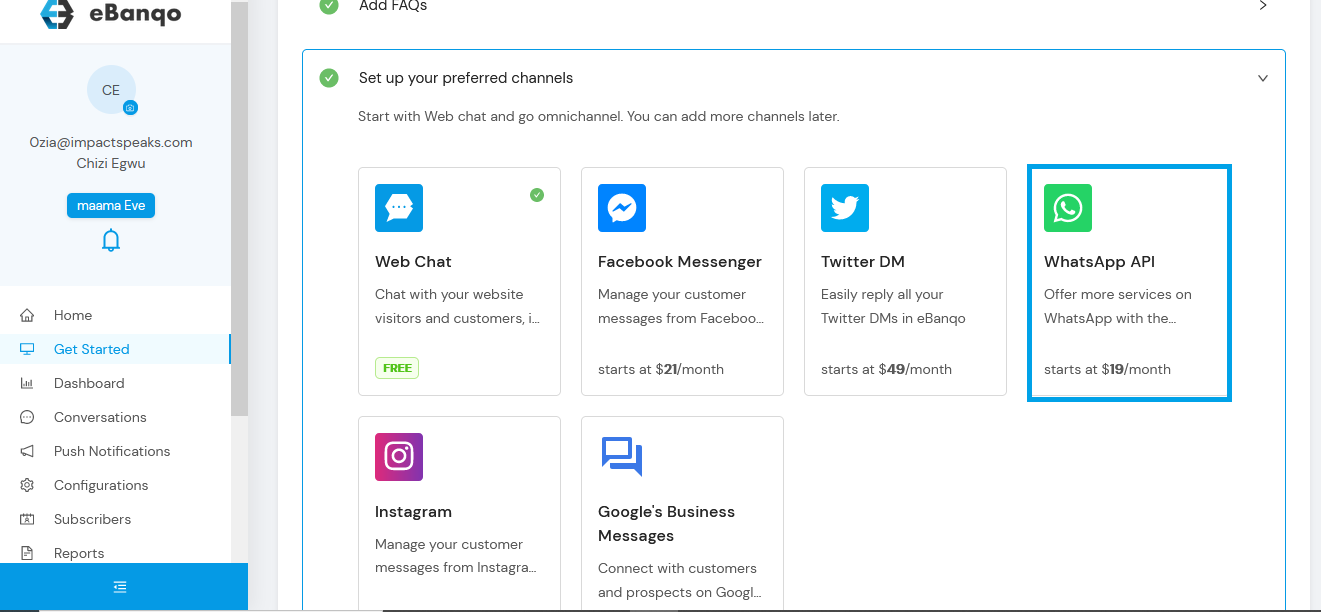
Here, you choose the channels you want to connect your chatbot to. The webchat is selected by default. You can add other channels like Facebook, Twitter and WhatsApp.
Set up your webchat
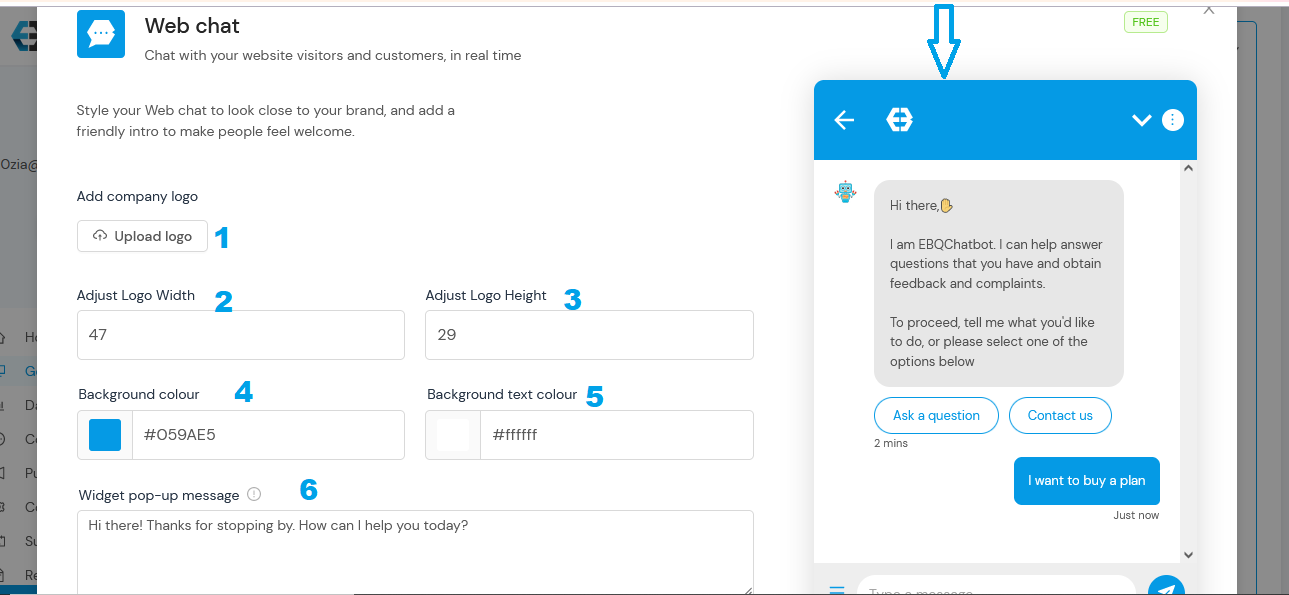
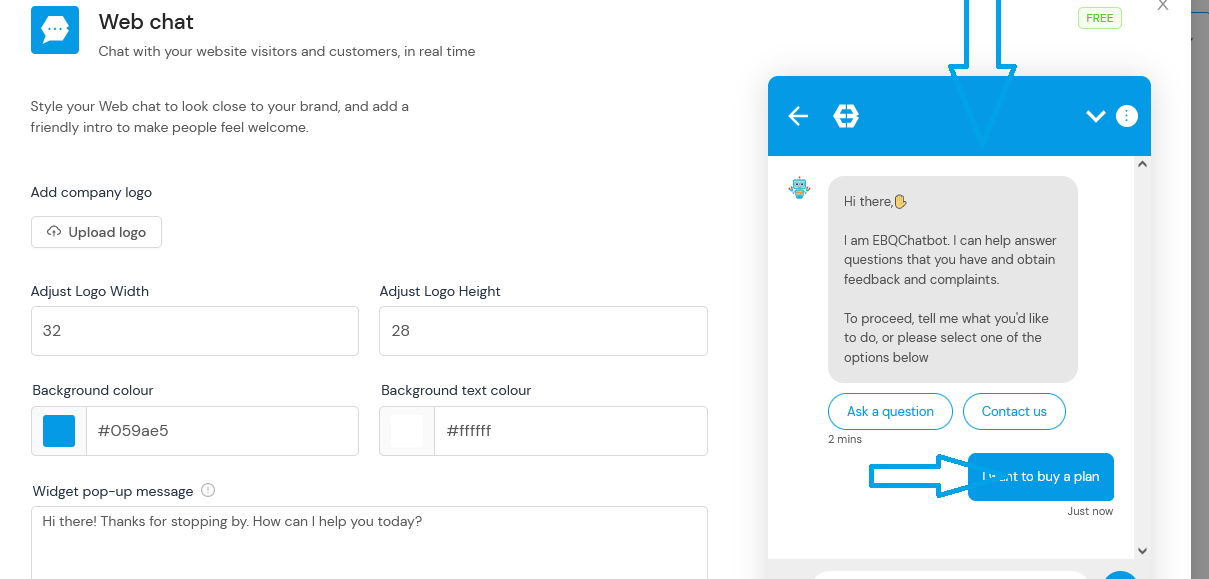
Step 1: In the first step, you upload your business logo. This logo will be at the header section of your web chat as shown below.
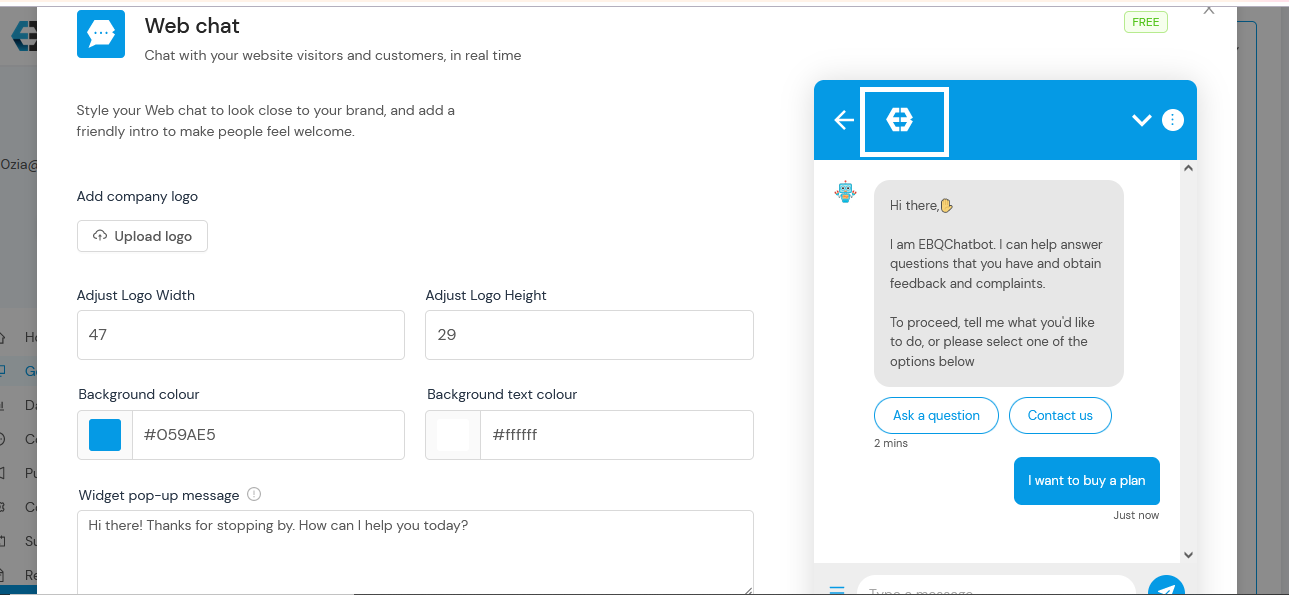
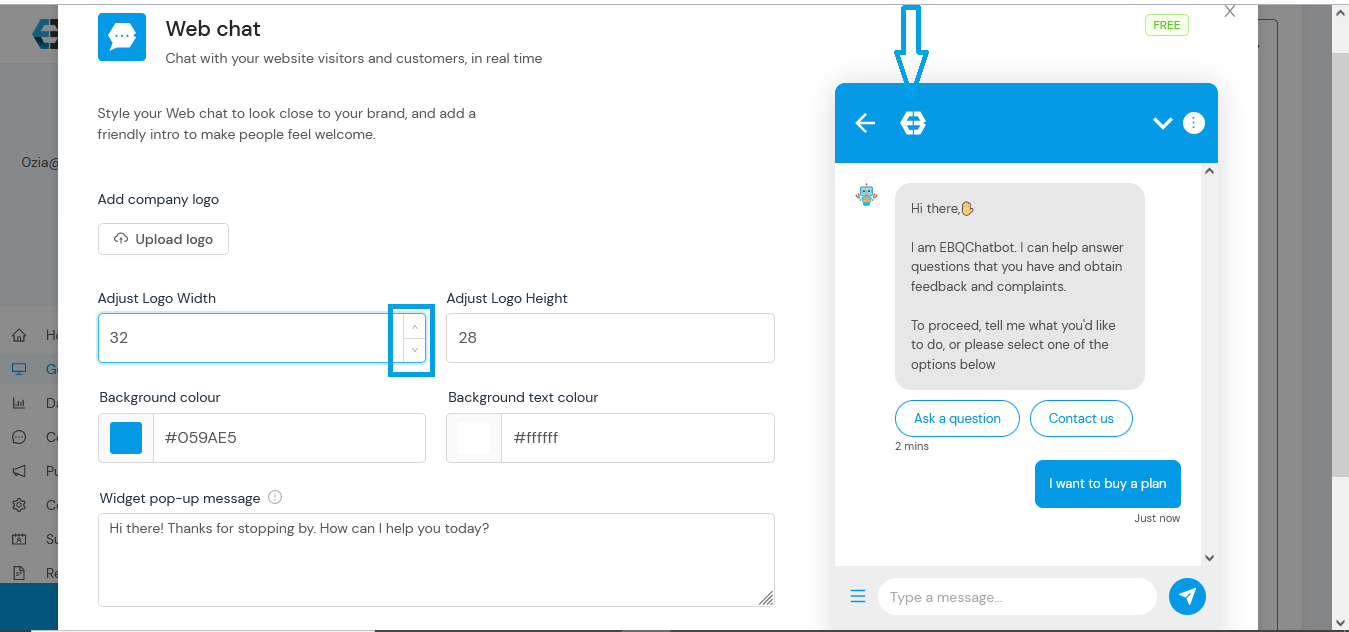
Step 2 and Step 3: Here, you adjust the width and height of your logo. You can either type in your preferred size or use the toggle below to select your preferred size. As you adjust your logo size, keep an eye on your logo at the header section(indicated by the downward arrow). It shows you the appearance of your logo as you adjust.
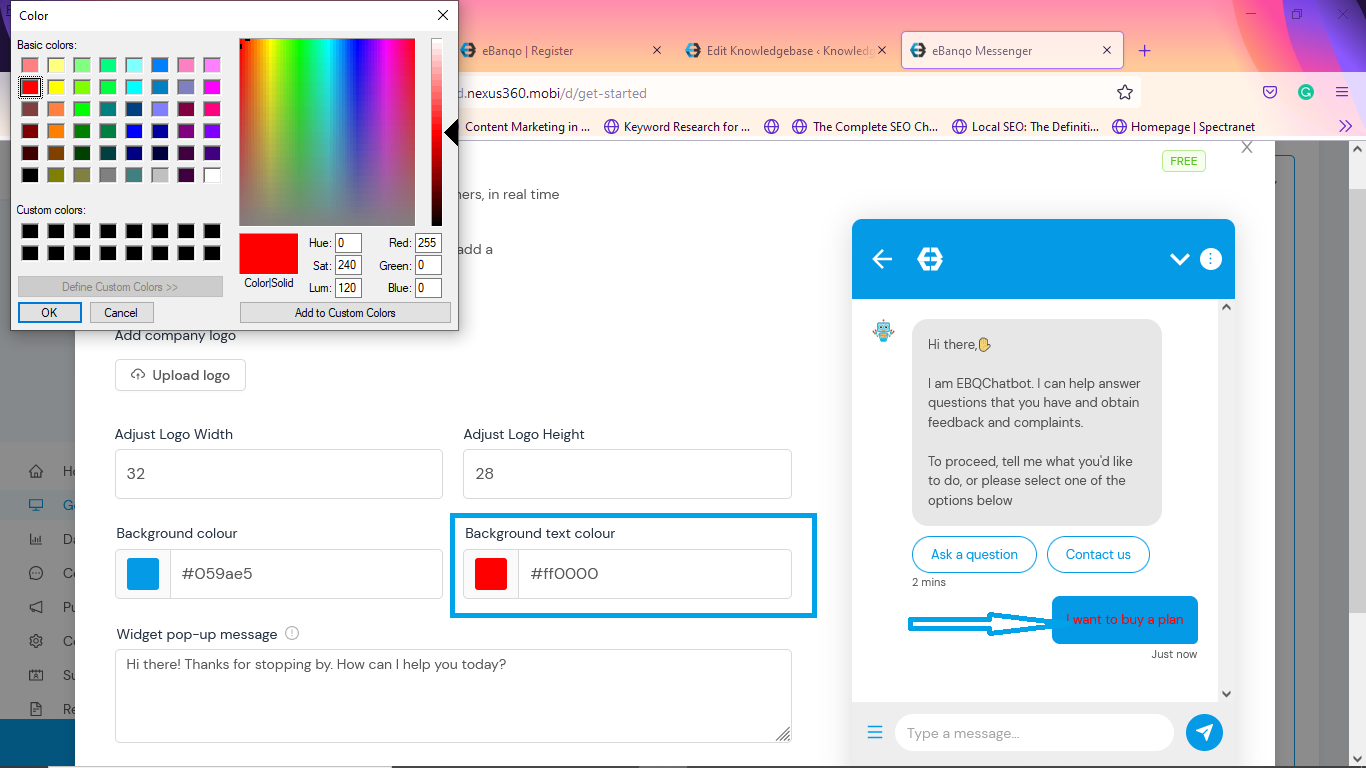
Step 4: Select your header and button colour as shown below.
To select your header colour, click on background colour and select your preferred colour

Step 5: This is your preferred text colour. Just like you did for background colour, click on colour you want your texts to be in.
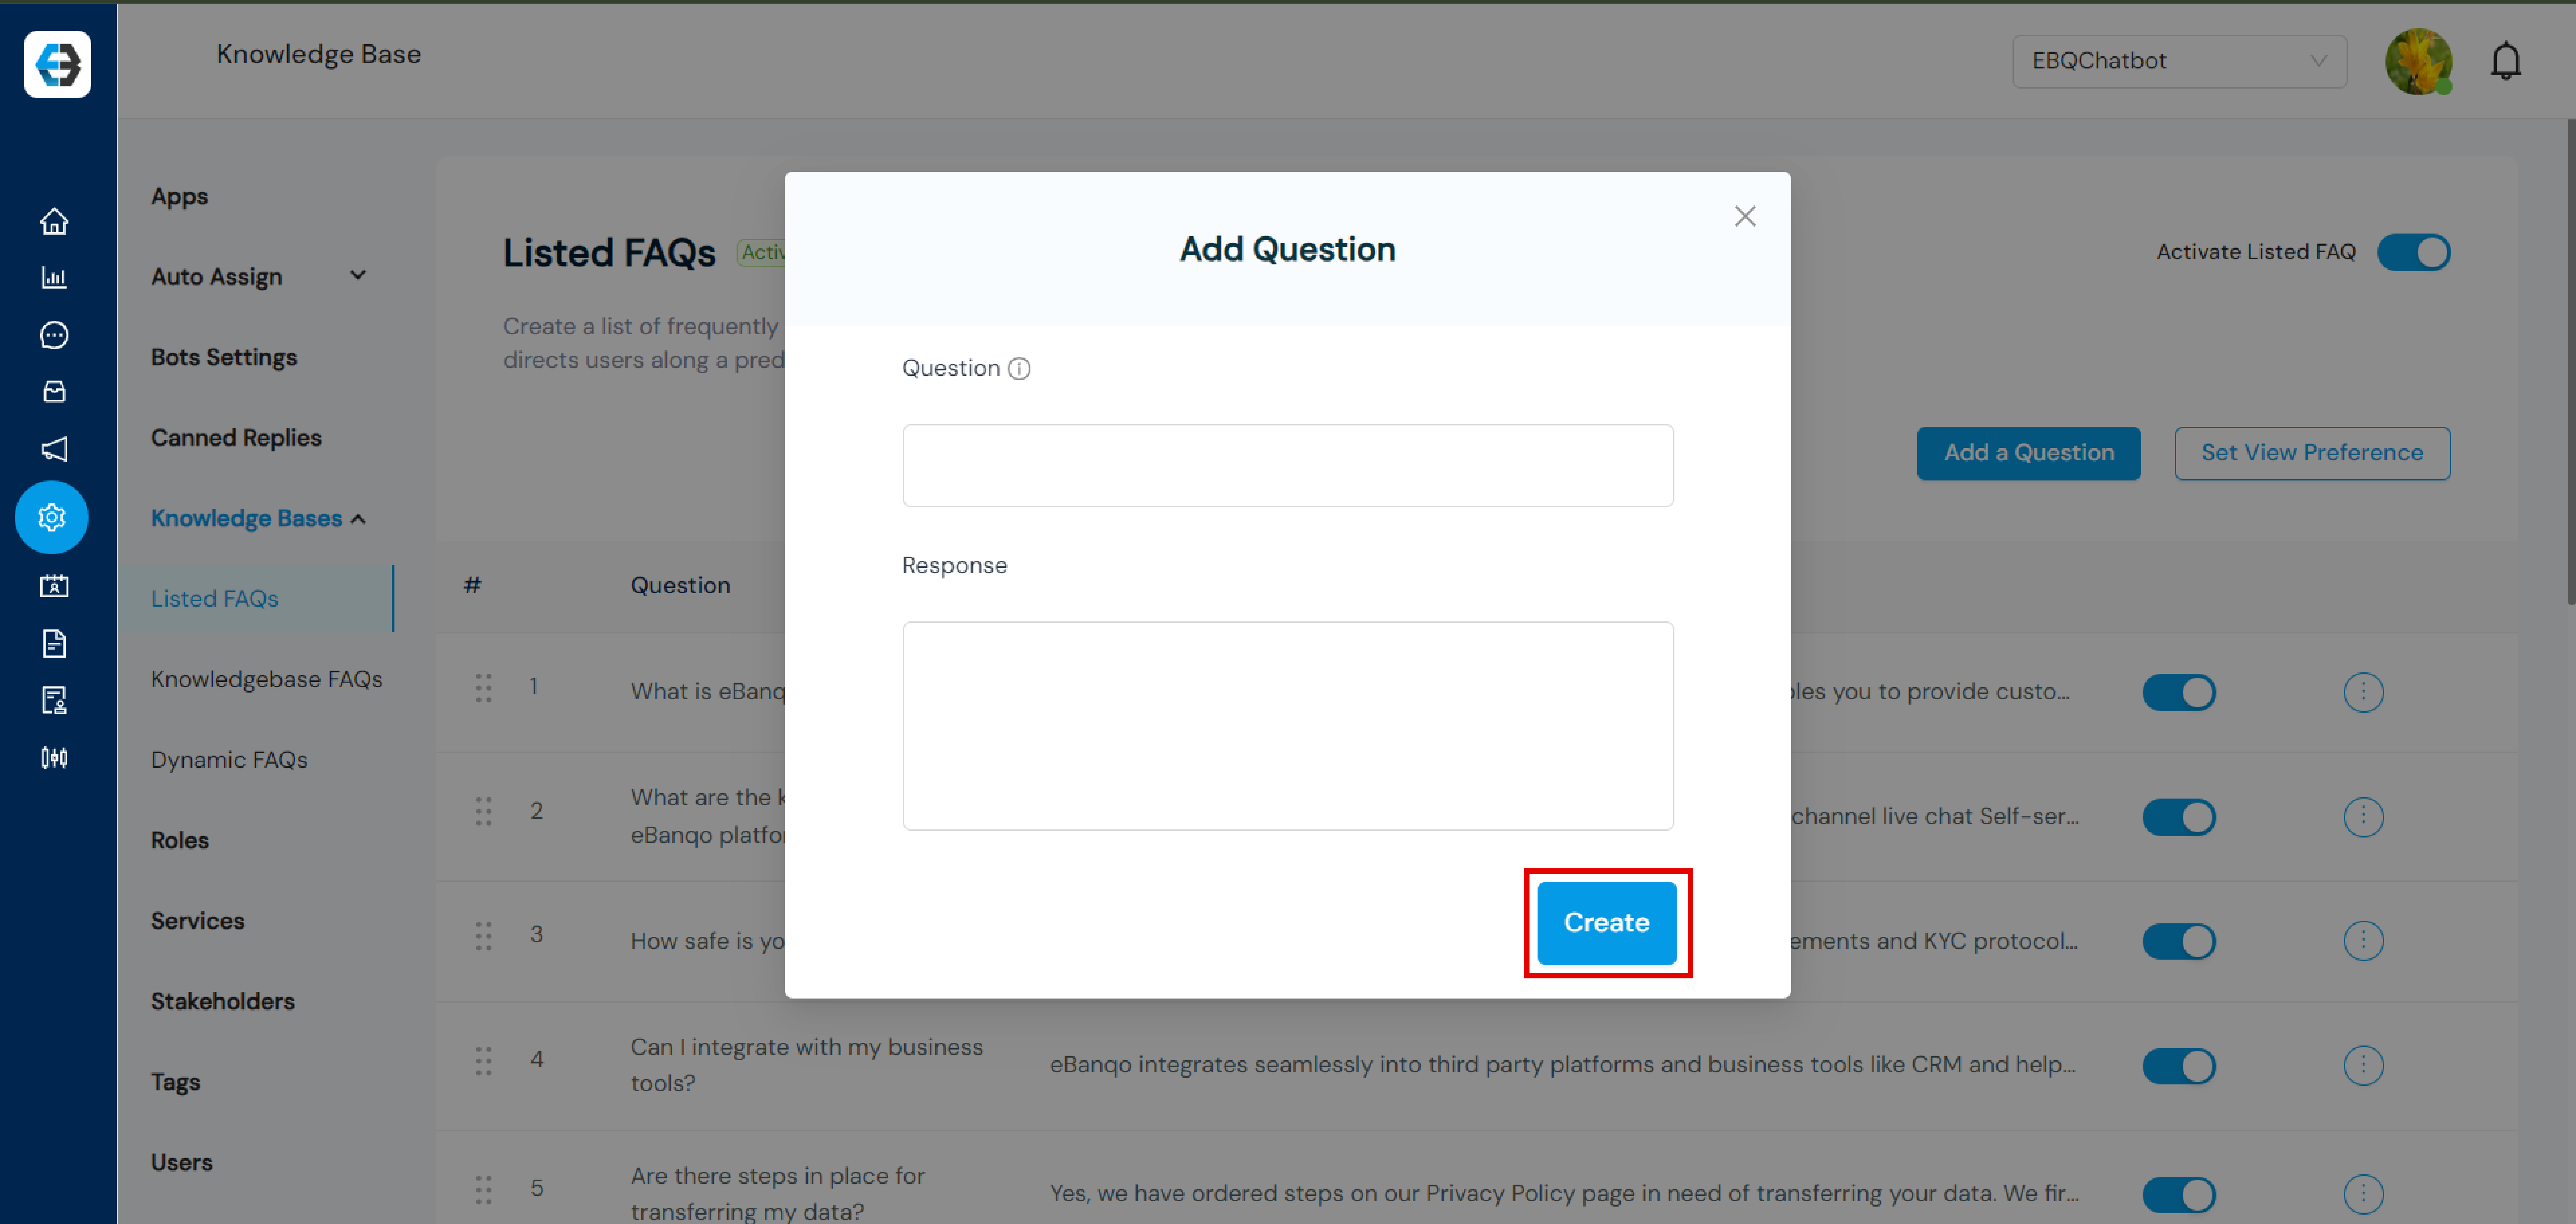
Step 6: In this final step, you write your widget pop up message. This is different from your welcome message. The welcome message is the first message customers get from your bot when they start chatting with it. The widget message is more like a callout that invites customers to click on the widget to begin a conversation. The widget message precedes the welcome message.
There’s a default text on the box already. You can either leave it or delete it and put yours.

Click on save to save your changes.
Connect your Facebook Messenger
To place your chatbot on your Messenger account, click on Facebook Messenger and click on continue with Facebook.
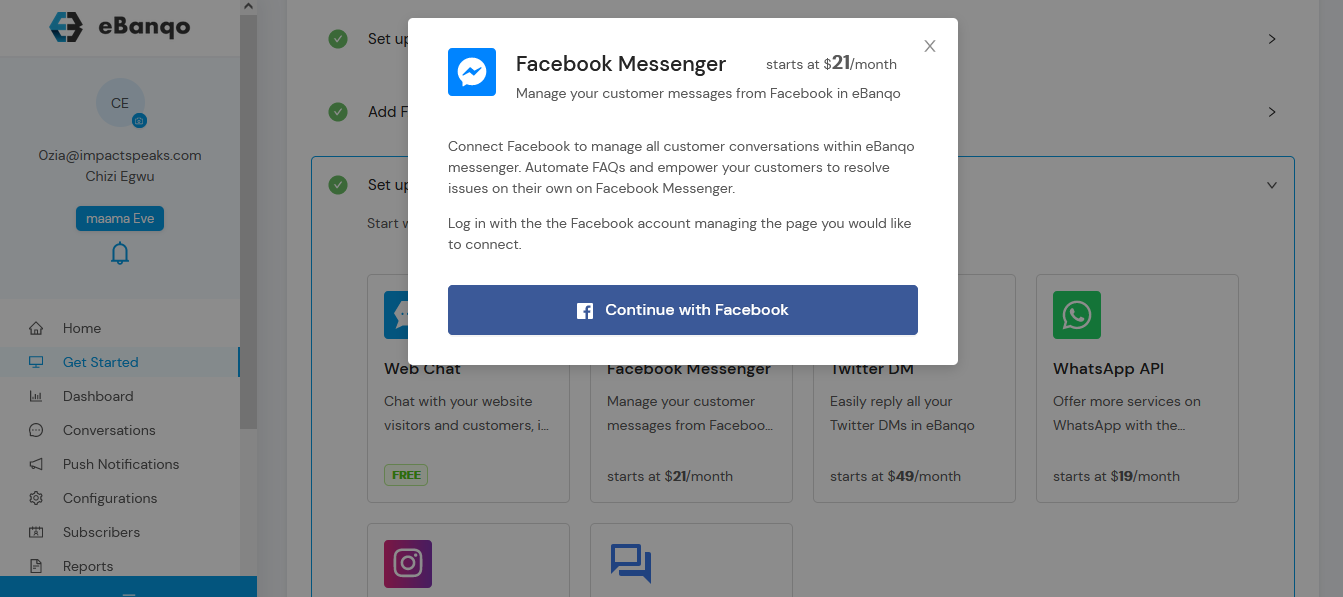
1. Click on Continue with Facebook to place your chatbot on your Facebook account
2. You will see a notification like the one below.
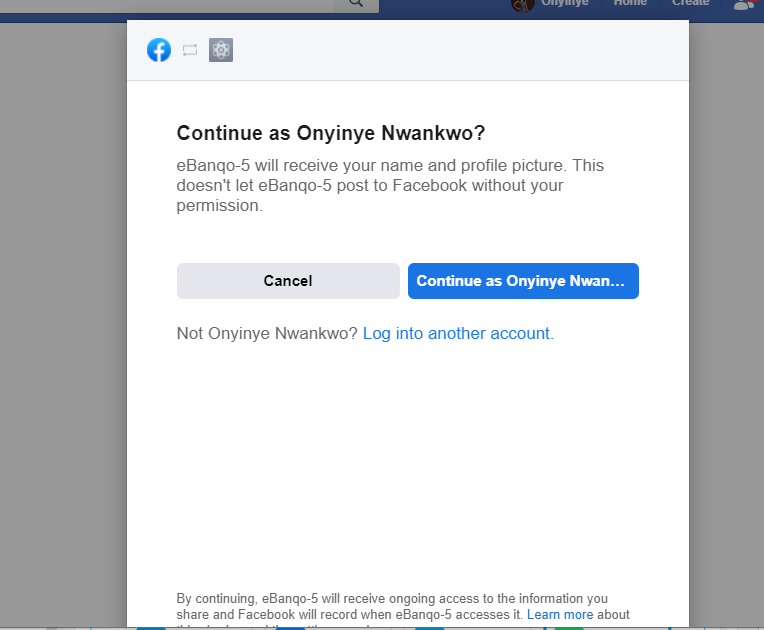
click on continue as.. If you’d like to change your account, click on log into another account
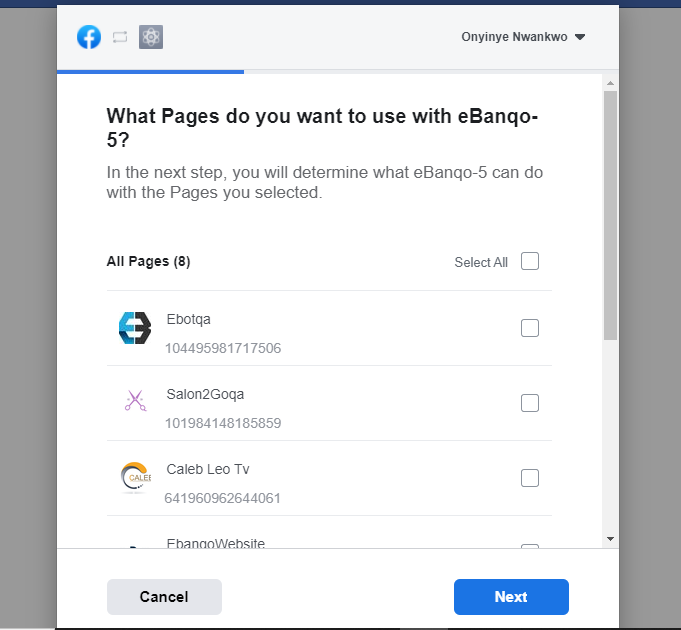
3. Next, select the Facebook page you want to attach the chatbot to
4. After selecting the page, you’ll see this confirmation page.
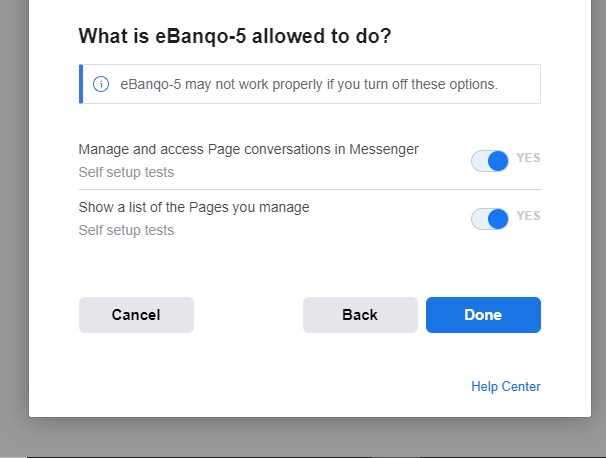
Click on done.
5. You’ll see a confirmation message, telling you that you have linked your Facebook account to eBanqo

Click ok to go back to your eBanqo Messenger account
Set up your WhatsApp
Note: If you are on a free plan and you will not be able to add WhatsApp. However, upon your attempt to add this channel, we will be notified and your plan will be upgraded to use WhatsApp. Once, this is done, you will be able to access WhatsApp.
- Select WhatsApp from the channels as shown below
- The two (2) options of the WhatsApp Business is displayed which are 360 dialog and gupshup. Please read this page carefully so you can decide which of the option you will go for. If you want to go for the gupshup option, continue in step 3. If you want to go with 360 dialog option, continue in step 8.
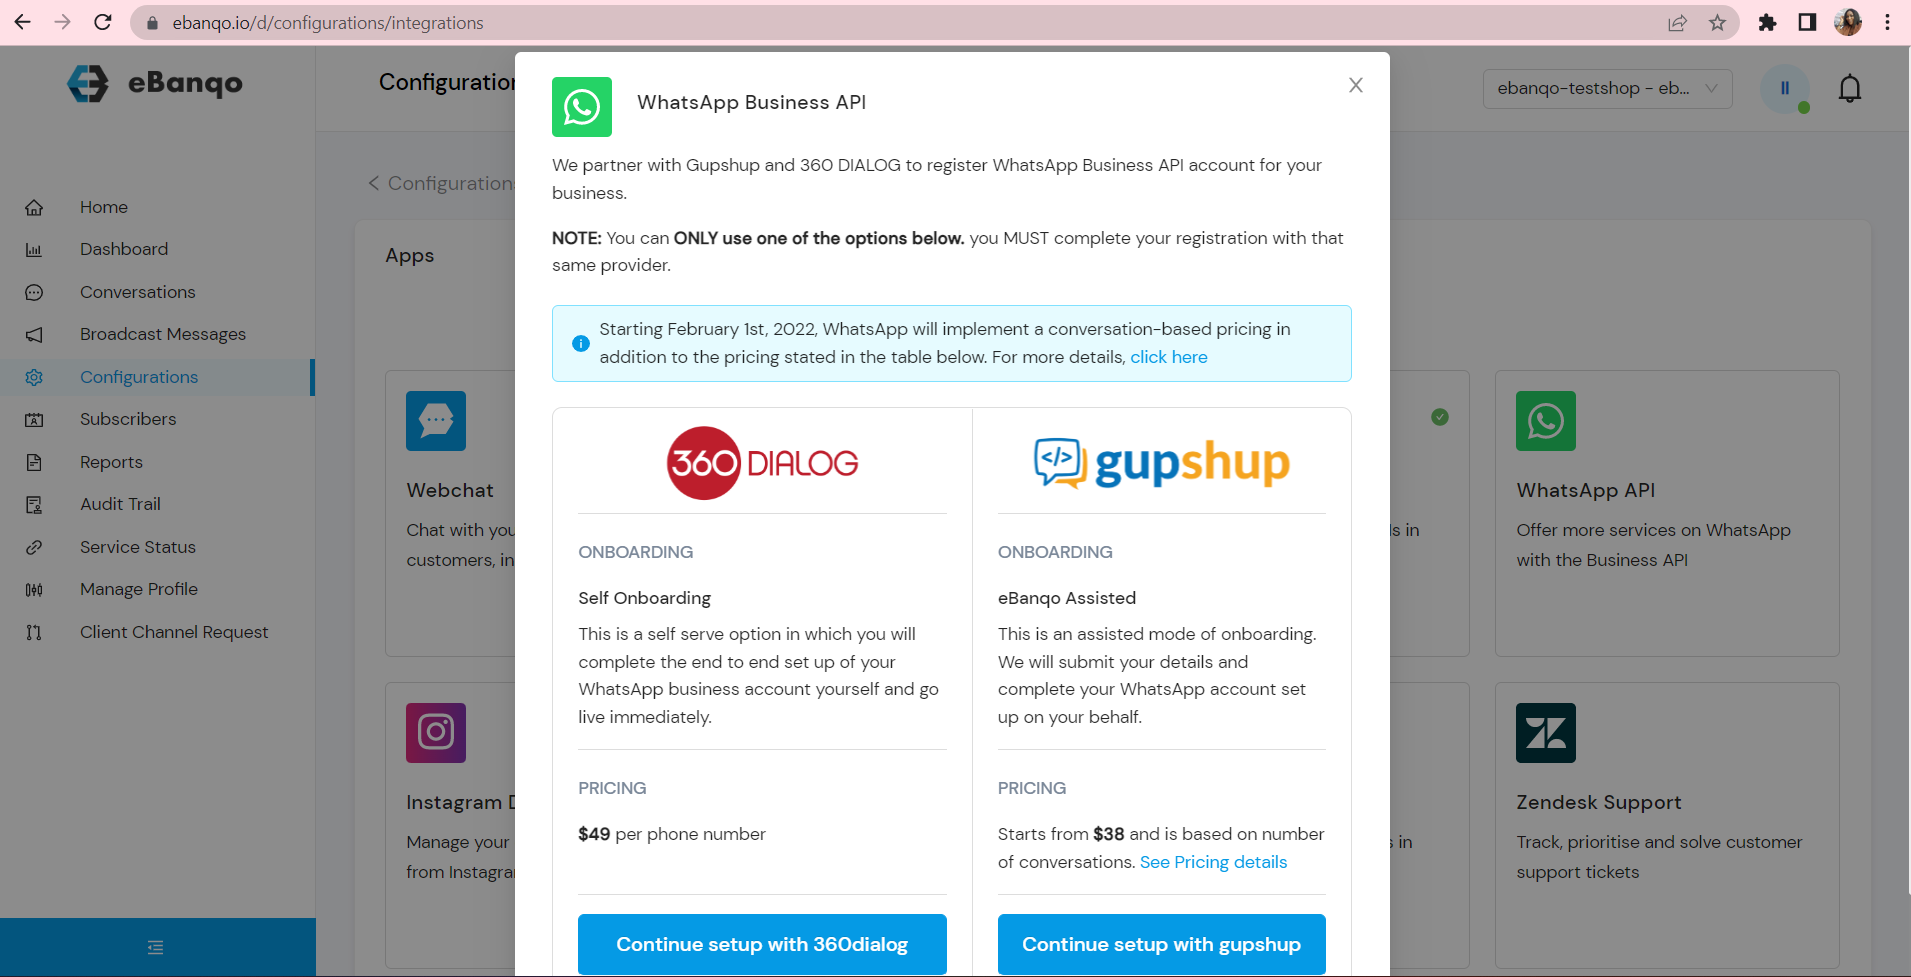
- For the gupshup option, select ‘Continue setup with gupshup’ and provide your business details in the form displayed.

Note that the form is already prefilled with the information you provided at signup. If you want to edit, click on the text box.
- Click continue to fill the next two forms.
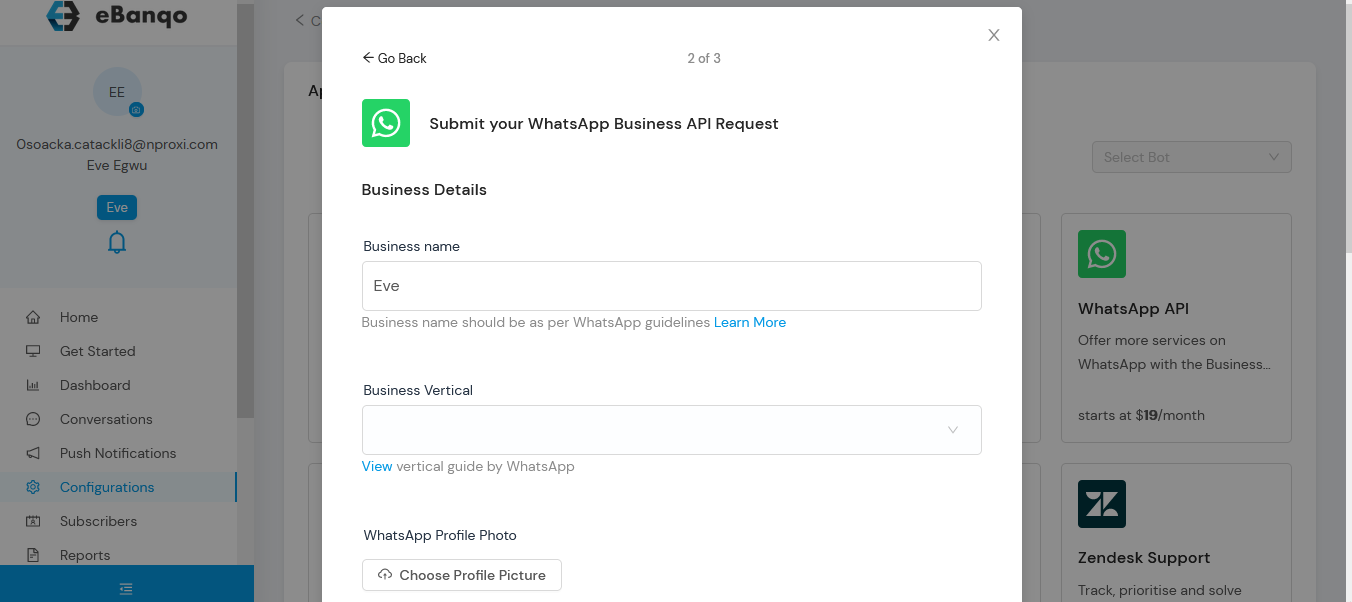
- On the second page, you provide your business name and vertical, upload your WhatsApp profile photo, provide your address, Facebook page URL, and language. When you’ve done this, click on the continue button to fill the last page.
- On the last page, you provide your Facebook Business Manager ID, provide your WhatsApp number, and your WhatsApp display name.
If you need help with any of the above, you can click on the blue link beneath each of the text boxes for guidance.
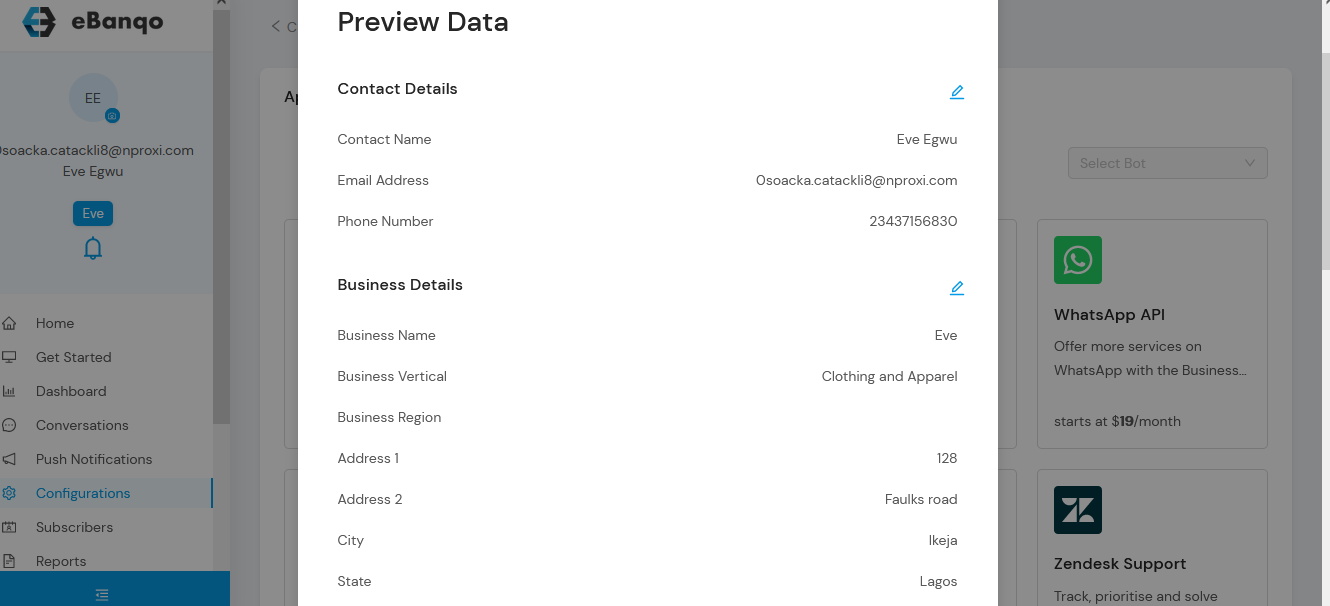
- Next is the preview page. Here’ you review all the information you’ve added and make edits where necessary. If you’re satisfied, you click on submit
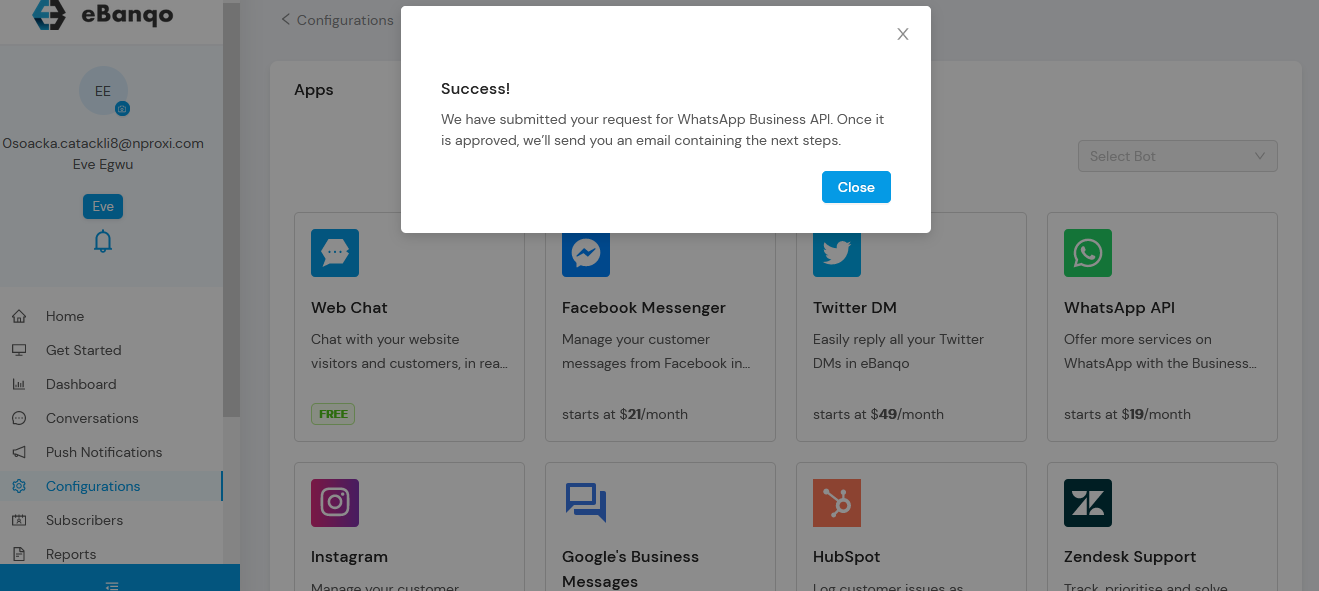
- After submission, you’ll get a success message. Once WhatsApp approves your request, you’ll get an email on next steps.
- For 360 dialog option, select ‘Continue setup with 360dialog’ and provide your phone number in the form displayed. Select ‘Complete Setup’ to continue.

- You will be directed to 360dialog. On this platform, create your 360dialog login credentials and accept the Terms and Conditions.
- Continue to Facebook and sync your WhatsApp Business Account and generate your API key.
- You will be redirected to eBanqo to provide your phone number and API key
- Select ‘Complete Setup’ to complete your connection.
Set up your Twitter
Note: If you are on a free plan and you will not be able to add Twitter. However, upon your attempt to add this channel, we will be notified and your plan will be upgraded to use Twitter. Once, this is done, you will be able to access Twitter.
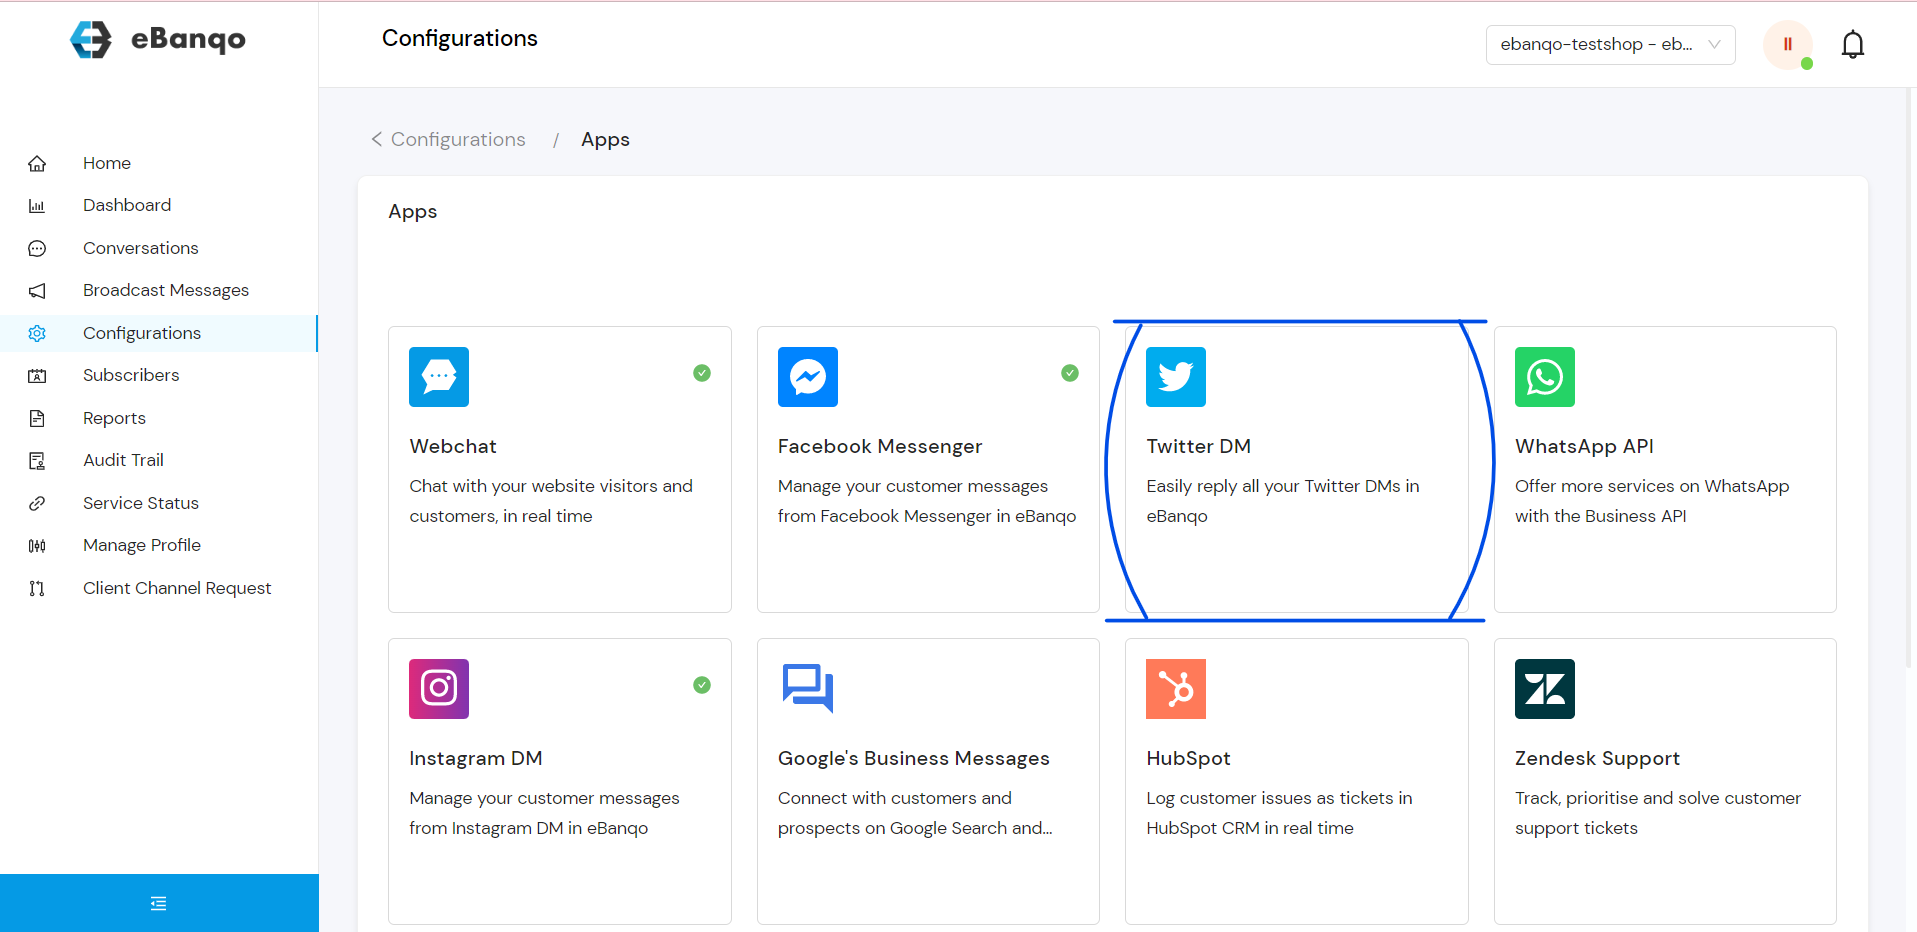
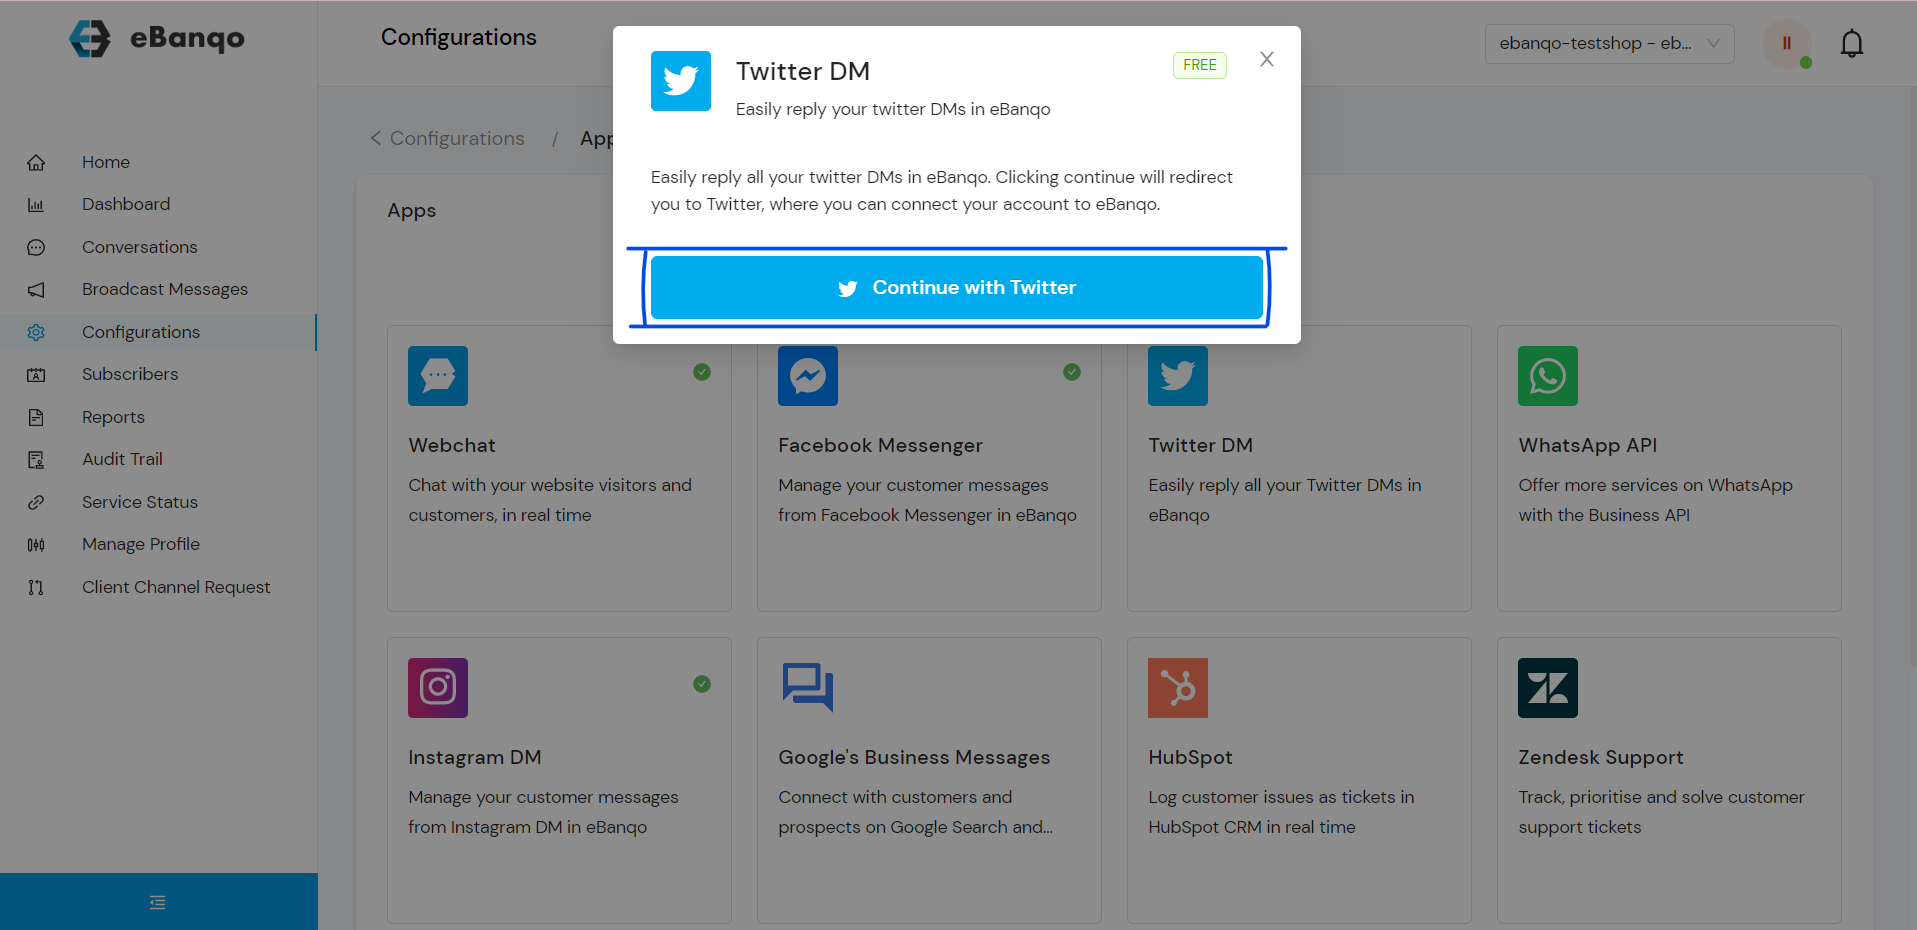
- Select Twitter from the channels as shown below
- Click on Continue with Twitter to progress with your set up
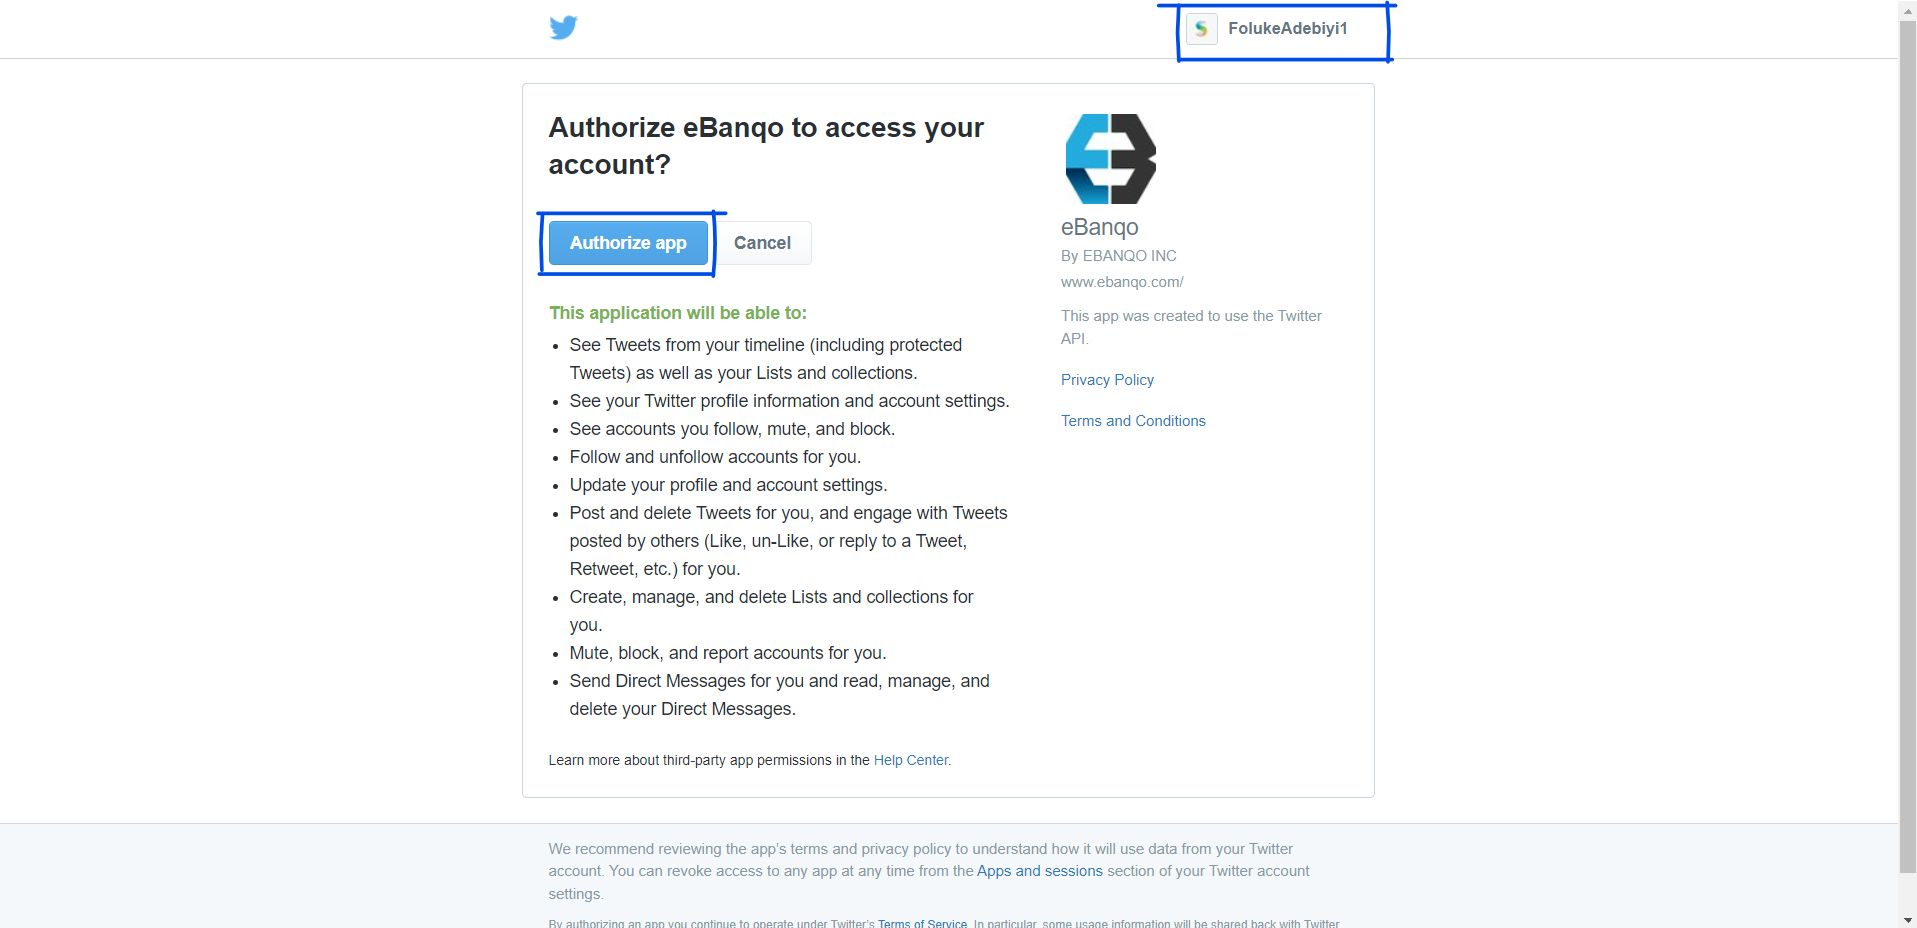
- Select Authorize app to place the chatbot on your Twitter account. Please make sure the Twitter account you are using is shown on the page. However, if the Twitter page is not shown correctly, please login to the appropriate Twitter account on another tab and start this set up process from the beginning.
- At this point, your Twitter account is already connected and you will see the success notification shown below. Select close to remove the success notification.


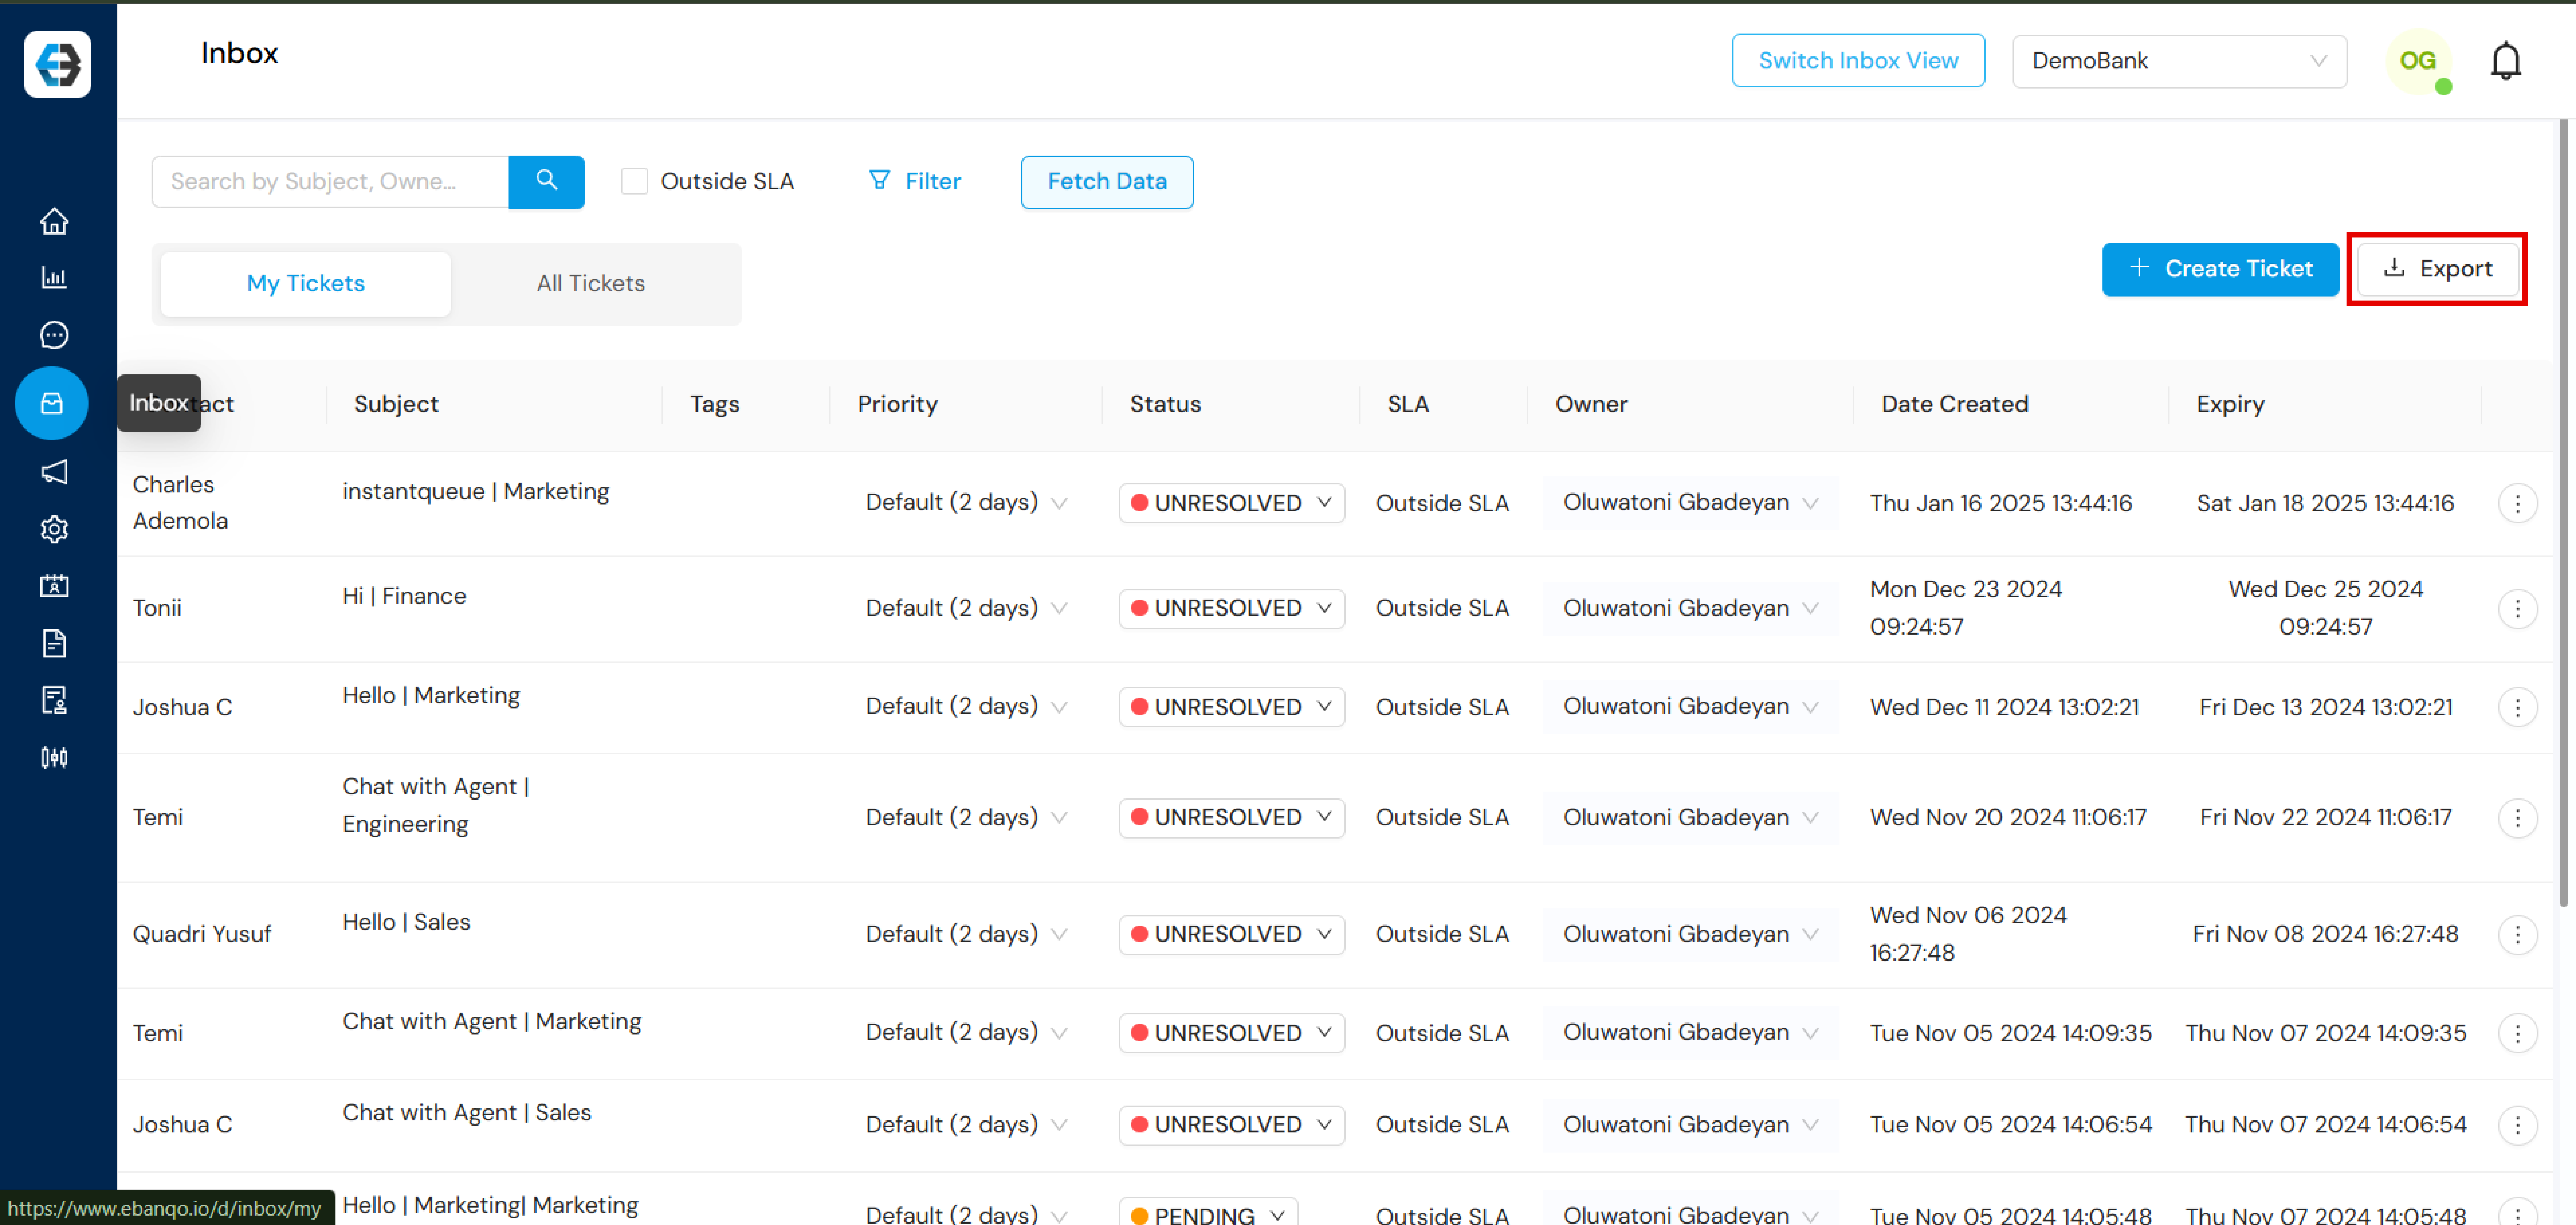


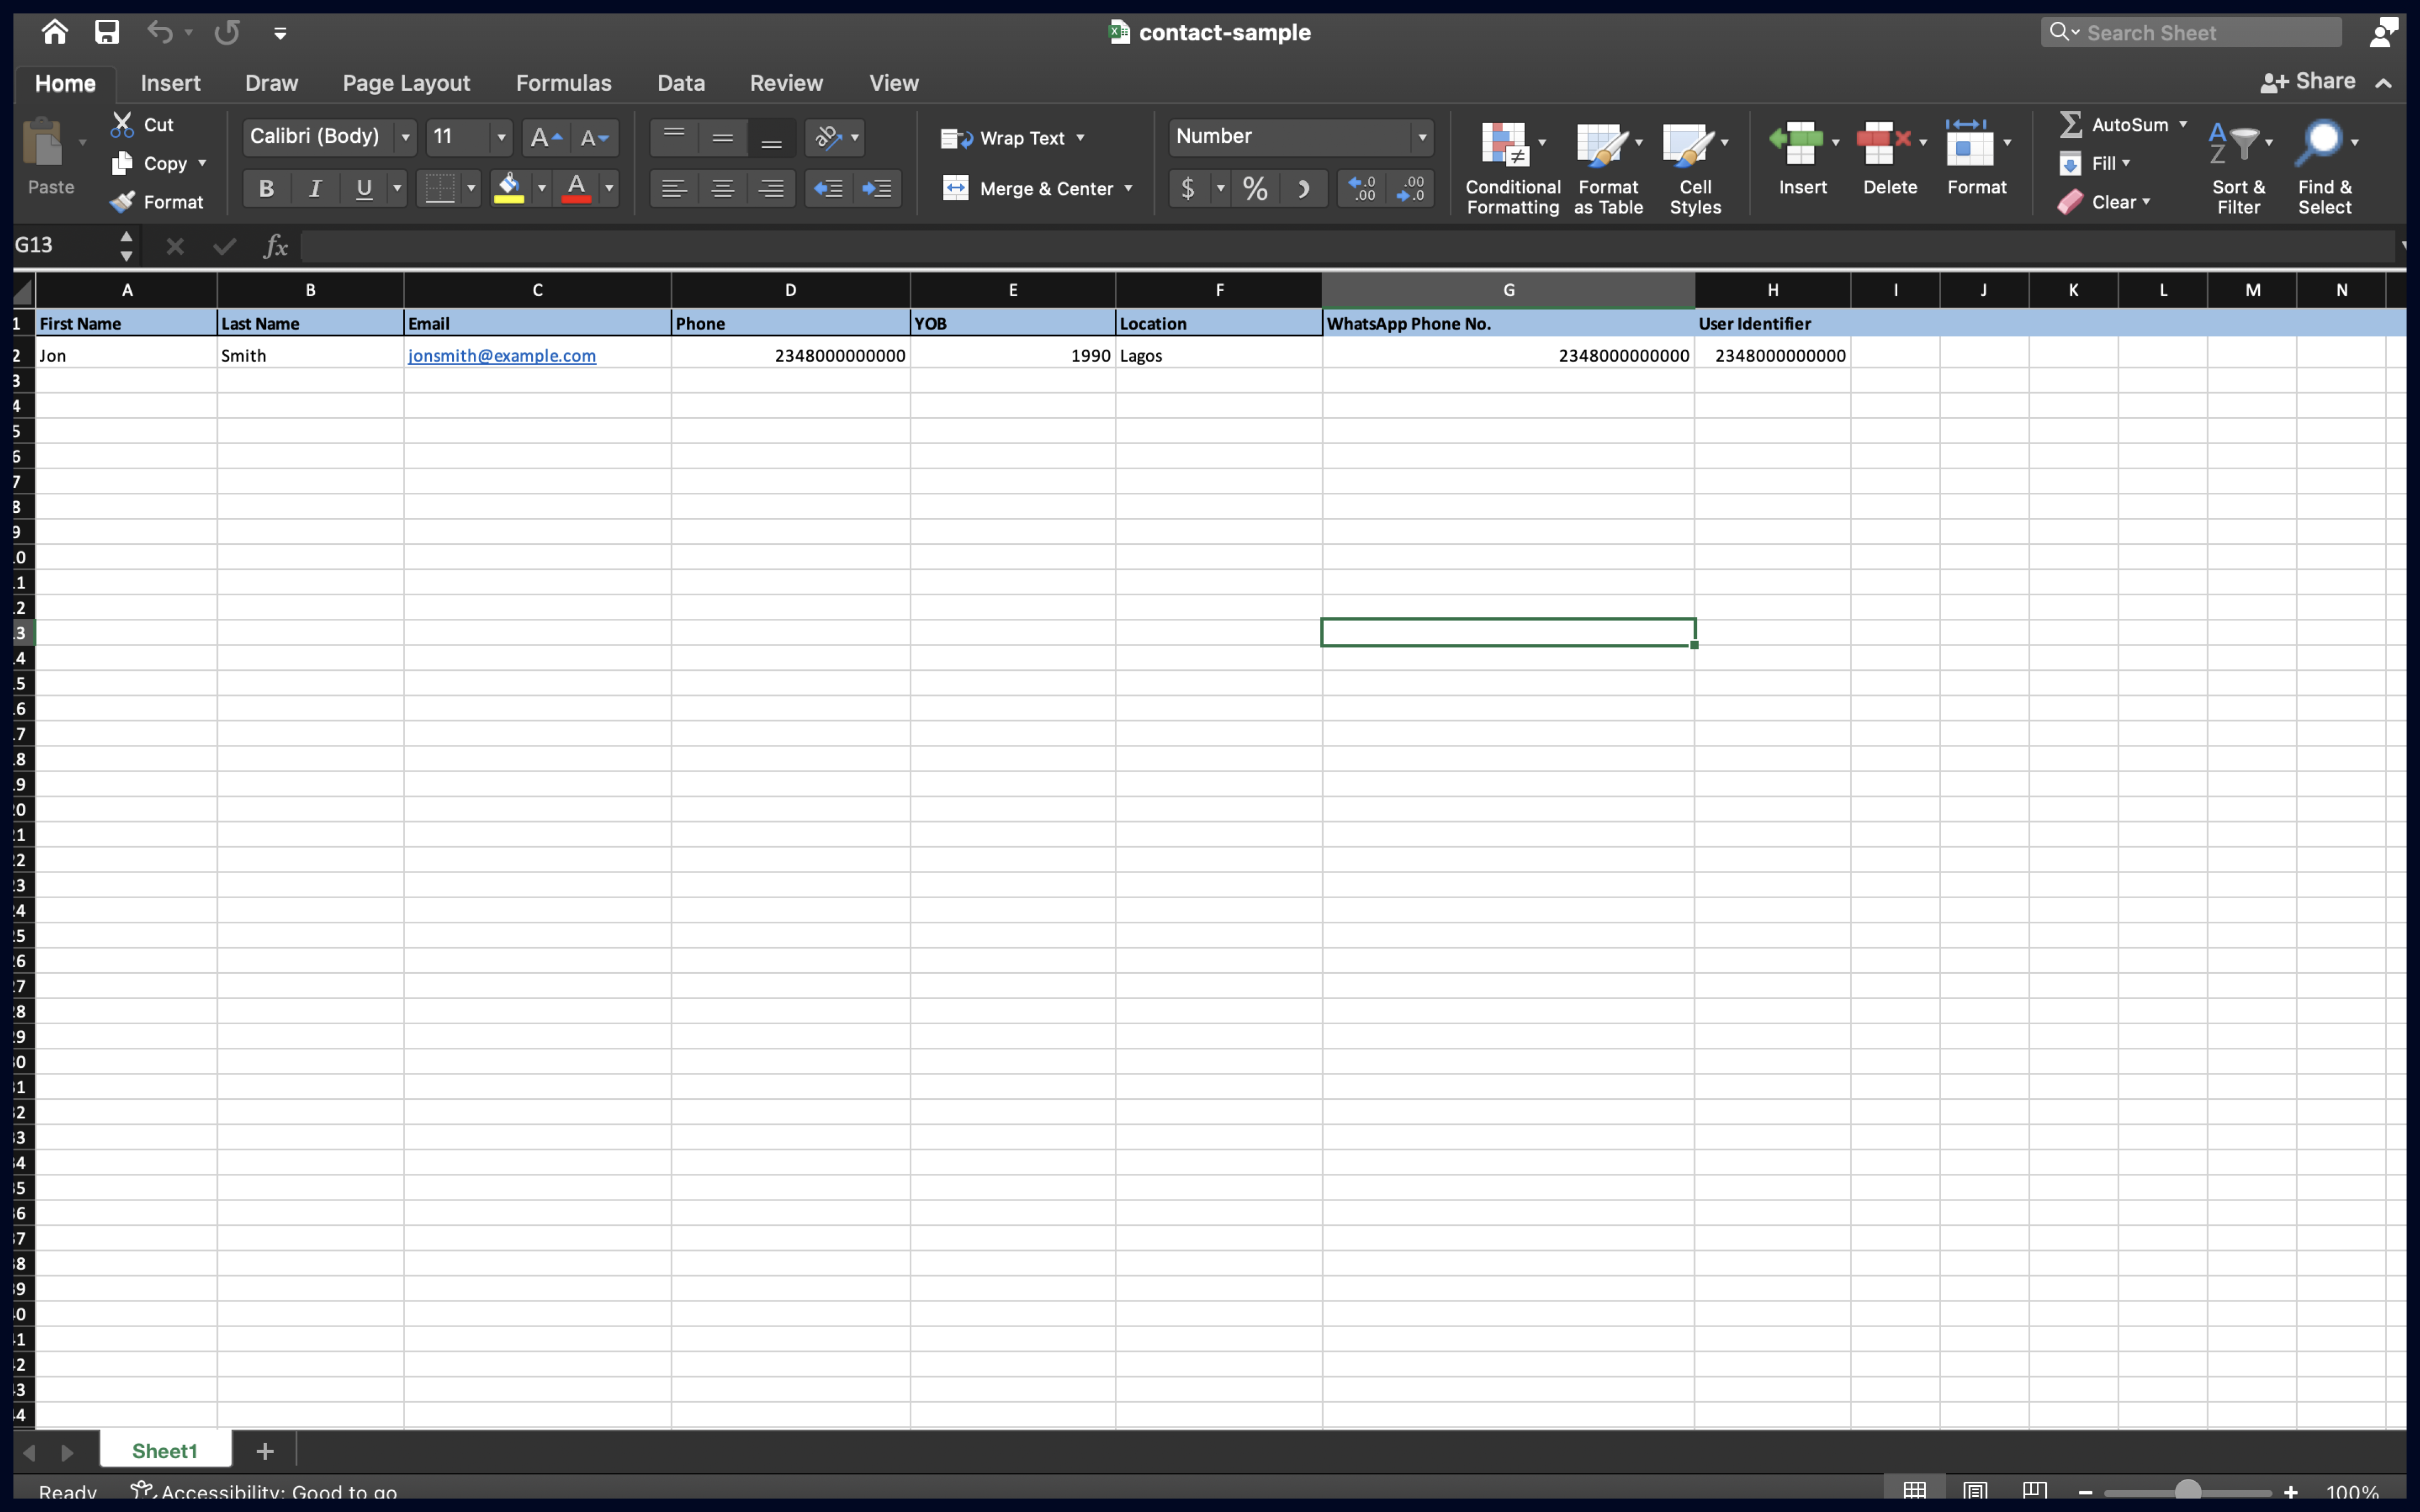
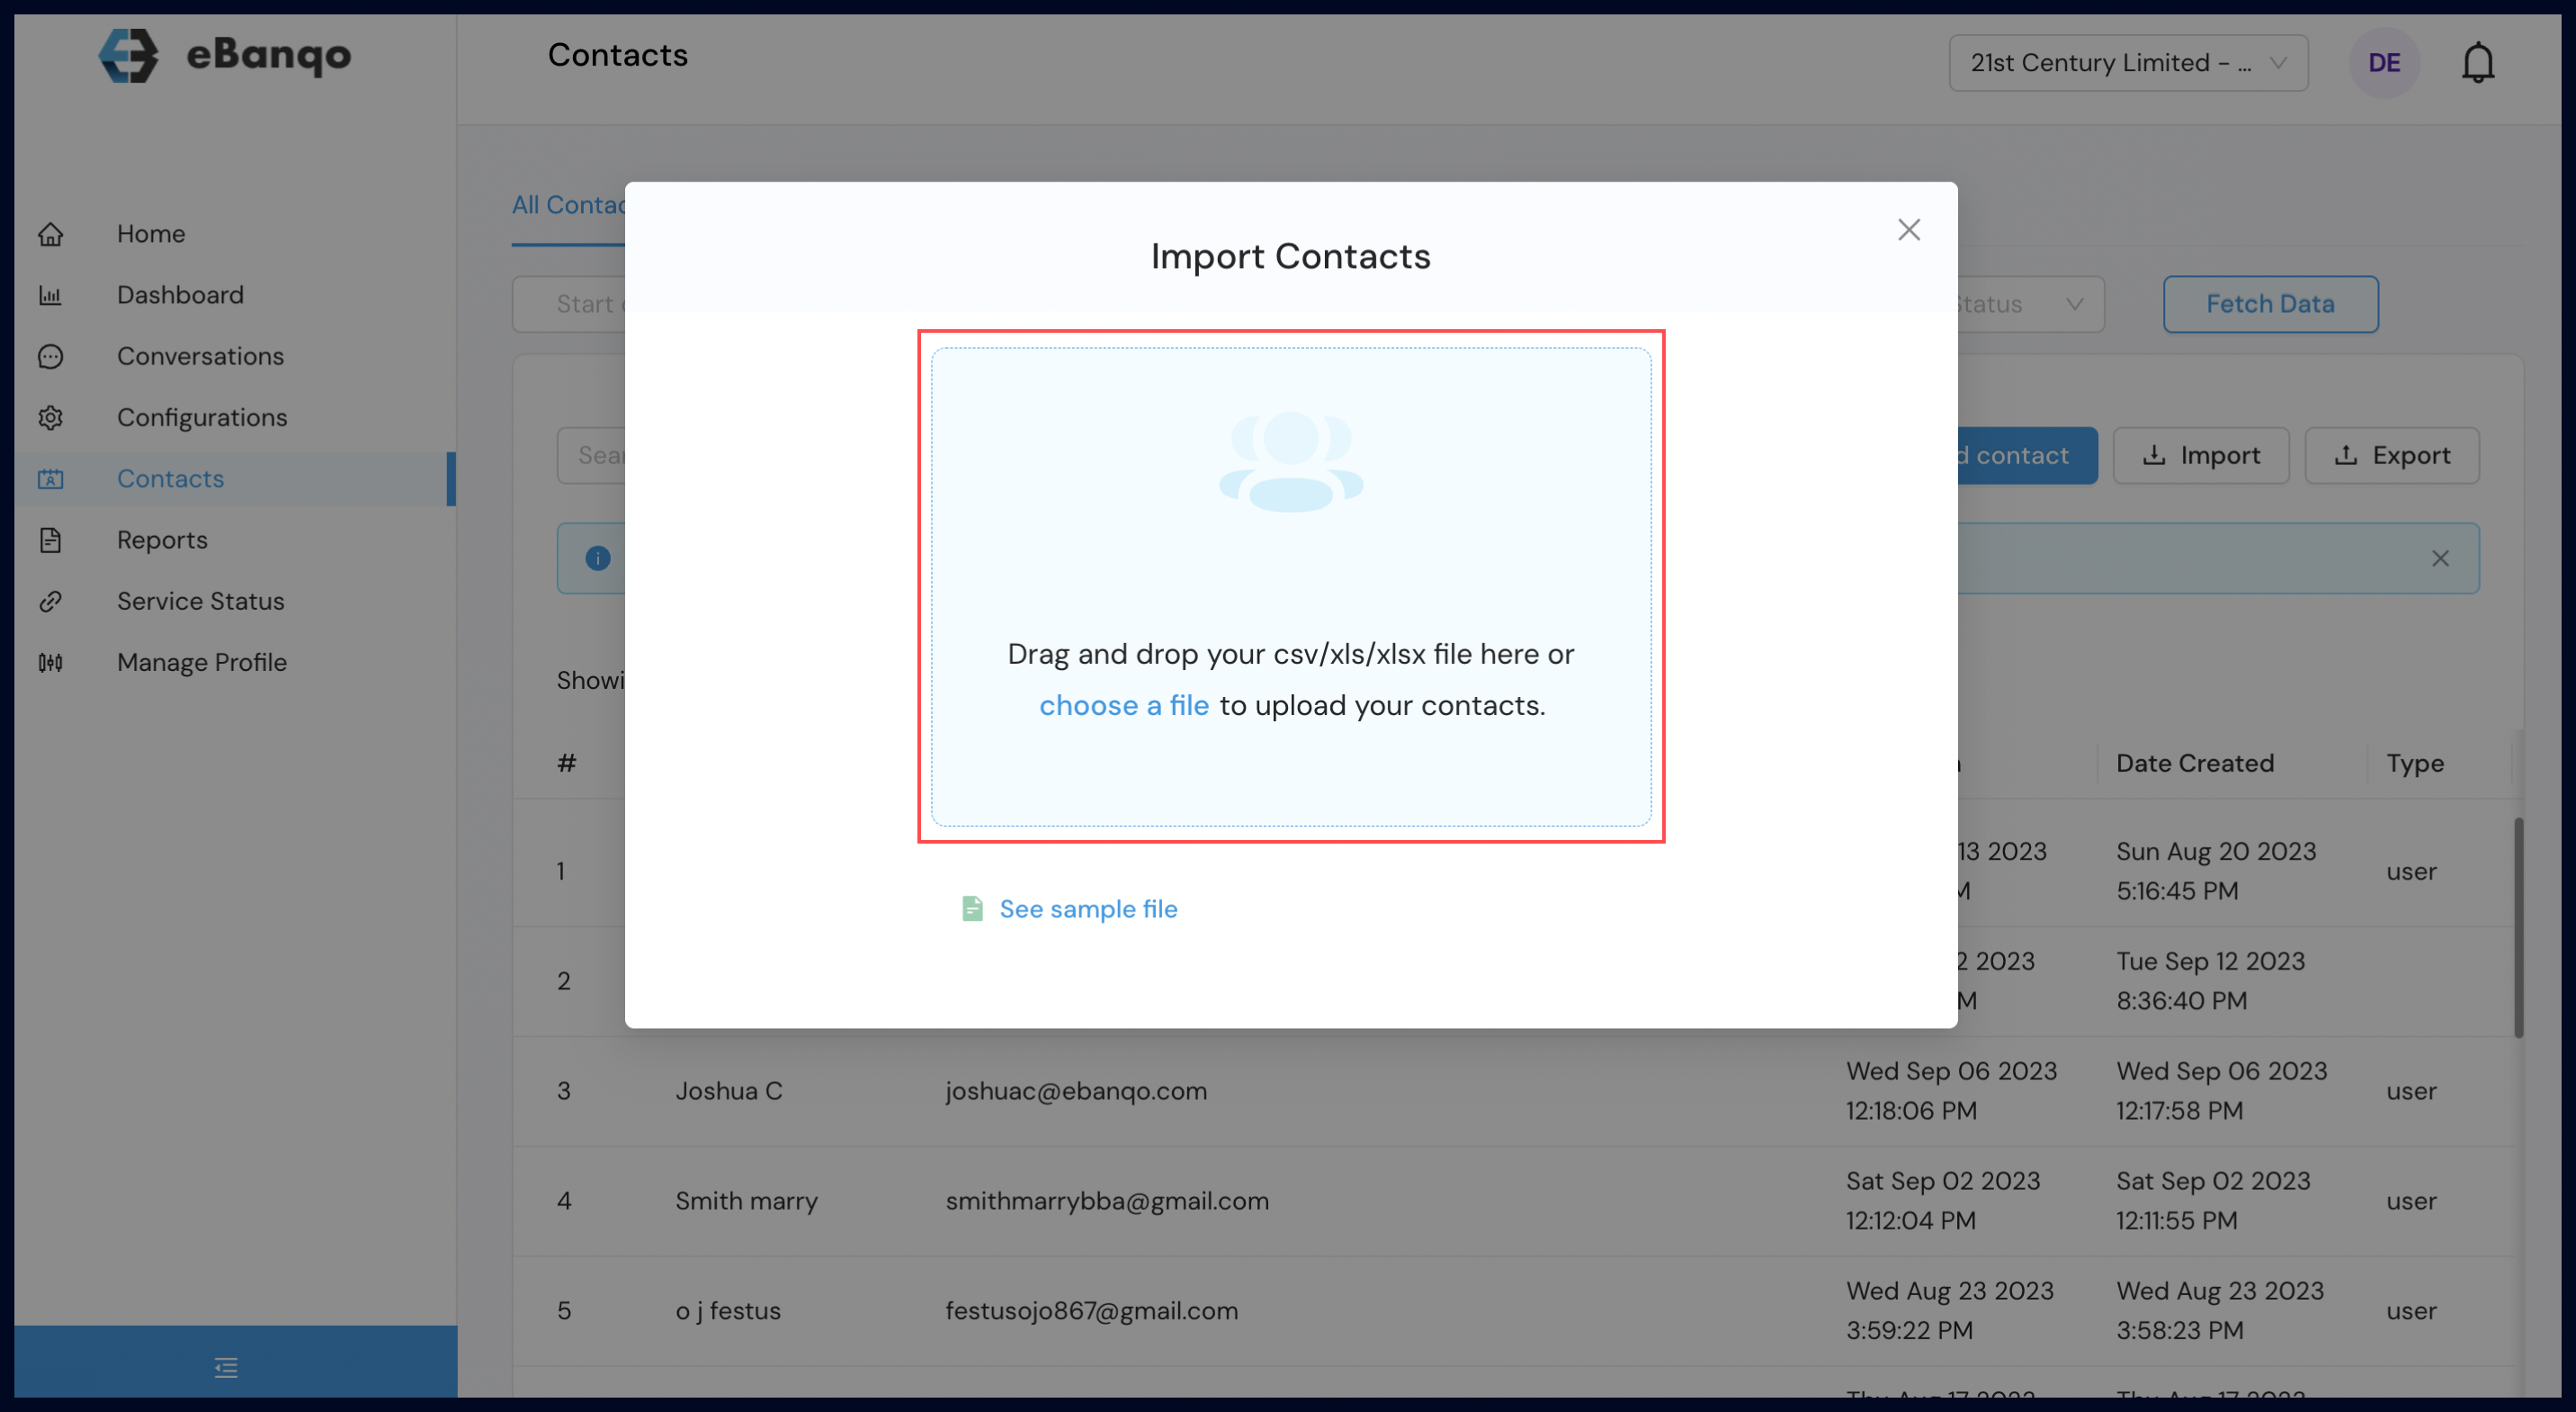
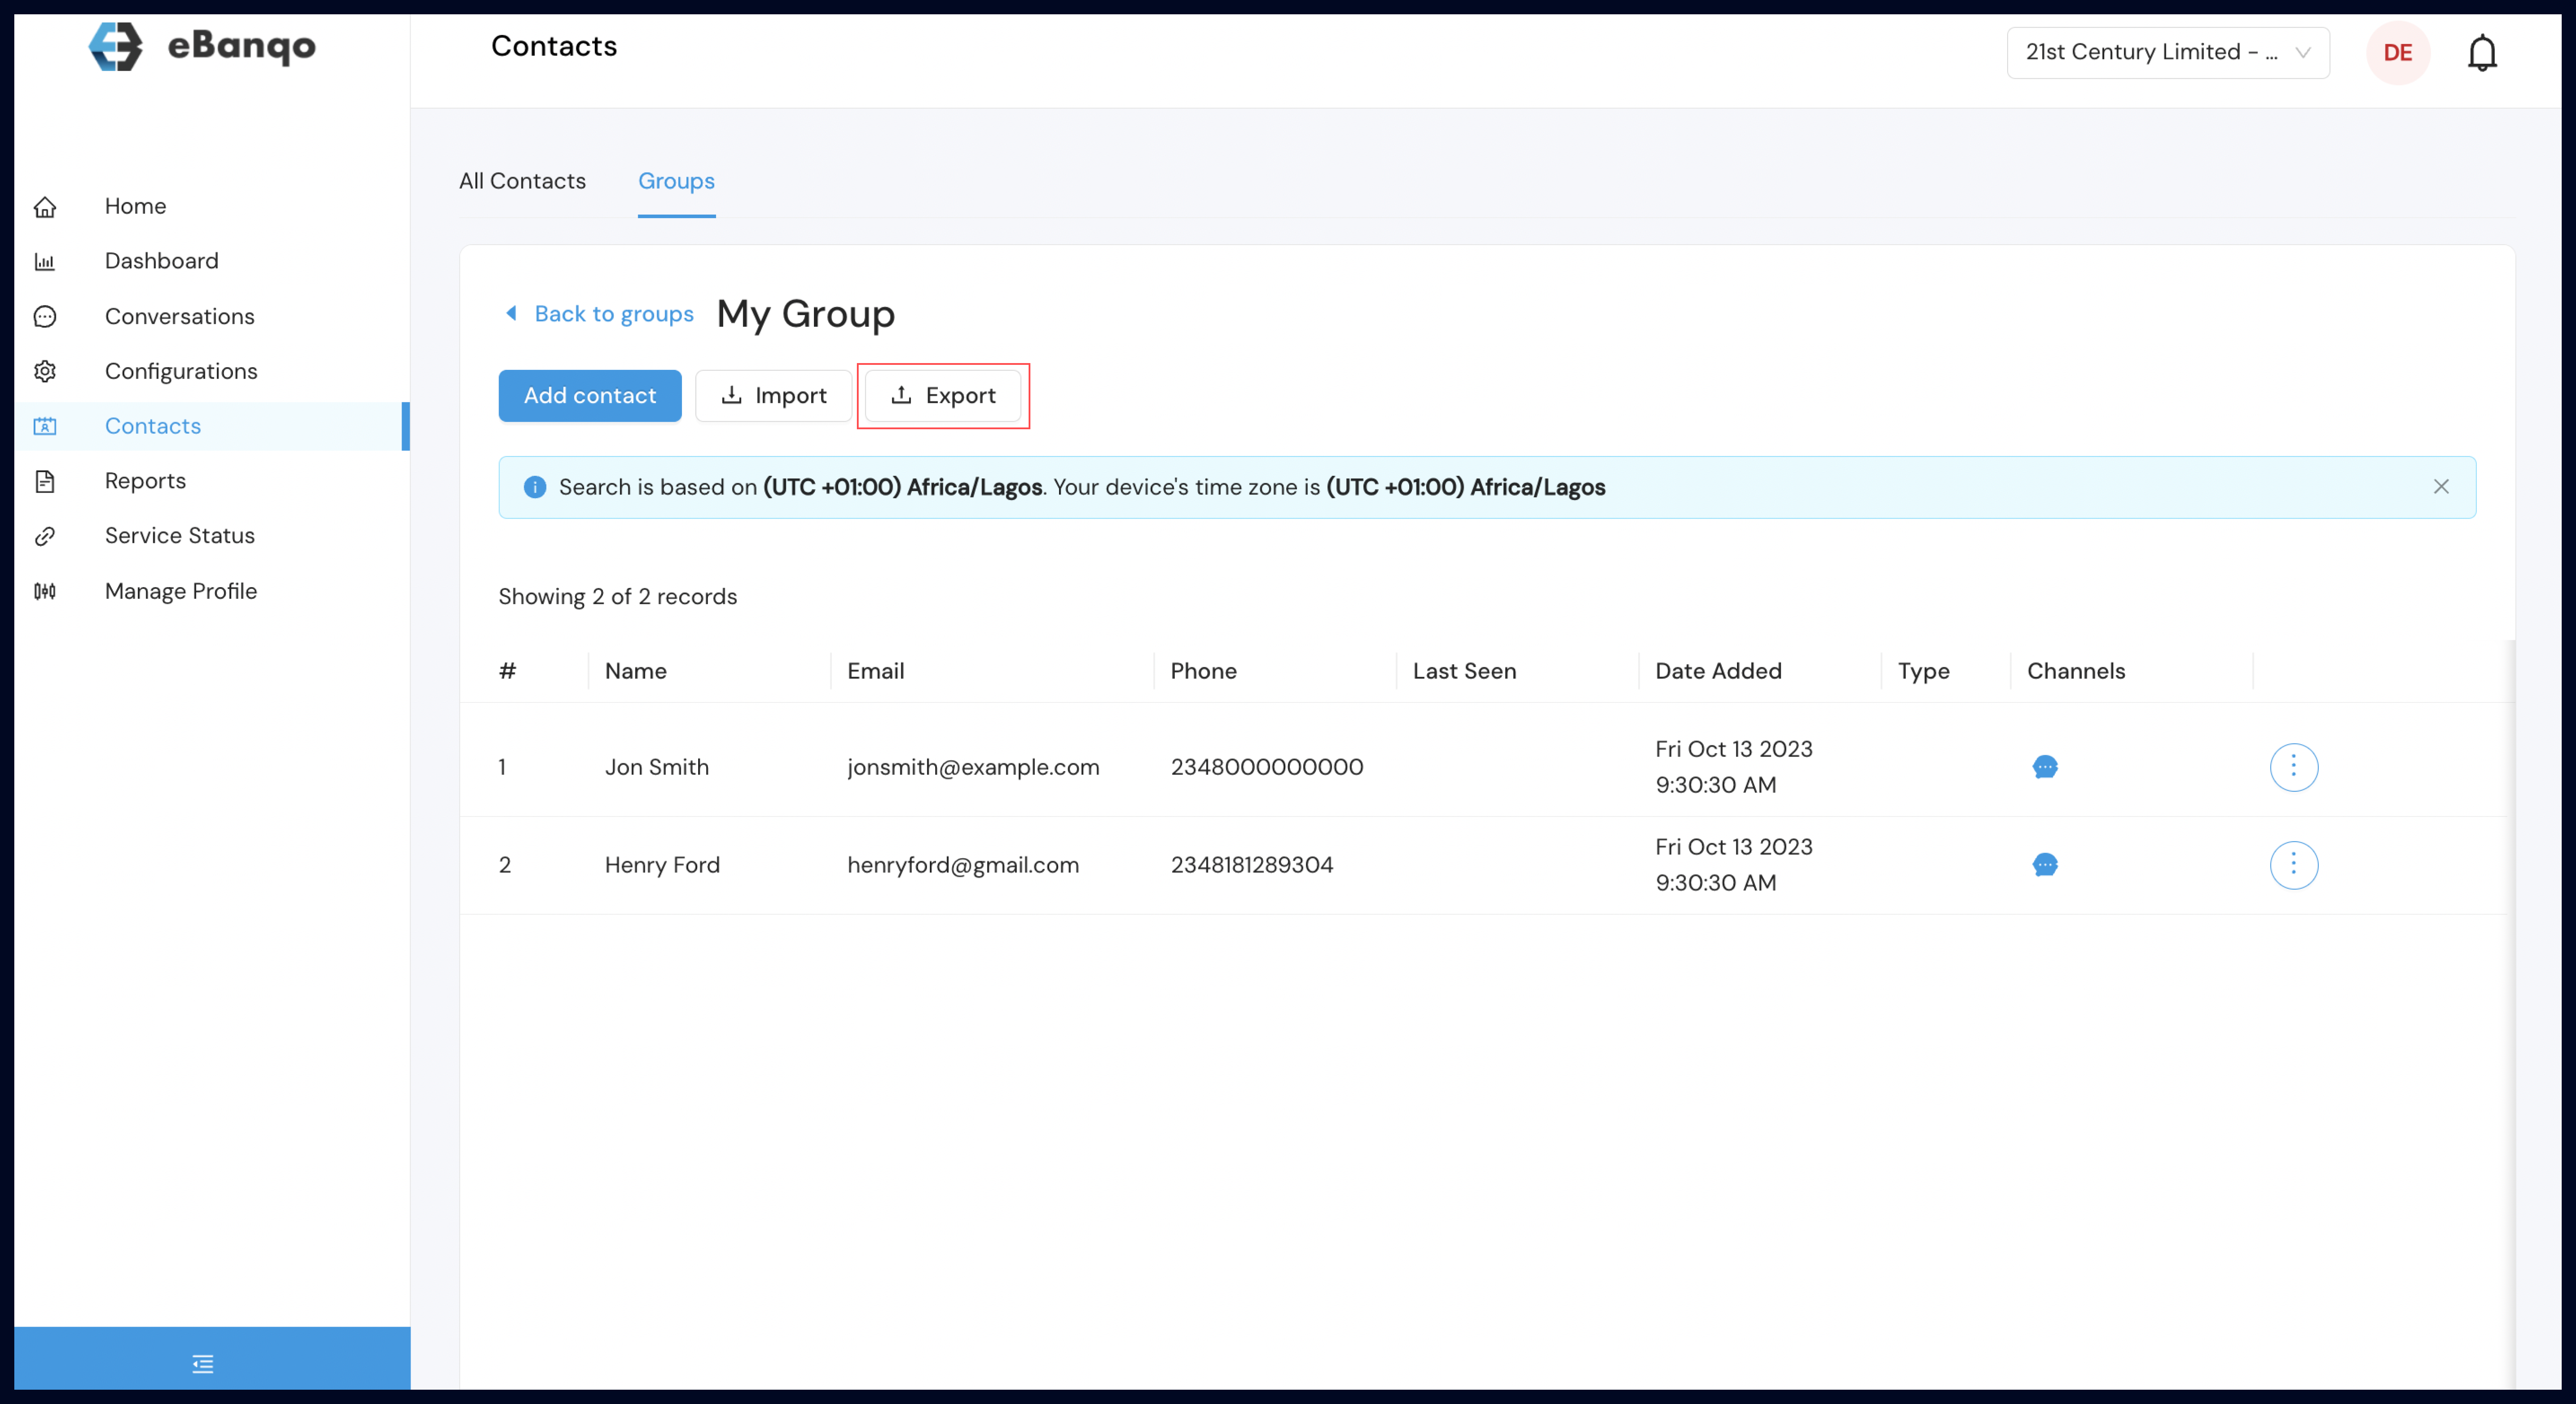
 b. Click on see sample file to download the sample file showing the format to capture your customer’s details.
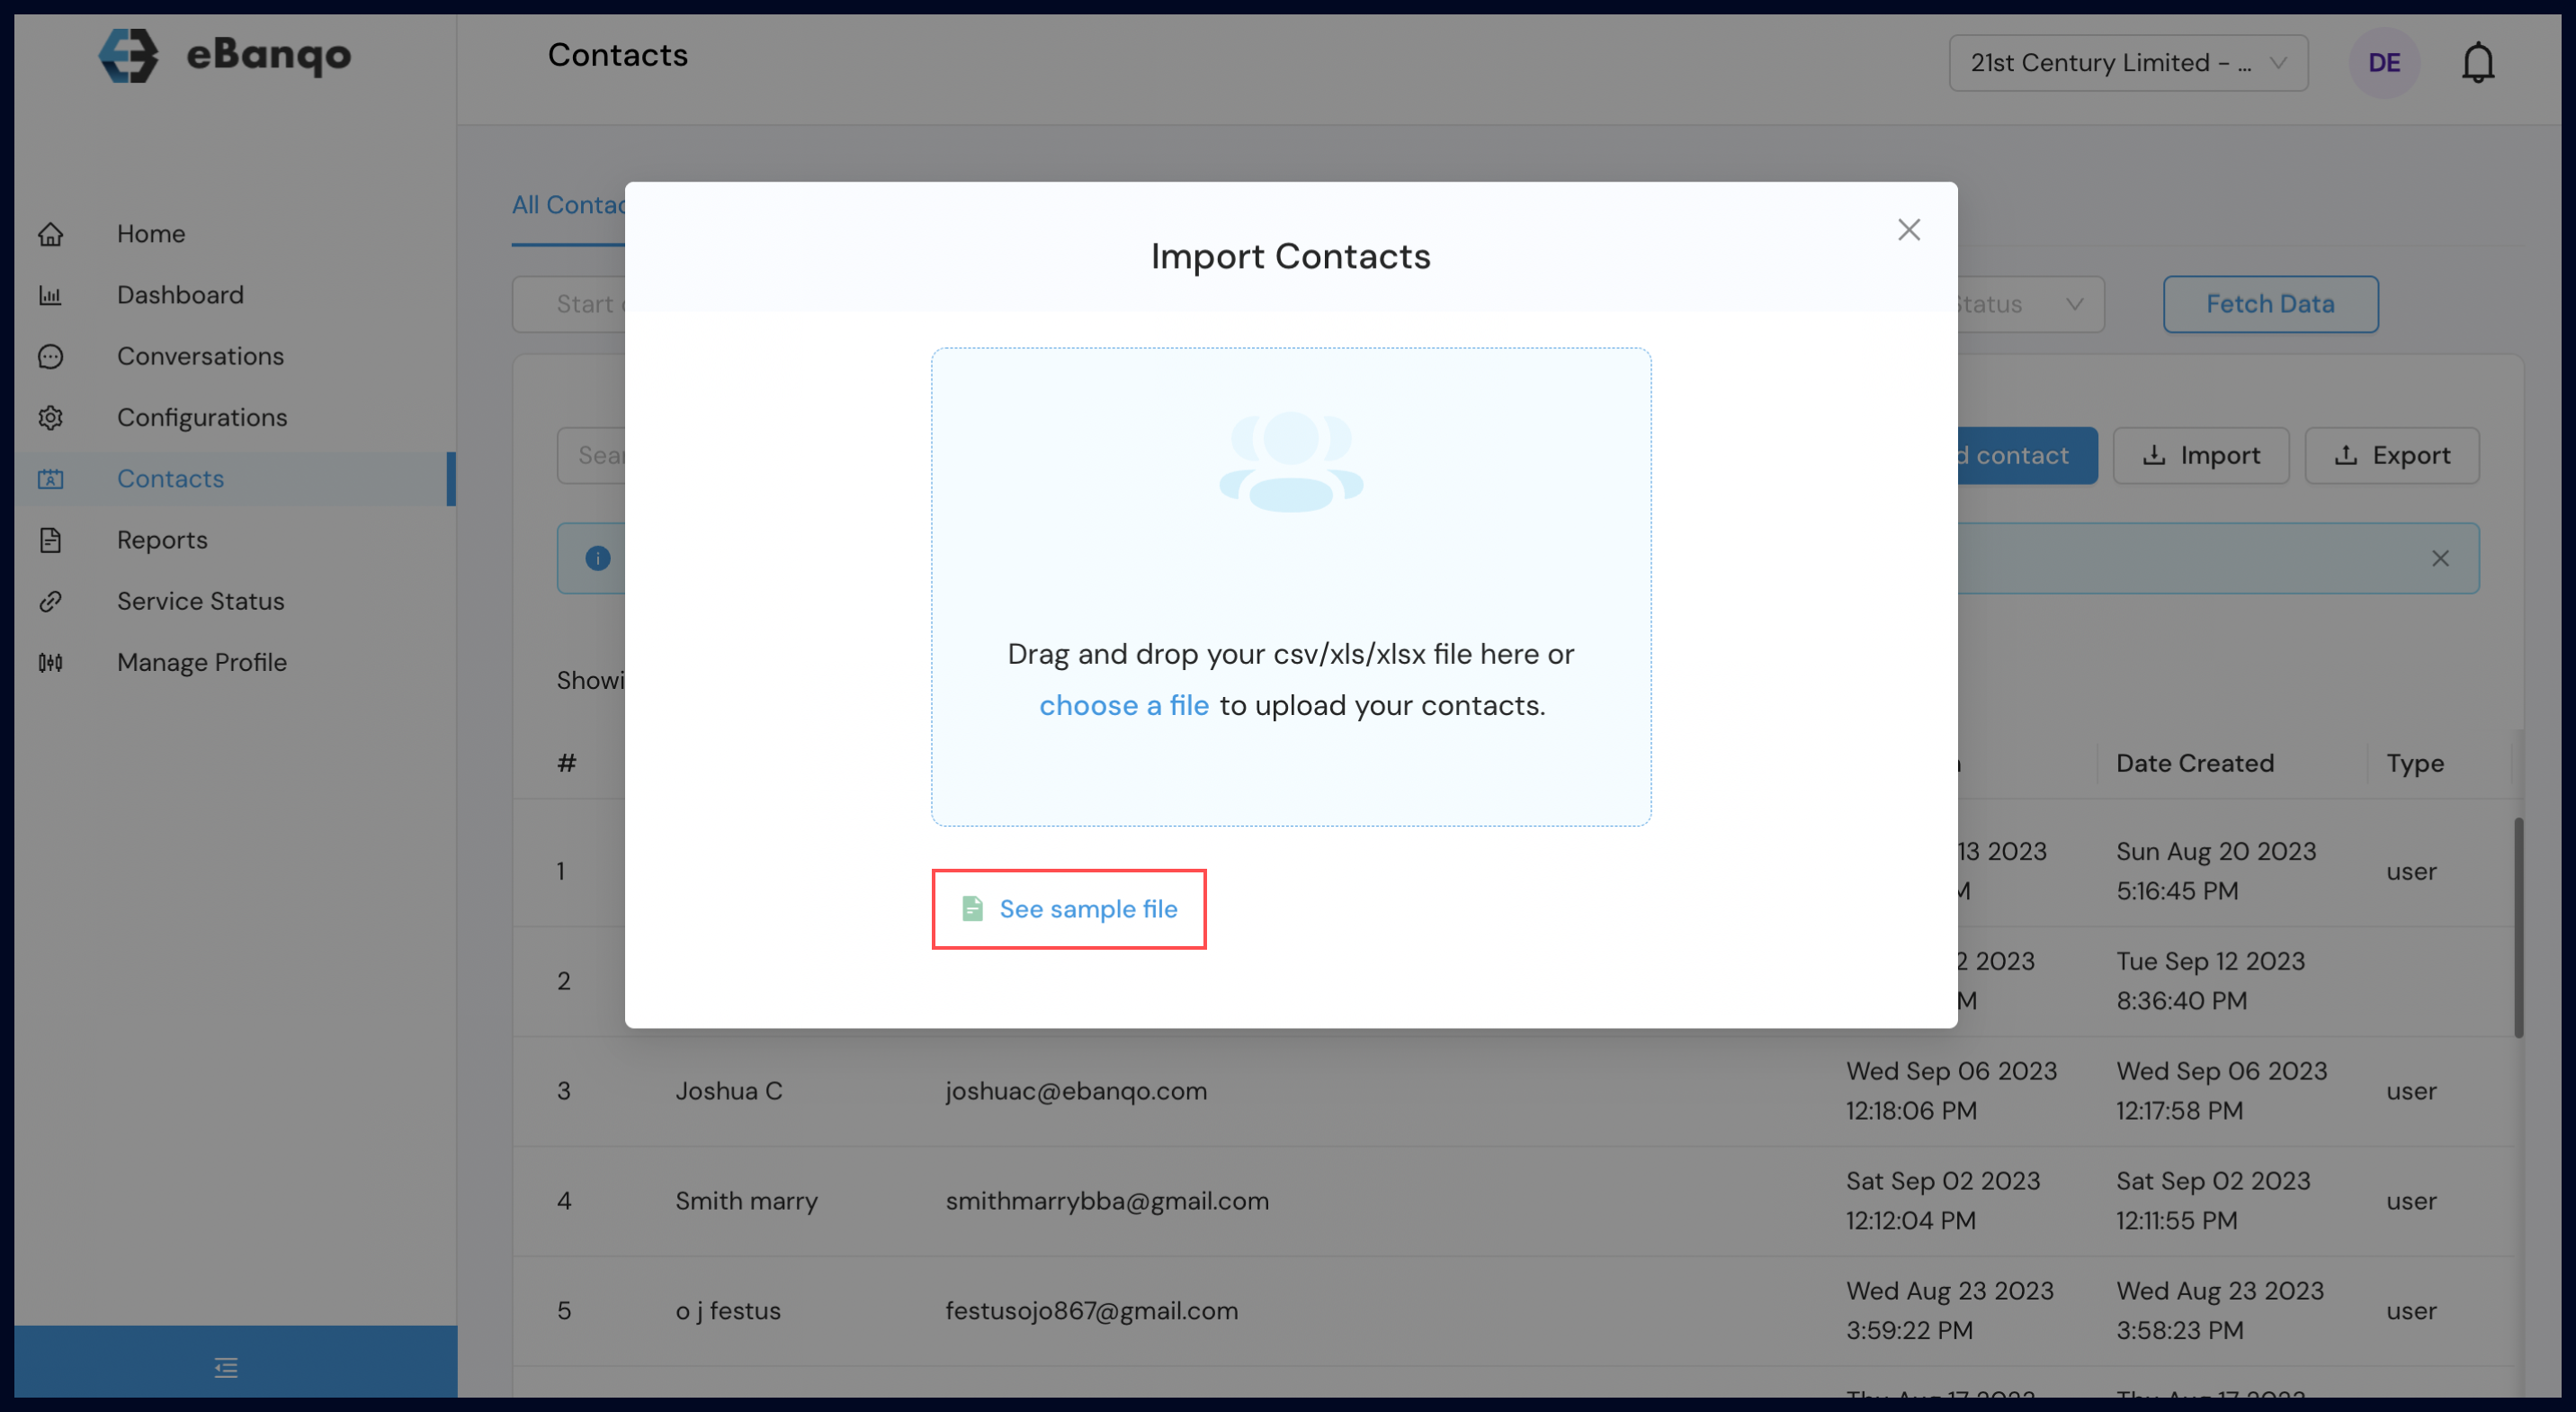


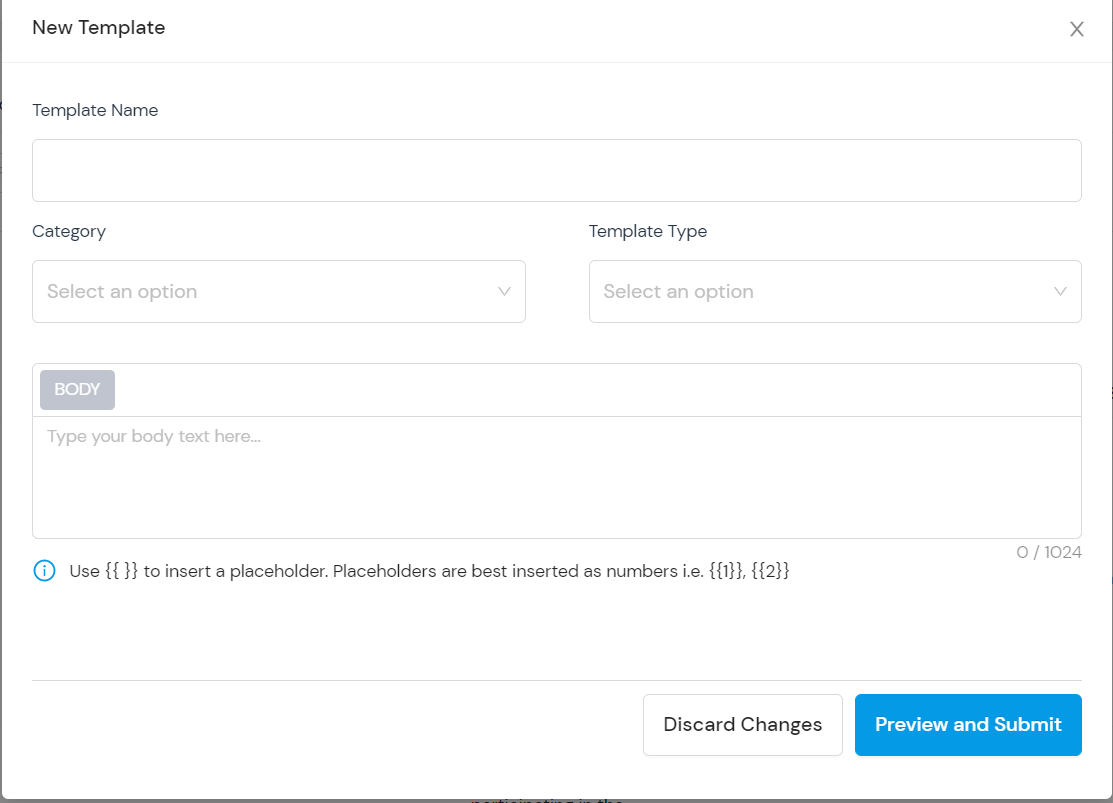
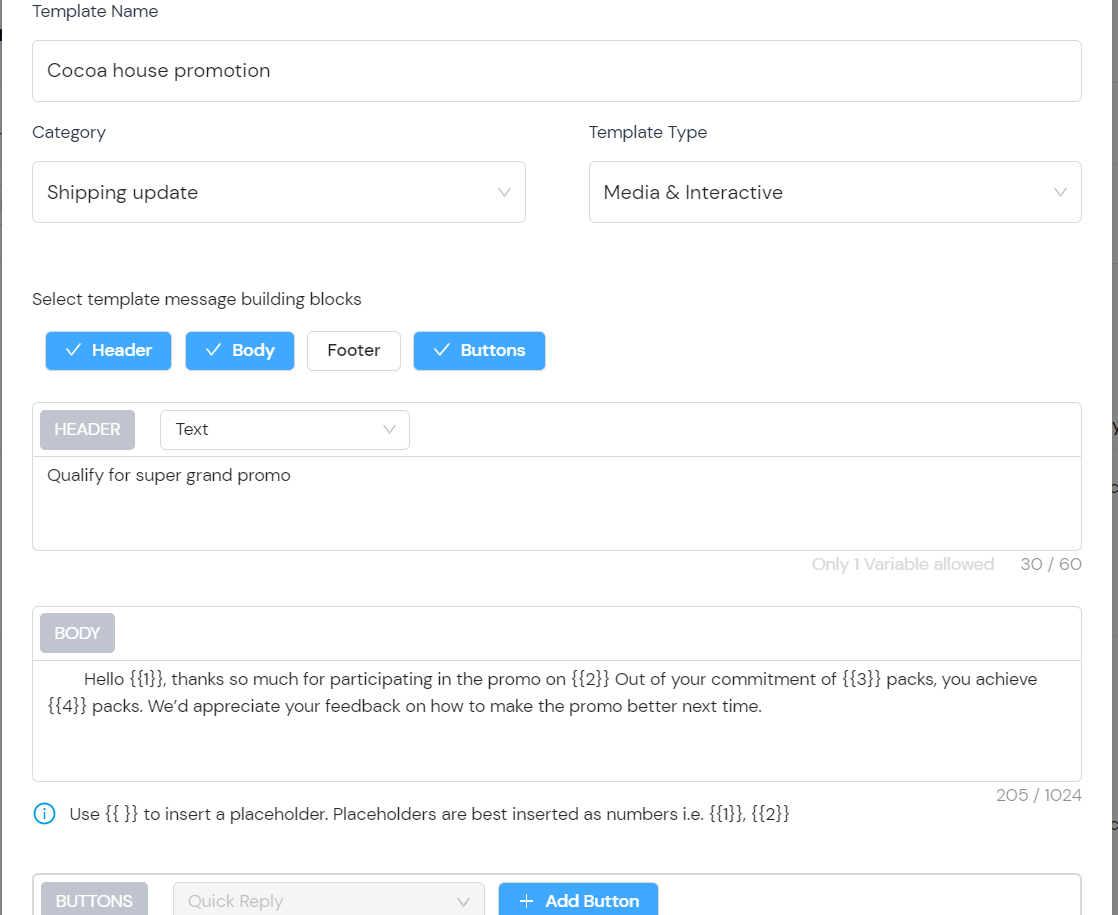
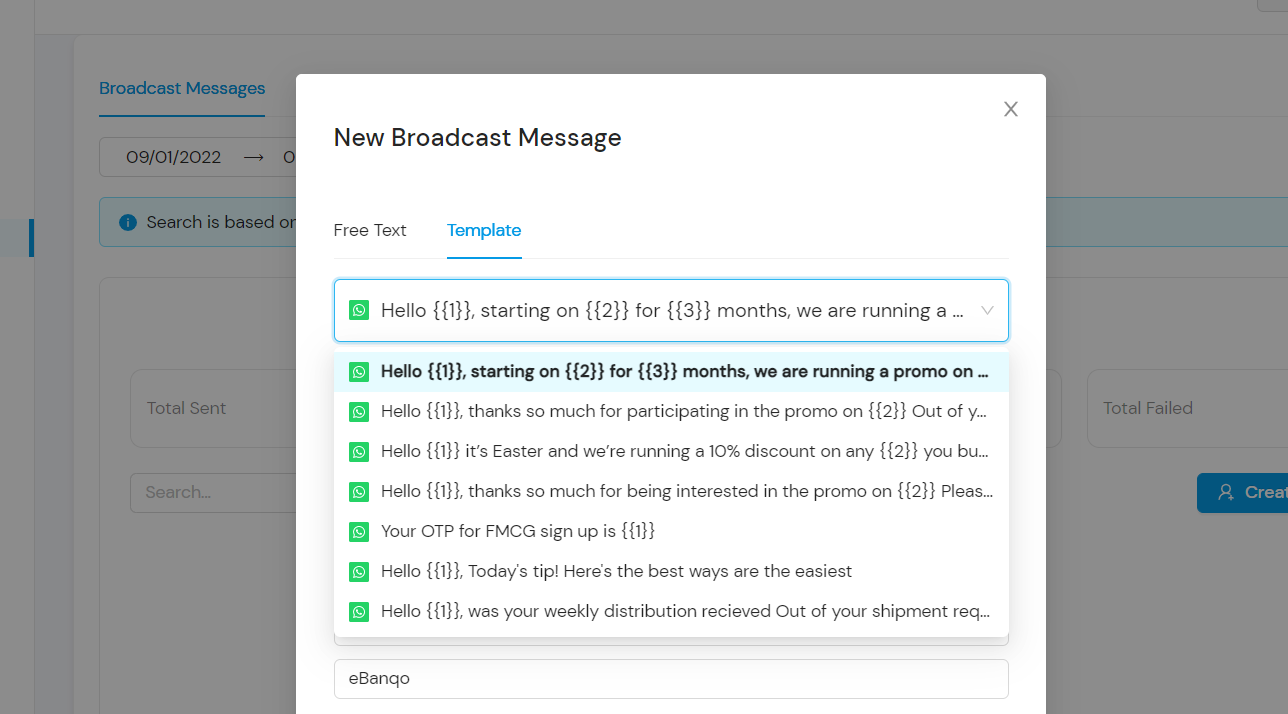
 Select the Manage Templates and click on “add template”